
Last updated on September 1st, 2026 at 04:43 pm
If you’re looking for a quick way to spoil your pup without a long shopping list, you’re in the right place. These 9 two-ingredient dog treats are proof that homemade doesn’t have to be complicated.
Whether you need a training reward, a frozen summer snack, or a crunchy biscuit for movie night, there’s a simple recipe here for every dog. Each treat uses just two dog-safe ingredients, so you can whip them up in minutes with stuff you probably already have in your kitchen.
No fancy equipment, no lengthy prep, and no mystery additives—just real food your dog will love. Let’s get started with these easy, healthy, and totally irresistible treats that will have your pup doing happy dances.
1. Peanut Butter & Banana Frozen Bites
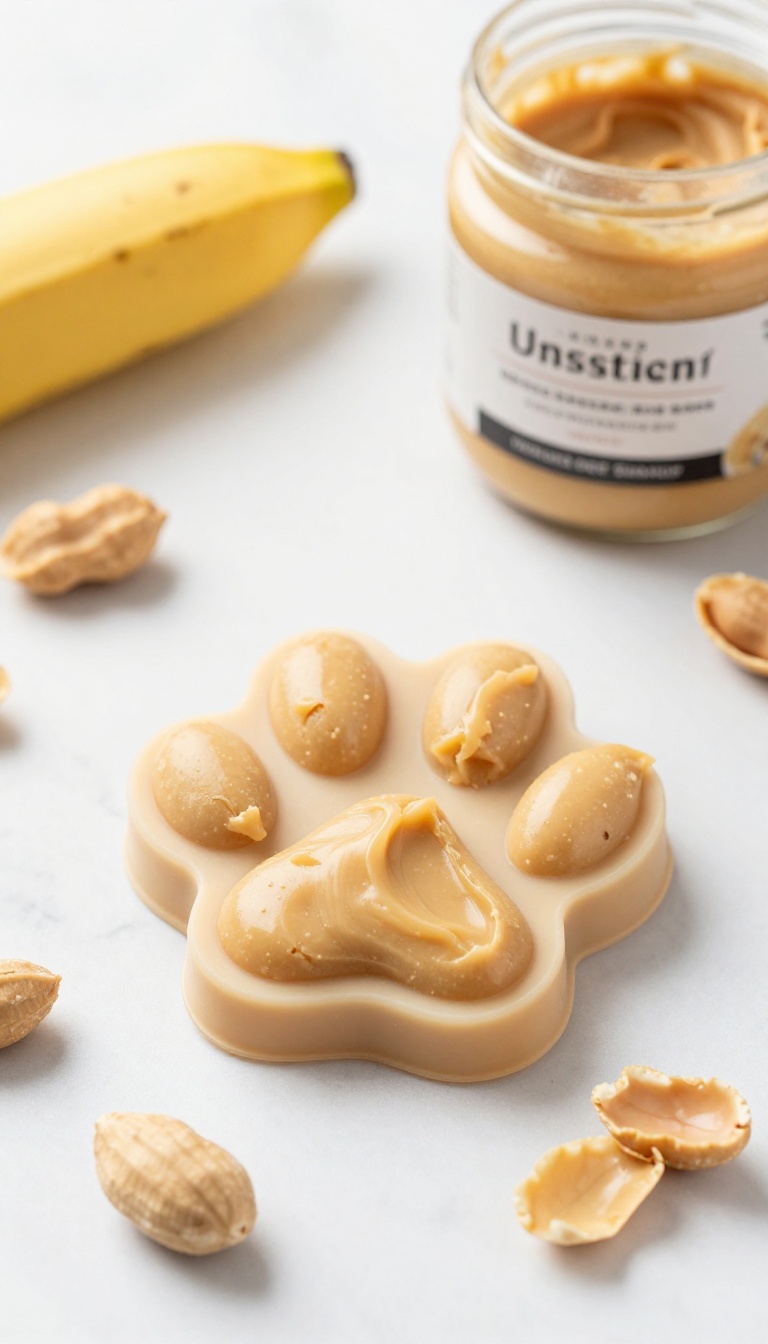
When the temperature climbs, your pup needs a cool-down that’s as tasty as it is refreshing. These frozen bites combine two dog-favorite flavors into a creamy, lickable treat that’s a breeze to make. You only need a ripe banana and a jar of unsweetened peanut butter, plus a silicone mold or ice cube tray.
They’re perfect for teething puppies or as a post-walk reward on a hot afternoon.
Ingredients
- 1 ripe banana
- 1/2 cup unsweetened peanut butter (no xylitol)
- Water (optional, to thin)
Instructions
- In a bowl, mash the banana until smooth.
- Add the peanut butter and stir until well combined. If the mixture is too thick, add a tablespoon of water at a time until it reaches a spoonable consistency.
- Spoon the mixture into silicone molds or an ice cube tray, pressing down to fill the shapes.
- Place in the freezer for at least 3 hours, or until solid.
- Pop the frozen bites out of the molds and store them in an airtight container in the freezer.
Serving Tip
Give your dog one frozen bite at a time, especially on warm days. These are great for teething puppies, but always supervise your pup while they enjoy a frozen treat. They soften quickly at room temperature, so keep them frozen until serving.
2. Pumpkin & Greek Yogurt Drops
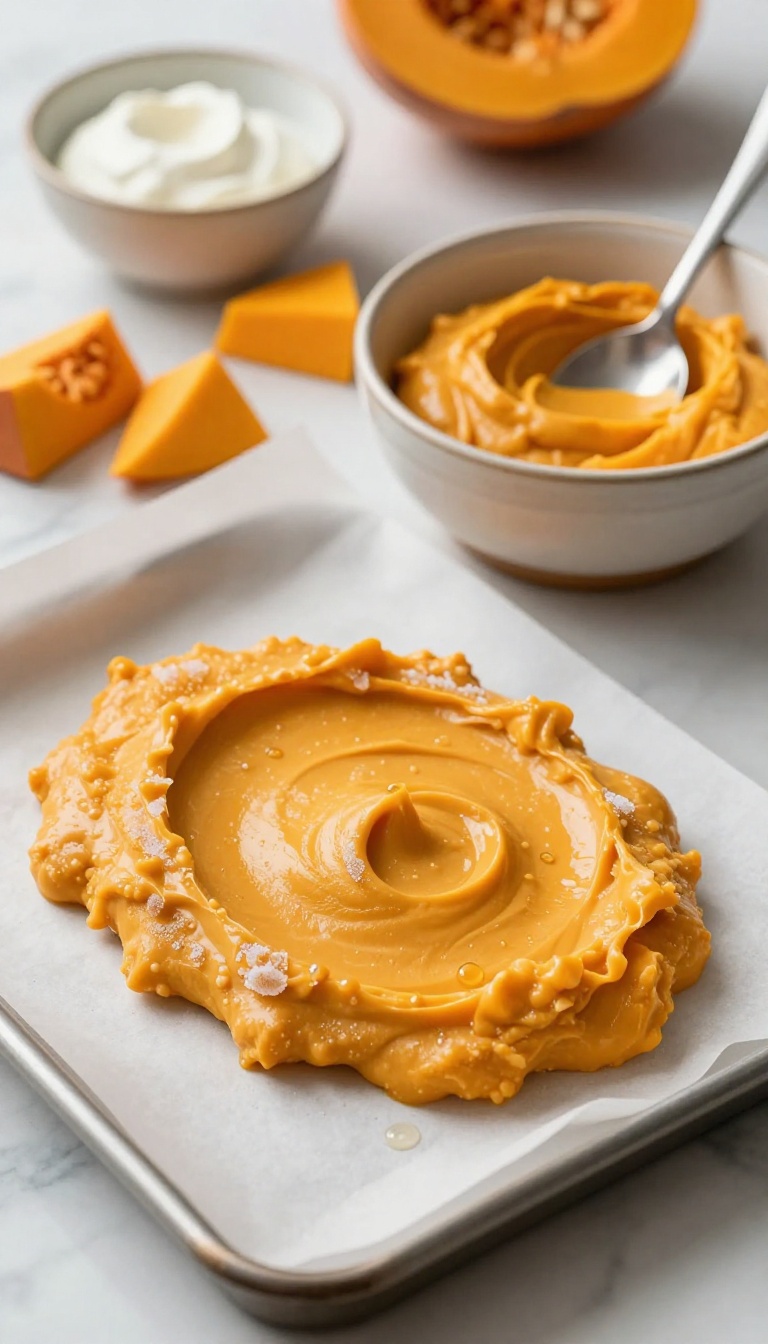
These frozen drops are a breeze to whip up, and they’re perfect for warm days when your pup needs a cool, creamy reward. The combo of pumpkin and plain Greek yogurt isn’t just tasty—it’s also gentle on your dog’s tummy, thanks to the probiotics and fiber. You can make a batch in minutes, and they’ll keep in the freezer for weeks, so you always have a healthy treat on hand.
Ingredients
- 1 cup canned pumpkin (unsweetened, not pumpkin pie filling)
- 1/2 cup plain Greek yogurt (no added sugar or xylitol)
- 1 cup prepared plain pumpkin puree in small dog-safe pieces
- 1 cup oat flour or finely ground oats
- 1 egg or 2 tablespoons unsweetened applesauce for binding
Instructions
- In a medium bowl, stir the pumpkin and Greek yogurt together until smooth and well combined.
- Line a baking sheet with parchment paper. Drop spoonfuls of the mixture onto the sheet, spacing them about an inch apart.
- Freeze for at least 2 hours, or until solid. Transfer the drops to an airtight container or zip-top bag and store in the freezer.
- Mix the prepared plain pumpkin puree with the oat flour and binder until a soft dough or spoonable mixture forms.
- Shape into small treat portions, bake on a lined tray at 325°F until firm, then cool completely before serving.
Serving Tip
These drops are best served frozen, especially on hot days. For smaller pups, you can make smaller dollops, and for larger dogs, bigger spoonfuls work great. Always supervise your dog when giving frozen treats, and store leftovers in the freezer for up to a month.
3. Sweet Potato & Oat Biscuits
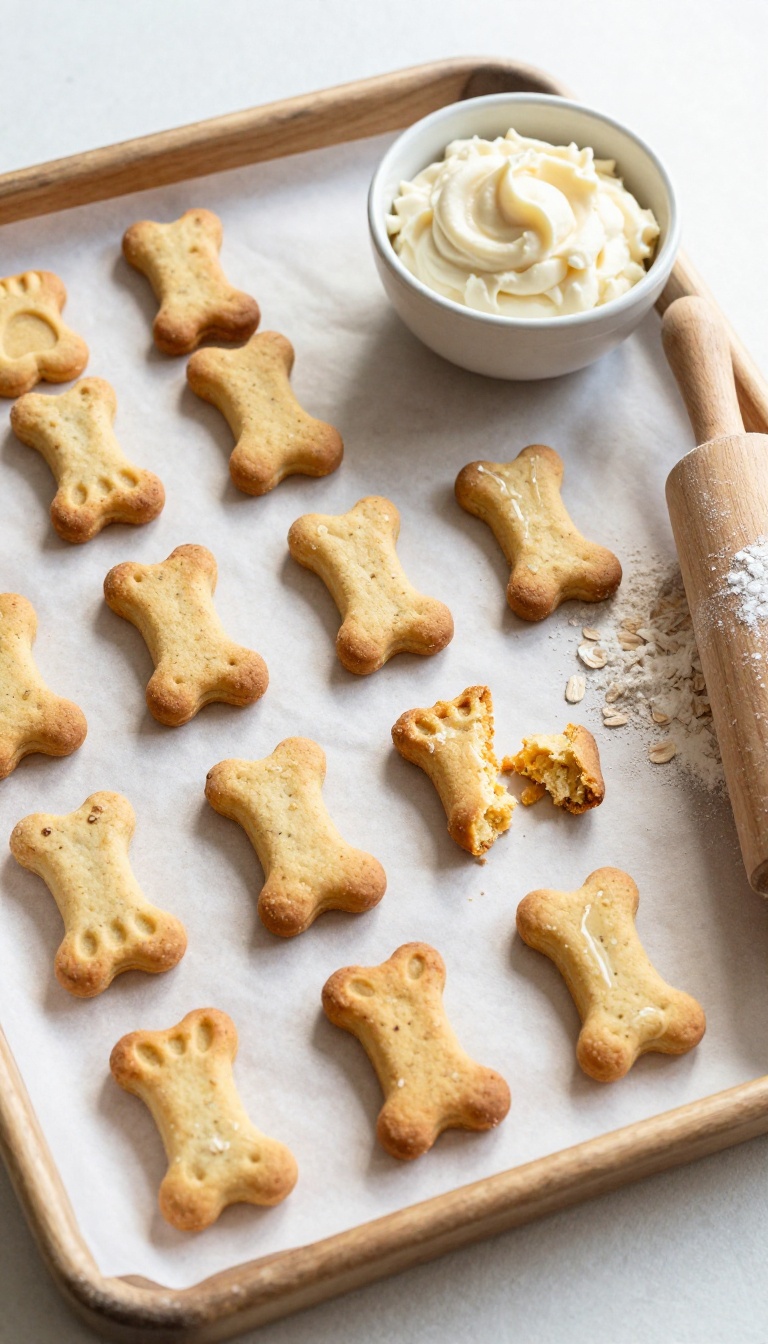
These crunchy biscuits are a fantastic way to use up leftover mashed sweet potato while giving your dog a treat that’s both tasty and good for them. Sweet potatoes are packed with fiber and vitamins, while oat flour provides a gentle, gluten-free base that’s easy on sensitive stomachs. The combination creates a firm, satisfying crunch that most dogs absolutely love, making these biscuits perfect for everyday snacking or as a special reward during training.
Ingredients
- 1 cup mashed sweet potato (cooked and cooled)
- 2 cups oat flour (plus extra for rolling)
- 1 tablespoon coconut oil (optional, for extra shine)
Instructions
- Preheat your oven to 350°F (175°C) and line a baking sheet with parchment paper.
- In a large bowl, mix the mashed sweet potato and oat flour until a dough forms. If the dough is too sticky, add a little more oat flour; if too dry, add a splash of water.
- Roll the dough out on a lightly floured surface to about 1/4-inch thickness. Use dog-shaped cookie cutters or simply cut into small squares with a knife.
- Place the biscuits on the prepared baking sheet and bake for 25–30 minutes, or until golden and firm to the touch. Let them cool completely before serving.
Serving Tip
Store these biscuits in an airtight container at room temperature for up to a week, or freeze them for up to three months. For smaller dogs, break the biscuits into smaller pieces to avoid overfeeding. Always introduce new treats gradually and adjust portions based on your dog’s size and daily calorie needs.
4. Apple & Cheddar Bites
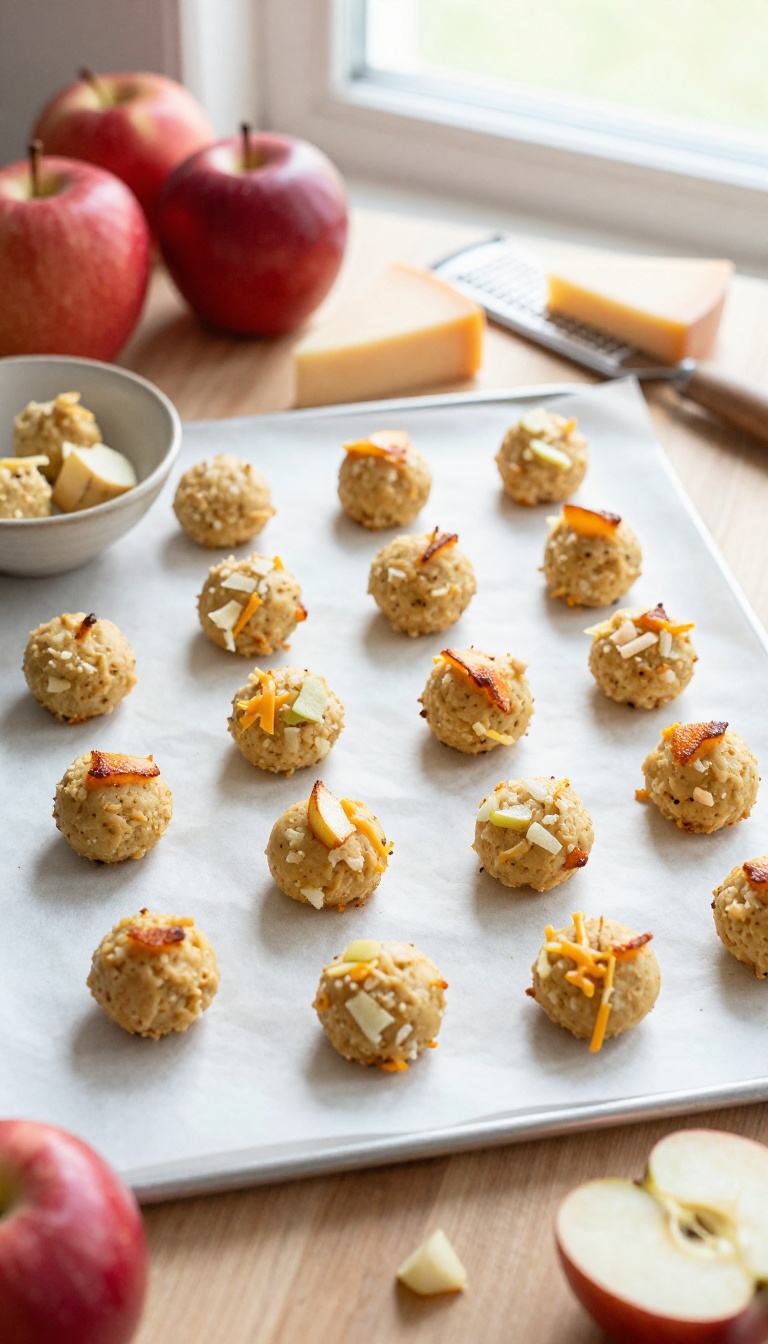
These savory-sweet bites combine the natural crunch of apples with the rich, creamy flavor of cheddar cheese. They’re a fantastic way to use up extra apples and add a new twist to your pup’s treat rotation. Whether you’re training or just want to spoil your dog, these little balls are easy to make and even easier to love.
Ingredients
- 1 large apple, grated (about 1 cup)
- 1 cup shredded cheddar cheese
- 1 large egg (optional, for binding)
Instructions
- Preheat your oven to 350°F (175°C) and line a baking sheet with parchment paper.
- In a mixing bowl, combine the grated apple and shredded cheddar cheese. Add the egg if using, and mix until everything is well incorporated.
- Roll the mixture into small, bite-sized balls (about 1 inch in diameter) and place them on the prepared baking sheet.
- Bake for 15–20 minutes, or until the bites are golden and firm to the touch. Let them cool completely before serving.
Serving Tip
Store these bites in an airtight container in the refrigerator for up to one week. They’re perfect for training sessions—just break them into smaller pieces if your dog prefers tiny rewards. Always supervise your dog when giving treats, and adjust portion sizes based on your pup’s size and dietary needs.
5. Blueberry & Coconut Cubes
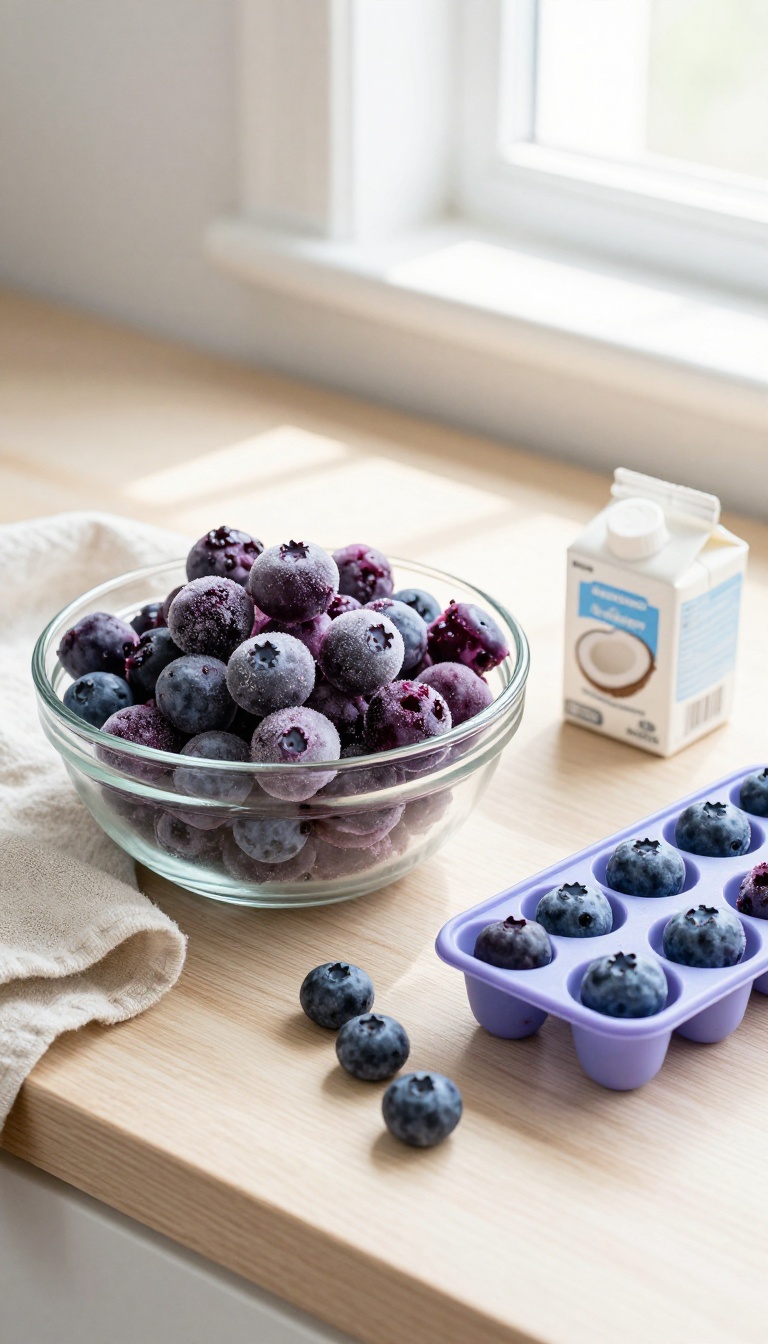
When the weather warms up, your pup might need a little extra encouragement to stay hydrated. These frozen cubes are a simple, refreshing way to do just that. With just two ingredients, they come together in minutes and offer a burst of berry goodness that most dogs find irresistible.
Plus, they're a handy treat to have on hand for hot days or after a long walk.
Ingredients
- 1 cup fresh or frozen blueberries
- 1 cup unsweetened coconut milk (or coconut water for a lighter option)
- 1 cup prepared blueberries in small dog-safe pieces
- 1 cup oat flour or finely ground oats
- 1 egg or 2 tablespoons unsweetened applesauce for binding
Instructions
- Add the blueberries and coconut milk to a blender and blend until smooth.
- Pour the mixture into ice cube trays or silicone molds, filling each compartment about three-quarters full.
- Freeze for at least 4 hours or until solid. Pop the cubes out and store them in a freezer-safe bag or container.
- Mix the prepared blueberries with the oat flour and binder until a soft dough or spoonable mixture forms.
- Shape into small treat portions, bake on a lined tray at 325°F until firm, then cool completely before serving.
Serving Tip
- Serve one or two cubes at a time, depending on your dog's size. These are great for supervised snacking, especially outdoors or on a towel, as they can melt. For smaller pups, consider using mini ice cube trays or breaking a larger cube into pieces.
- Store in the freezer for up to a month.
6. Carrot & Peanut Butter Chews
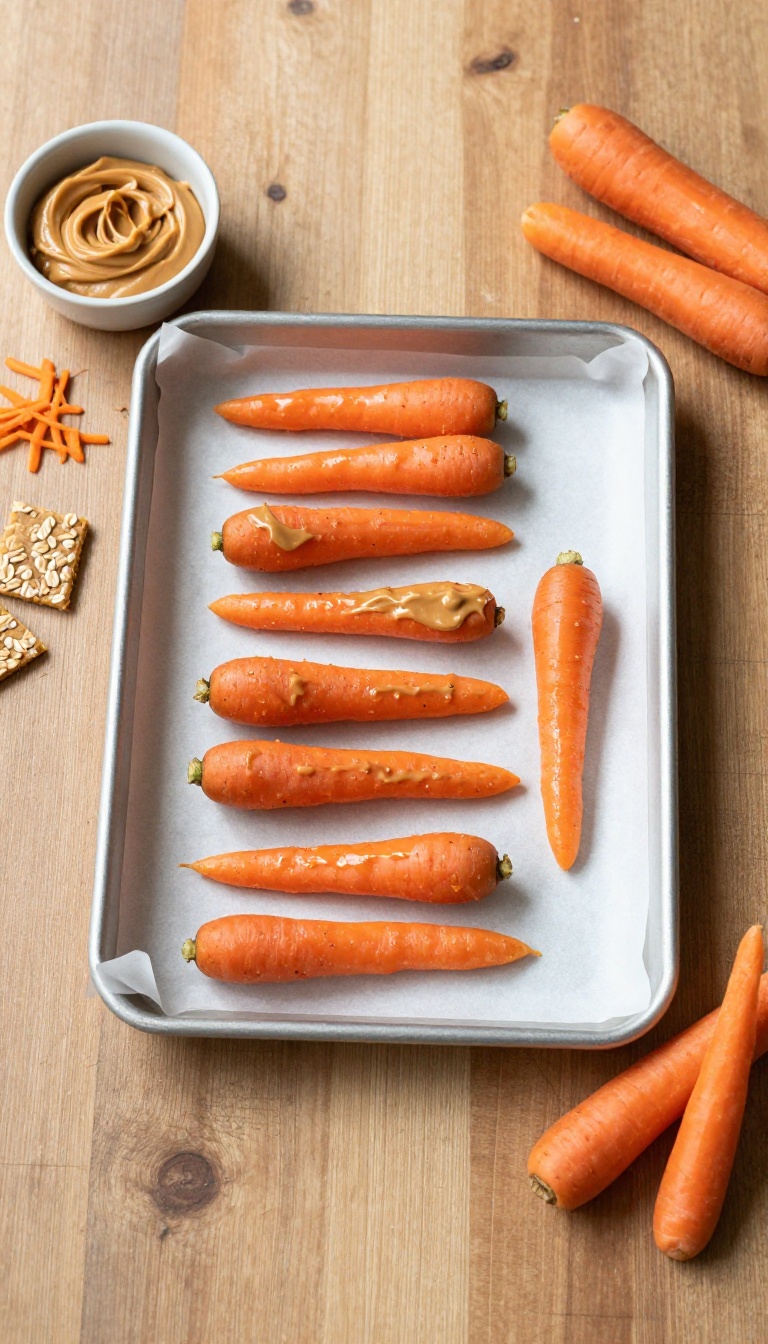
When your pup craves something crunchy and satisfying, these carrot and peanut butter chews are a fantastic choice. They're incredibly simple to make, requiring just two ingredients you probably already have on hand. The natural sweetness of carrots pairs perfectly with the rich, nutty flavor of peanut butter, creating a treat that dogs absolutely love.
Plus, they're a healthier alternative to many store-bought chews, giving your furry friend a tasty snack that's also good for them.
Ingredients
- 8 baby carrots, washed and dried
- 1/4 cup unsalted, xylitol-free peanut butter
- 1 cup prepared finely grated carrot in small dog-safe pieces
- 1 cup oat flour or finely ground oats
- 1 egg or 2 tablespoons unsweetened applesauce for binding
Instructions
- Spread a thin, even layer of peanut butter over each baby carrot, covering the entire surface.
- Place the coated carrots on a parchment-lined baking sheet or plate.
- Freeze for at least 2 hours, or until the peanut butter is firm and the carrots are chilled.
- Once frozen, transfer the chews to an airtight container or zip-top bag and store in the freezer.
- Mix the prepared finely grated carrot with the oat flour and binder until a soft dough or spoonable mixture forms.
- Shape into small treat portions, bake on a lined tray at 325°F until firm, then cool completely before serving.
Serving Tip
- These chews are best served cold, straight from the freezer. They make a great teething treat for puppies or a refreshing snack on a warm day. Because they're frozen, they'll last longer than fresh treats, but they're still best enjoyed within a few weeks.
- Always supervise your dog while they're enjoying any treat, and adjust the size of the carrots based on your dog's breed and chewing habits.
7. Sardine & Oatmeal Patties
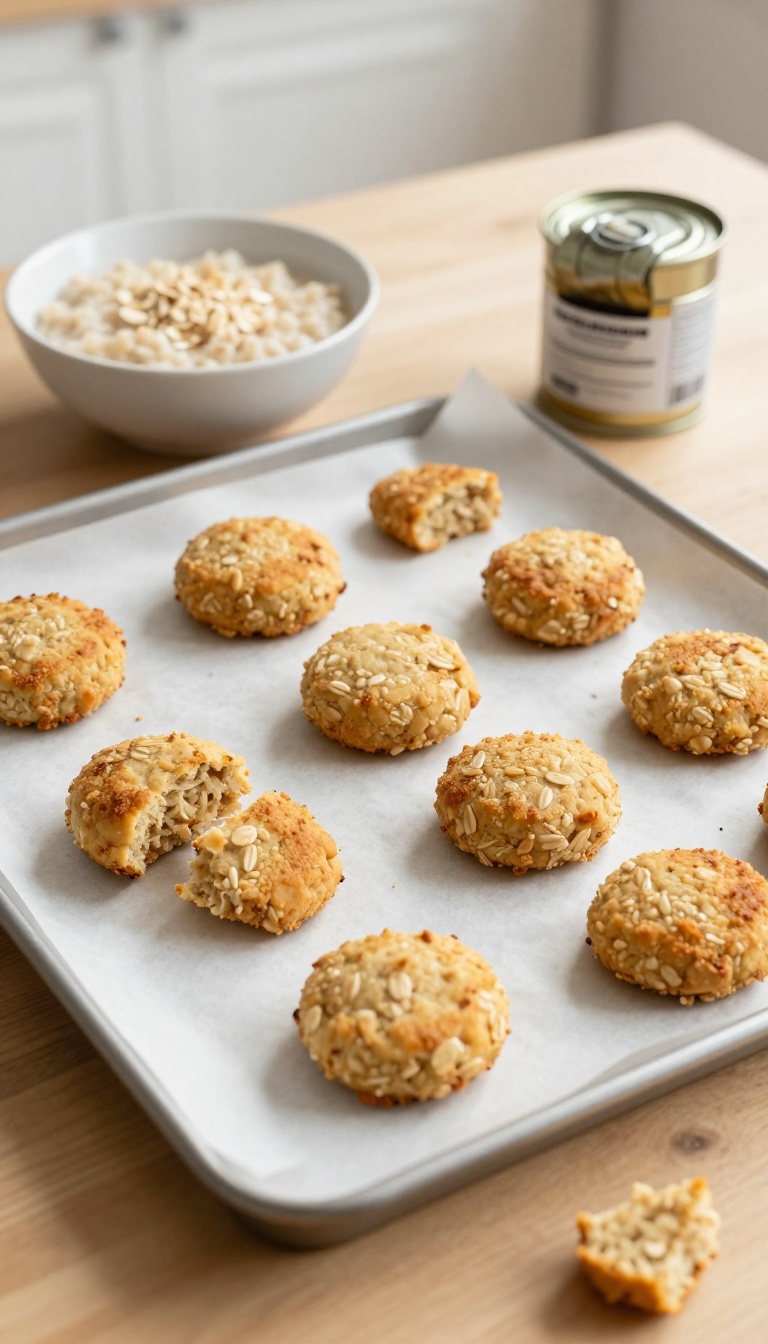
These fishy patties are proof that healthy doesn't have to mean boring. Canned sardines in water bring a powerhouse of omega-3 fatty acids to support your dog's coat and joints, while oatmeal adds gentle fiber for a happy tummy. The best part?
They come together in minutes with just two ingredients you probably already have in your pantry. Your pup will be doing the happy dance the moment they catch a whiff of these baking in the oven.
Ingredients
- 1 can (3.75 oz) sardines in water, drained
- 1 cup cooked oatmeal (plain, no added sugar or salt)
- 1 tablespoon oat flour (optional, for easier handling)
Instructions
- Preheat your oven to 350°F (175°C) and line a baking sheet with parchment paper.
- In a medium bowl, mash the sardines with a fork until they're broken into small flakes.
- Add the cooked oatmeal and mix until well combined. If the mixture feels too sticky, sprinkle in the oat flour to help it come together.
- Scoop out tablespoons of the mixture and roll them into small balls, then flatten them into patties about 1/4-inch thick.
- Place the patties on the prepared baking sheet and bake for 15–20 minutes, flipping halfway, until they're firm and slightly golden on the edges.
- Let them cool completely before serving to your pup.
Serving Tip
Store these patties in an airtight container in the fridge for up to 5 days, or freeze them for up to 3 months. For smaller dogs, break each patty into bite-sized pieces. They're perfect for training treats or a stinky-but-loved snack on a walk.
8. Chicken & Pumpkin Meatballs
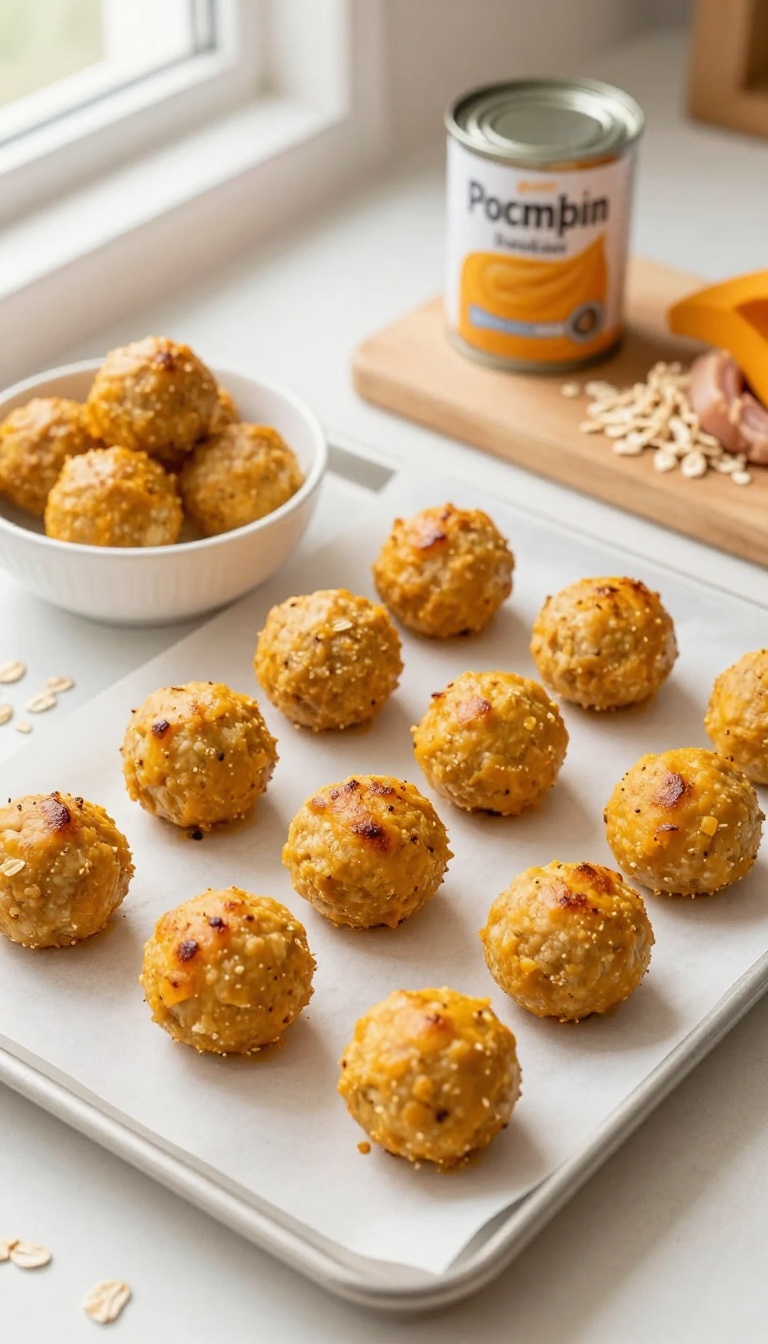
These chicken and pumpkin meatballs are a fantastic way to sneak extra protein and fiber into your pup's diet. The canned pumpkin not only adds a hint of sweetness that dogs love but also helps with digestion. They're simple to make, bake up quickly, and are perfect for training sessions or as a tasty meal topper.
Ingredients
- 1 lb ground chicken
- 1/2 cup canned pumpkin (not pumpkin pie filling)
- 1/4 cup rolled oats (optional, for binding)
Instructions
- Preheat your oven to 350°F (175°C) and line a baking sheet with parchment paper.
- In a large bowl, mix the ground chicken and pumpkin together until well combined. If the mixture seems too wet, add the oats to help bind it.
- Roll the mixture into small, bite-sized meatballs, about 1 inch in diameter, and place them on the prepared baking sheet.
- Bake for 20-25 minutes, or until the meatballs are cooked through and no longer pink in the center.
- Let them cool completely before serving to your pup.
Serving Tip
Store these meatballs in an airtight container in the fridge for up to 5 days, or freeze them for up to 3 months. For training, break them into smaller pieces. As a meal topper, add a few to your dog's regular food for an extra protein boost.
9. Cheddar & Broccoli Nuggets
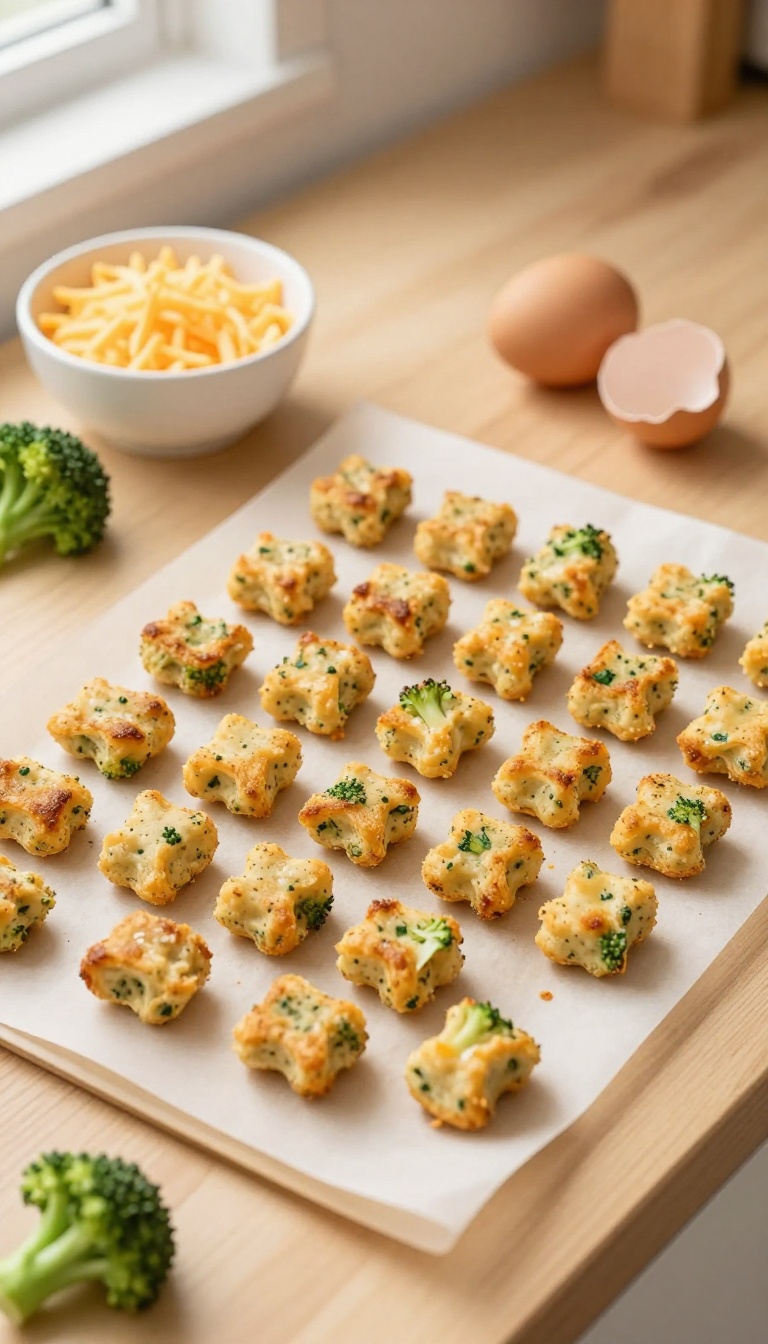
These little green-flecked bites are a clever way to add some veggies to your pup's snack rotation. The broccoli is steamed until soft, so it blends right into the cheese, making it a treat that even picky eaters tend to accept. Plus, they bake up crunchy on the outside and soft inside, which is perfect for dogs who like a little texture.
Ingredients
- 1 cup broccoli florets, steamed and finely chopped
- 1 1/2 cups shredded cheddar cheese
- 1 large egg (optional, for binding)
Instructions
- Preheat your oven to 350°F (175°C) and line a baking sheet with parchment paper.
- In a bowl, mix the chopped broccoli, shredded cheddar, and egg (if using) until well combined.
- Form the mixture into small, bite-sized nuggets and place them on the prepared baking sheet.
- Bake for 15–18 minutes, or until the nuggets are golden and firm to the touch. Let cool completely before serving.
Serving Tip
Store these nuggets in an airtight container in the fridge for up to 5 days. For longer storage, freeze them in a single layer, then transfer to a zip-top bag. Thaw a few at a time and serve as a crunchy snack or crumble over your dog's dinner for a cheesy veggie boost.
FAQ
Are two-ingredient dog treats safe for all dogs?
Most are safe, but always check with your vet if your dog has allergies or health conditions. Avoid ingredients like xylitol (in some peanut butters) and grapes, and introduce new treats gradually.
How long do homemade dog treats last?
Baked treats typically last 1-2 weeks in an airtight container at room temperature, while frozen treats can last up to 3 months in the freezer. Always check for signs of spoilage.
Can I use natural peanut butter in these recipes?
Yes, but make sure it’s unsweetened and free of xylitol. Natural peanut butter that separates is fine—just stir it well before using.
What if my dog has a sensitive stomach?
Stick to simple, easily digestible ingredients like pumpkin, sweet potato, and plain yogurt. Start with small amounts and watch for any digestive upset.
Can I substitute ingredients in these recipes?
Absolutely! Swap peanut butter for sunflower seed butter, or use applesauce instead of banana. Just ensure the substitute is dog-safe and adjust the texture if needed.
Conclusion
These 9 two-ingredient dog treats are a fantastic way to show your pup some love without spending a lot of time or money. From frozen bites to crunchy biscuits, there’s a recipe for every occasion and every dog’s taste. Remember to always use dog-safe ingredients and store treats properly.
Your furry friend will appreciate the effort, and you’ll feel great knowing exactly what’s in their snack. Happy treating!

I’m Pallab Kishore, the owner of Little Pets Realm — an animal lover and pet care enthusiast sharing easy tips, healthy recipes, and honest advice to help every small pet live a happy, healthy, tail-wagging life.