
Last updated on September 1st, 2026 at 04:38 pm
There's nothing quite like the look of pure joy on your dog's face when they know a treat is coming. Making your own dog treats at home is a wonderful way to show your furry friend how much you care, and it's easier than you think.
With just three simple ingredients, you can whip up a batch of tasty snacks in no time, without any complicated steps or hard-to-find items. These recipes are perfect for busy pet parents who want to give their dogs something special without spending hours in the kitchen.
Whether you're looking for a crunchy biscuit, a soft chewy bite, or a refreshing frozen treat, we've got you covered.
1. Peanut Butter & Banana Frozen Bites
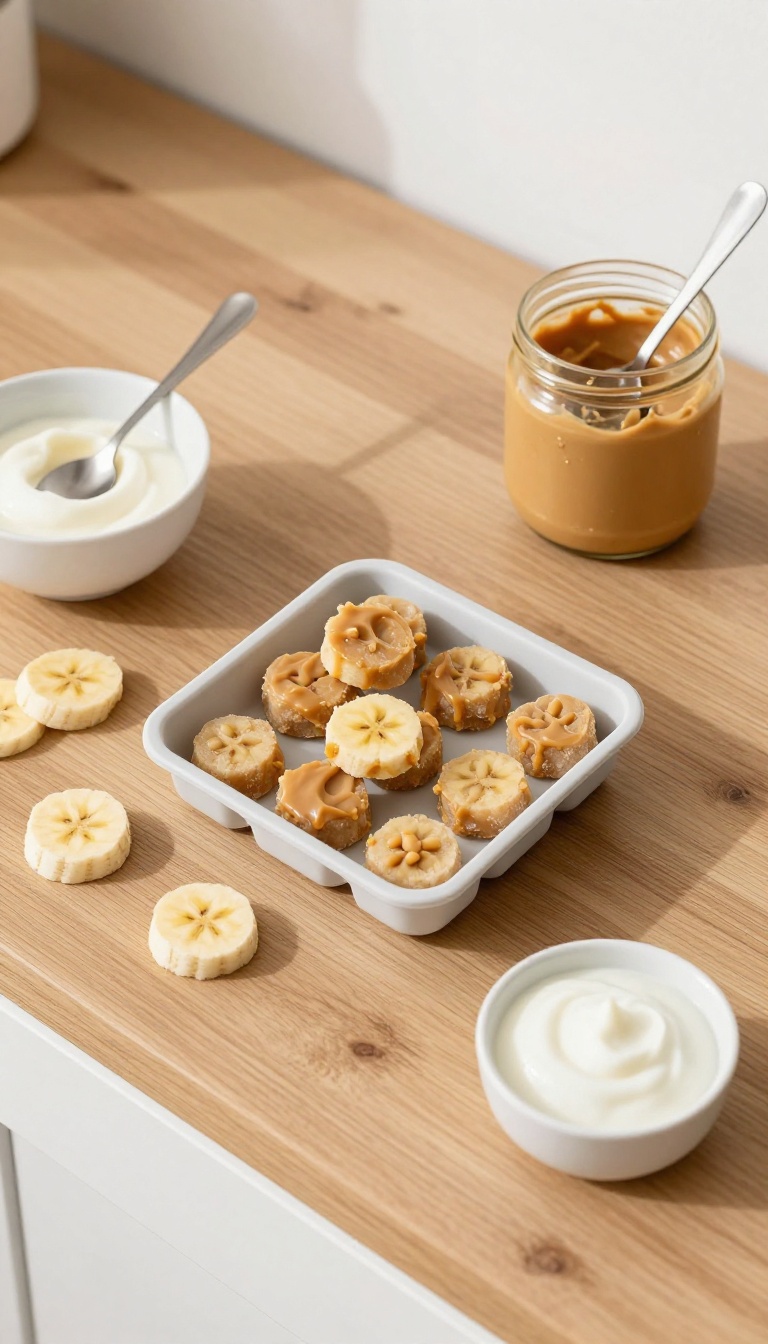
When the sun is blazing and your pup is looking for a way to cool down, these frozen bites are a game-changer. They come together in just a few minutes with three simple ingredients you probably already have in your kitchen. Your dog will love the creamy, sweet taste, and you'll love how easy they are to whip up on a hot afternoon.
Ingredients
- 1 ripe banana, mashed
- 1/2 cup plain, unsweetened peanut butter (make sure it's xylitol-free)
- 1/2 cup plain yogurt (no added sugar or artificial sweeteners)
Instructions
- In a medium bowl, mash the banana until smooth.
- Add the peanut butter and yogurt, and stir until everything is well combined.
- Spoon the mixture into silicone ice cube trays or small molds.
- Freeze for at least 3 hours or until solid.
- Pop the frozen bites out and store them in a freezer-safe bag or container.
Serving Tip
These frozen treats are perfect for hot days, but they can be a bit messy as they melt. Serve them outside or on a towel, and give your dog one or two at a time depending on their size. Store leftovers in the freezer for up to a month.
2. Sweet Potato & Oat Chews
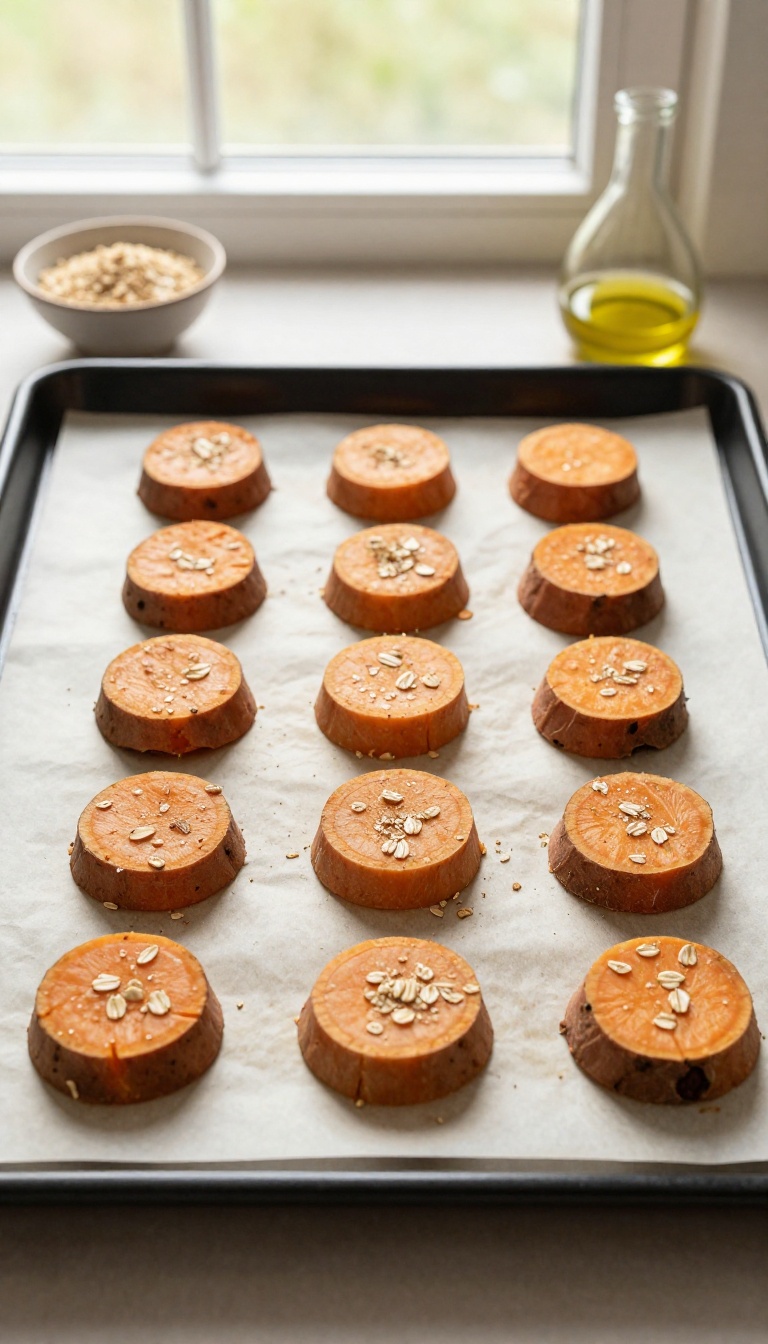
If your dog goes bonkers for anything sweet and chewy, these Sweet Potato & Oat Chews are about to become a household favorite. They’re a fantastic way to use up that extra sweet potato rolling around in your pantry, and the oats add a gentle, fiber-rich crunch that supports healthy digestion. Plus, they’re a total breeze to whip up—just slice, coat, and bake.
In less than half an hour, you’ll have a batch of homemade treats that’ll make your pup’s tail wag like crazy.
Ingredients
- 1 large sweet potato, scrubbed and thinly sliced into 1/4-inch rounds
- 1 tablespoon olive oil
- 1/2 cup rolled oats, finely ground (for coating)
Instructions
- Preheat your oven to 250°F (120°C) and line a baking sheet with parchment paper.
- In a large bowl, toss the sweet potato slices with olive oil until lightly coated.
- Spread the ground oats on a plate and press each slice into the oats, coating both sides lightly.
- Arrange the slices in a single layer on the prepared baking sheet.
- Bake for 2 to 2.5 hours, flipping halfway, until the slices are dried and chewy (not crispy). Let cool completely before serving.
Serving Tip
Store these chews in an airtight container in the fridge for up to two weeks. They’re perfect for training sessions or as a mid-day snack—just break them into smaller pieces for smaller pups. The chewy texture helps with dental health, but always supervise your dog while they enjoy any treat.
3. Pumpkin & Coconut Oil Bites
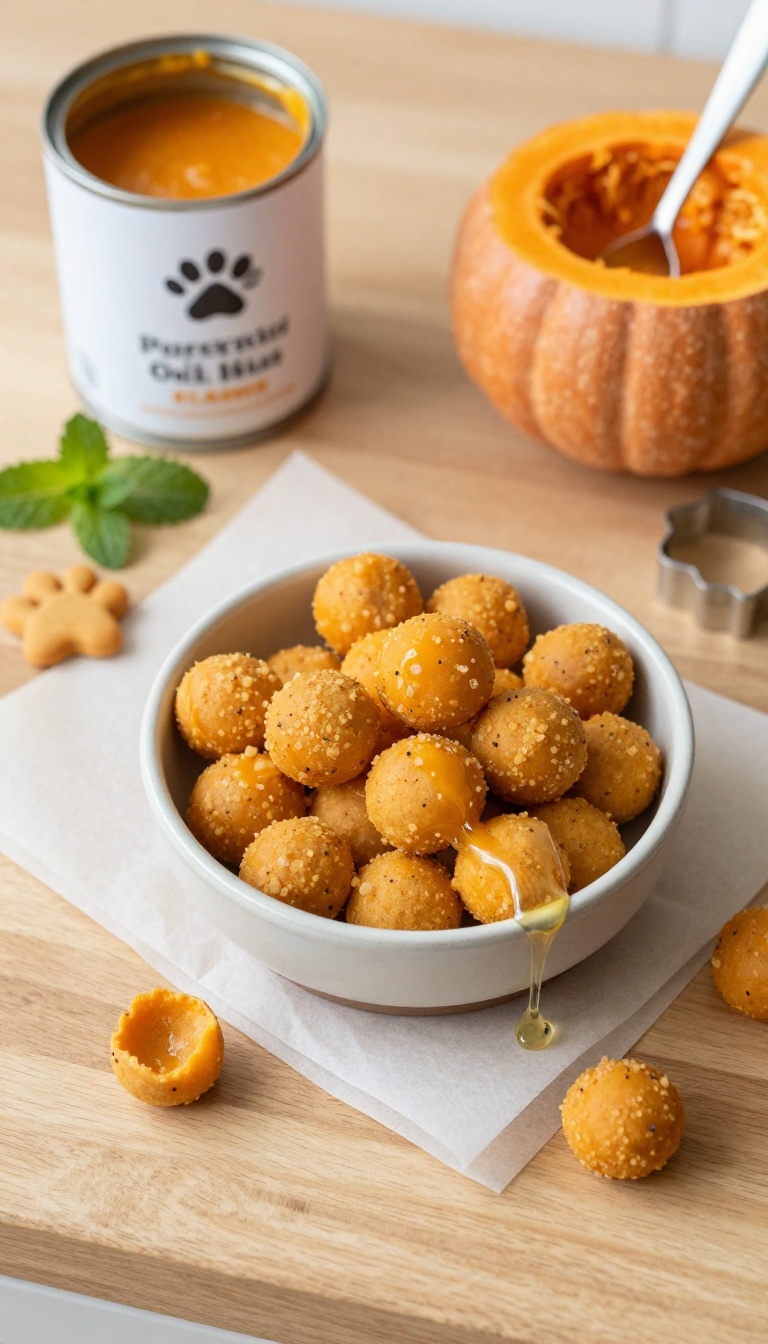
These little bites are like a cozy autumn snack for your pup, but they work all year round. The combo of pumpkin and coconut oil is a powerhouse for digestion and skin health, and most dogs go wild for the taste. Plus, they come together in just a few minutes with no baking required – just mix, roll, and chill.
Whether you need a quick training reward or a special treat for movie night, these bites are a crowd-pleaser.
Ingredients
- 1 cup canned pumpkin (100% pure, not pumpkin pie filling)
- 2 tablespoons coconut oil, melted
- 1 1/2 cups whole wheat flour (or oat flour for a gluten-free option)
Instructions
- In a medium bowl, mix the pumpkin and melted coconut oil until well combined.
- Gradually add the flour, stirring until a soft dough forms. If the dough is too sticky, add a little more flour; if too dry, add a teaspoon of water.
- Roll the dough into small balls, about 1 inch in diameter, and place them on a plate or baking sheet lined with parchment paper.
- Refrigerate for at least 30 minutes to firm up before serving.
Serving Tip
Store these bites in an airtight container in the fridge for up to a week, or freeze them for up to three months. Give your dog one or two bites per day, depending on their size – they make great training treats, but remember to account for them in your pup's daily calorie intake. The soft texture is perfect for senior dogs or those with dental issues.
4. Apple & Cinnamon Crunchies
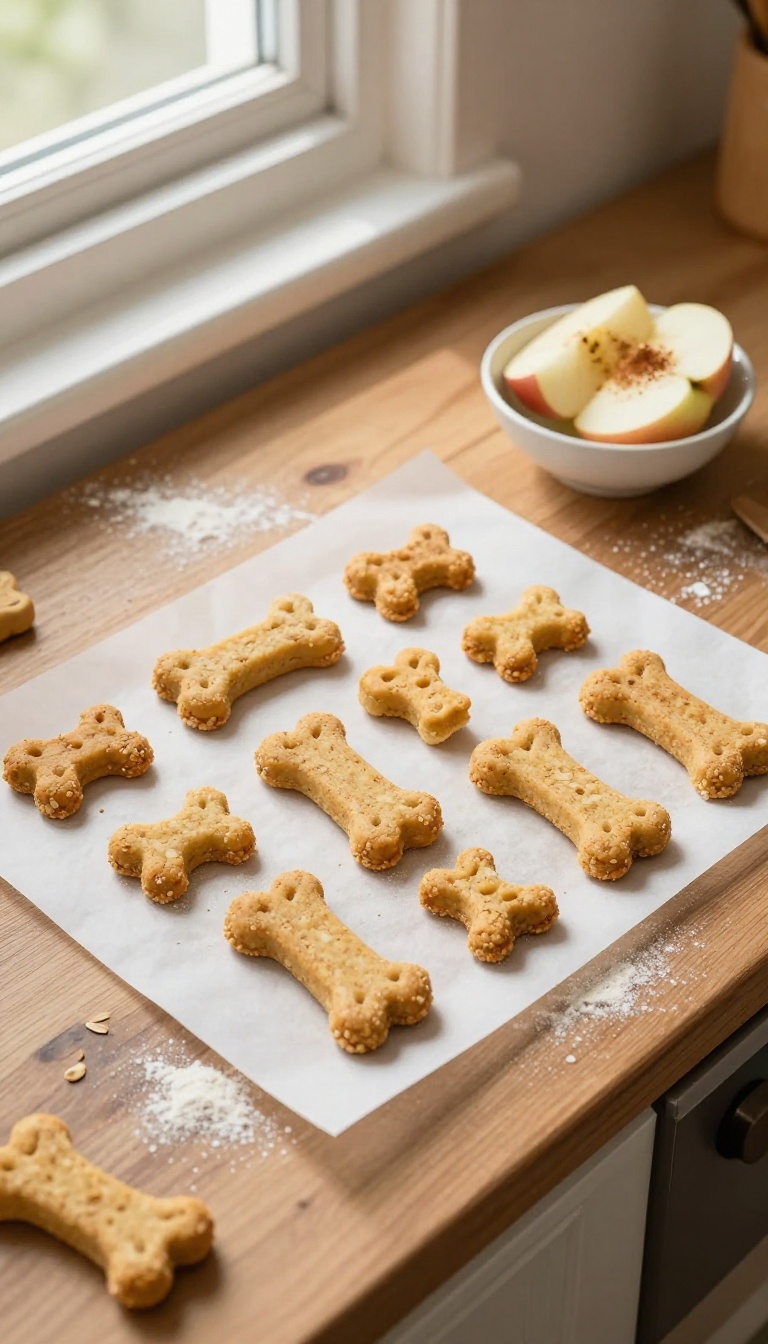
These crunchy bites are a fun way to use up apples that are past their prime, and they fill your kitchen with a cozy cinnamon scent. The oat flour gives them a satisfying crunch that helps keep your pup's teeth clean, while the apple adds natural sweetness and fiber. They're quick to mix up, bake in about half an hour, and store well for a week—if they last that long.
Ingredients
- 1 large apple, grated (about 1 cup)
- 1 teaspoon ground cinnamon
- 2 cups oat flour (plus extra for rolling)
Instructions
- Preheat your oven to 350°F (175°C) and line a baking sheet with parchment paper.
- In a large bowl, combine the grated apple, cinnamon, and oat flour. Stir until a dough forms; if it's too sticky, add a little more oat flour.
- Roll the dough out on a lightly floured surface to about 1/4-inch thickness. Use a bone-shaped cookie cutter to cut out treats, then place them on the prepared baking sheet.
- Bake for 25–30 minutes, until the treats are golden and firm to the touch. Let them cool completely before serving.
Serving Tip
These crunchies are perfect for training or as a midday snack. Store them in an airtight container at room temperature for up to a week, or pop them in the fridge for extra crispness. For smaller pups, break them into bite-sized pieces to avoid overfeeding.
5. Blueberry & Spinach Mini Muffins
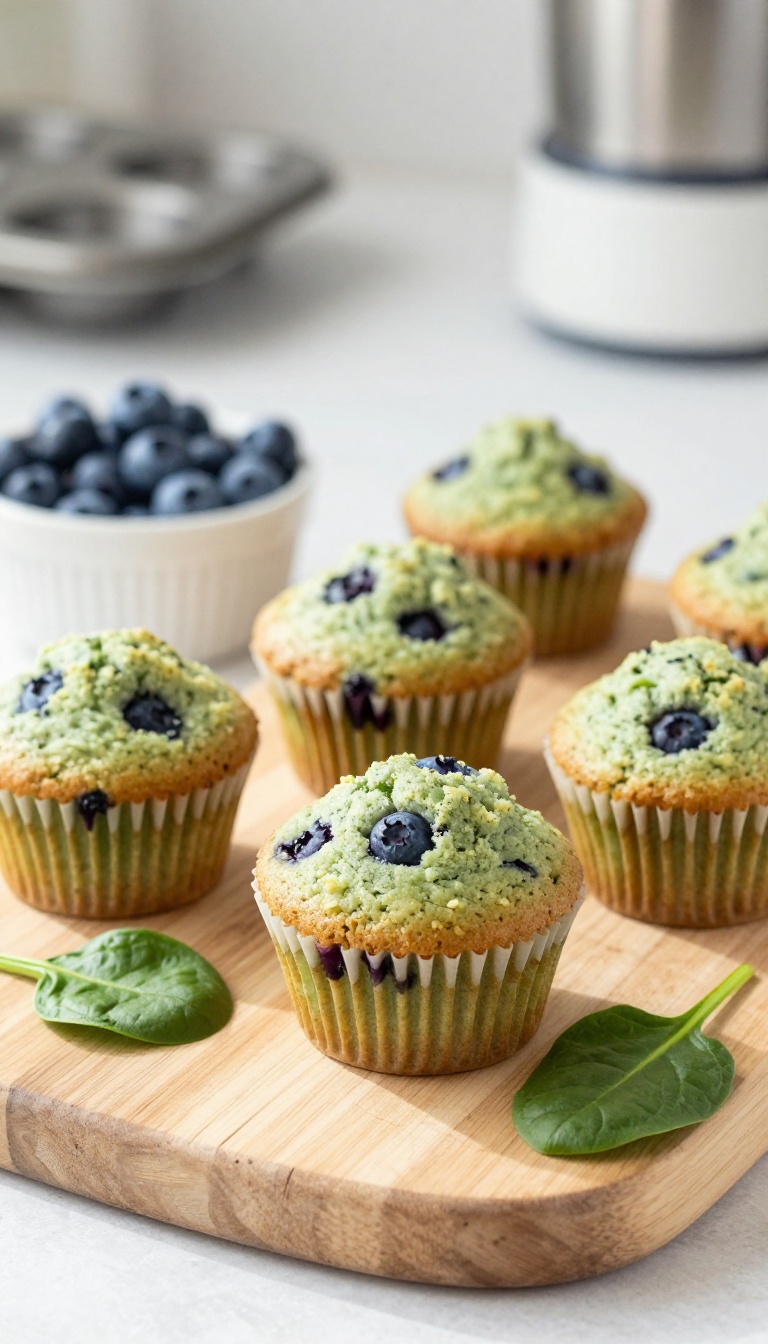
These tiny green muffins are a fun surprise for your dog, and they’re packed with good stuff like antioxidants and iron. The blend of sweet blueberries and mild spinach hides the greens so even picky pups will gobble them up. Plus, they’re baked in mini muffin tins, so they’re perfectly sized for training treats or a quick snack.
Ingredients
- 1 cup fresh or frozen blueberries (thawed if frozen)
- 1 cup fresh spinach leaves, packed
- 2 large eggs
Instructions
- Preheat your oven to 350°F (175°C) and lightly grease a mini muffin tin or line with mini paper liners.
- In a blender or food processor, combine the blueberries, spinach, and eggs. Blend until the mixture is smooth and evenly green, scraping down the sides as needed.
- Pour the batter into the mini muffin cups, filling each about 3/4 full.
- Bake for 12–15 minutes, or until the muffins are set and a toothpick inserted into the center comes out clean.
- Let the muffins cool completely in the tin, then remove and store in an airtight container in the fridge.
Serving Tip
- These mini muffins are best served fresh, but they’ll keep in the fridge for up to 5 days. For longer storage, freeze them in a zip-top bag and thaw a few at a time. Because they’re soft and moist, they’re great for senior dogs or pups with dental issues.
- Start with half a muffin for small dogs and a full muffin for larger breeds, adjusting based on your dog’s size and activity level.
6. Carrot & Cheese Pupcakes
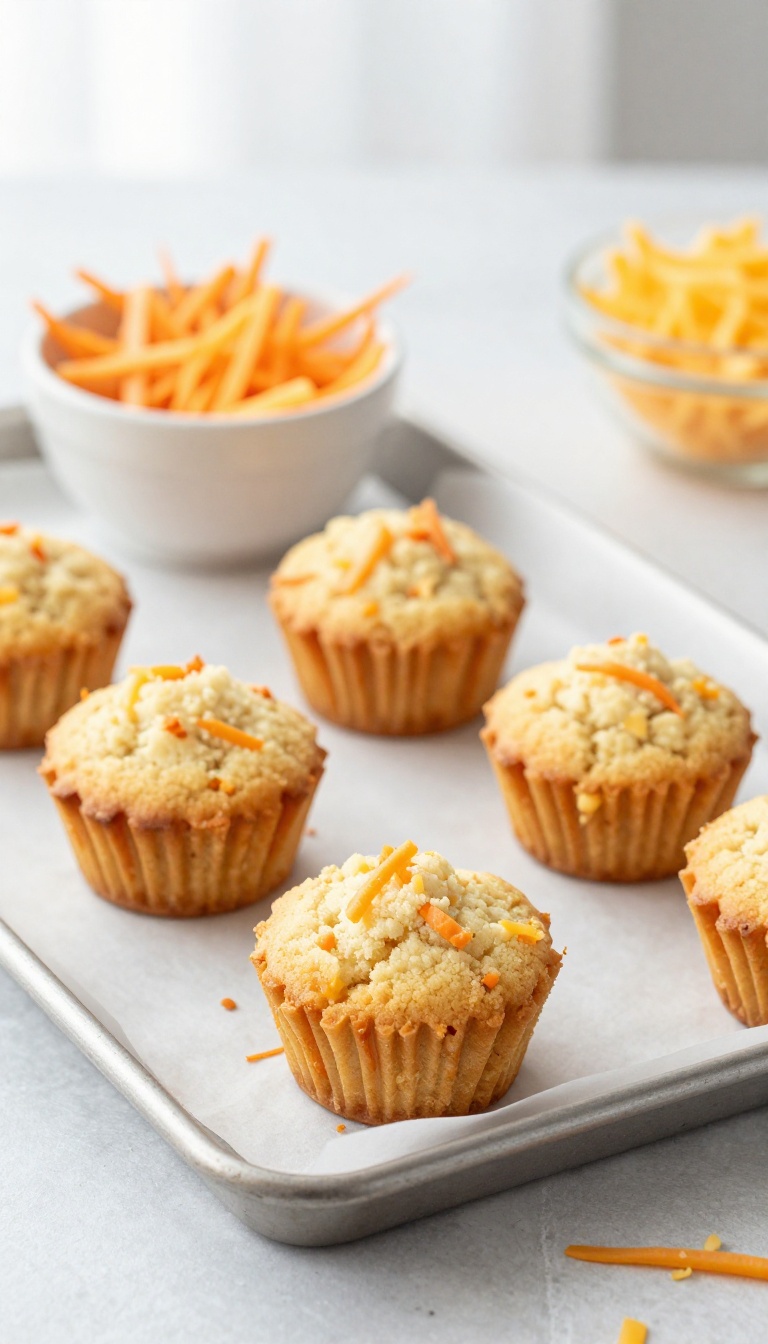
These little pupcakes are like a mini celebration for your dog. They're soft, cheesy, and packed with shredded carrots for a touch of natural sweetness. Perfect for birthdays, gotcha days, or just a Tuesday afternoon treat.
The best part? They come together in minutes with just three simple ingredients you probably already have in your kitchen.
Ingredients
- 1 cup shredded carrots
- 1 cup shredded cheddar cheese
- 1 cup whole wheat flour
Instructions
- Preheat your oven to 350°F (175°C) and line a mini muffin tin with paper liners or lightly grease it.
- In a large bowl, mix the shredded carrots, cheddar cheese, and whole wheat flour until well combined. The mixture will be crumbly, but that's okay.
- Press about a tablespoon of the mixture into each mini muffin cup, packing it down gently.
- Bake for 12-15 minutes, or until the edges are lightly golden and the pupcakes are set.
- Let them cool completely before serving to your pup.
Serving Tip
These pupcakes are best served fresh, but you can store them in an airtight container in the fridge for up to 5 days. For longer storage, freeze them in a zip-top bag for up to 3 months—just thaw in the fridge before giving one to your dog. Because they're a treat, keep portions small: one mini pupcake is plenty for most dogs, and adjust based on your pup's size.
7. Plain Yogurt & Honey Drops
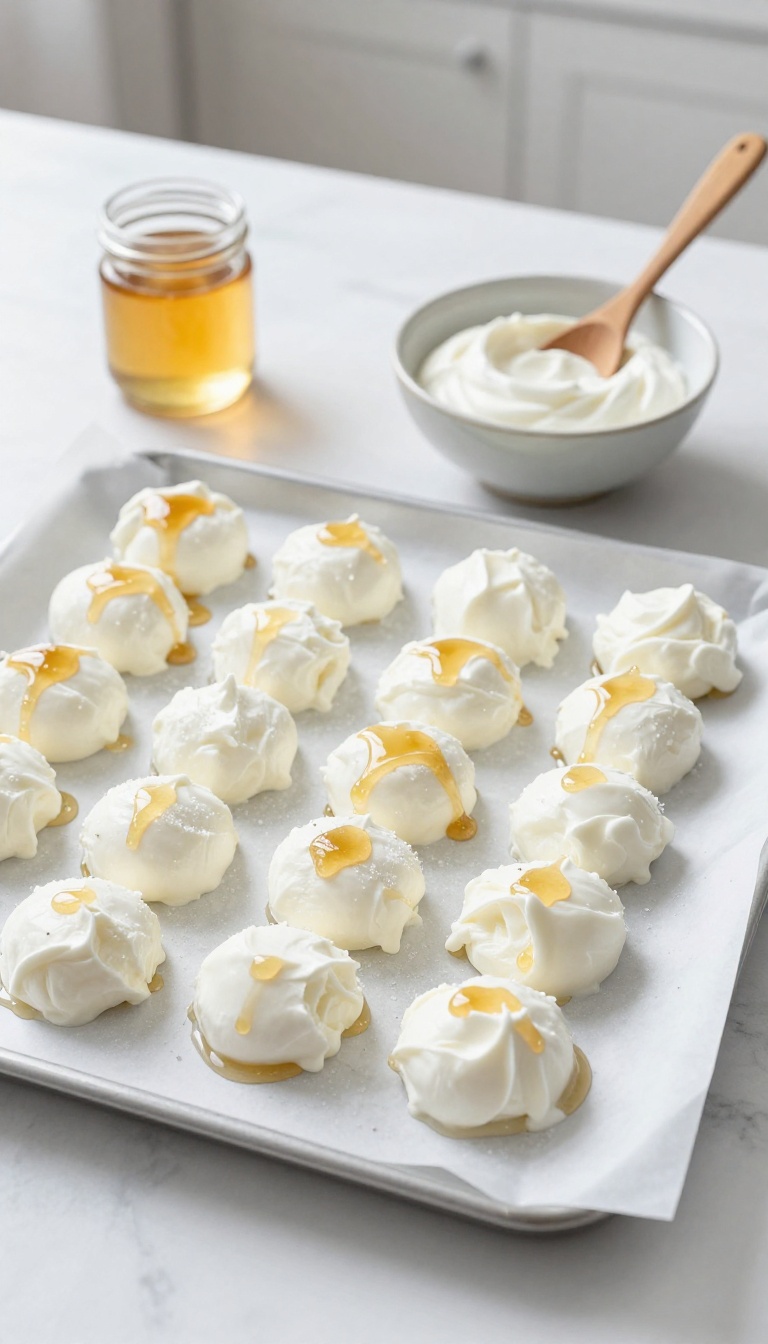
These frozen yogurt drops are a breeze to whip up and a total crowd-pleaser for pups of all sizes. They’re perfect for warm days when your dog needs a refreshing snack that feels like a treat. Plus, the simple mix of Greek yogurt and honey gives you a chance to sneak in some gut-friendly probiotics while keeping things light and fun.
Ingredients
- 1 cup plain Greek yogurt (unsweetened, no xylitol)
- 1 teaspoon honey (optional, in moderation)
- 1 tablespoon water (if needed to thin)
Instructions
- In a small bowl, stir together the Greek yogurt and honey until smooth. If the yogurt is too thick to spoon easily, mix in a little water to reach a dropping consistency.
- Line a baking sheet with parchment paper. Drop small spoonfuls of the yogurt mixture onto the sheet, spacing them about an inch apart.
- Place the baking sheet in the freezer for at least 2 hours, or until the drops are completely frozen and solid.
- Once frozen, transfer the drops to an airtight container or zip-top bag and store in the freezer.
Serving Tip
These drops are perfect for training sessions—just pop one out of the freezer and break it into smaller pieces if needed. Because they’re frozen, they’re best served within a few weeks, and they’ll keep your pup cool and happy on hot days.
FAQ
Are these 3-ingredient dog treats safe for all dogs?
Most dogs can enjoy these treats, but always check with your vet if your dog has allergies or health conditions. For example, avoid peanut butter with xylitol, and use caution with dairy if your dog is lactose intolerant.
How should I store homemade dog treats?
Store baked treats in an airtight container in the refrigerator for up to a week, or freeze them for longer shelf life. Frozen treats should be kept in the freezer and can be served directly from there.
Can I substitute ingredients in these recipes?
Absolutely! You can swap ingredients based on what your dog likes or what you have on hand. For instance, use pumpkin instead of sweet potato, or use coconut flour instead of wheat flour, but adjust the consistency as needed.
How many treats can I give my dog per day?
Treats should make up no more than 10% of your dog's daily calorie intake. Start with a small piece to see how your dog reacts, and adjust based on their size and activity level.
Do I need any special equipment to make these treats?
No, most recipes require basic kitchen tools like a mixing bowl, baking sheet, and maybe a cookie cutter. A blender or food processor is helpful for some recipes, but you can also mash ingredients by hand.
Conclusion
Making homemade dog treats is a rewarding way to bond with your furry friend and ensure they're getting wholesome, delicious snacks. With these 7 easy 3-ingredient recipes, you can whip up a variety of treats in minutes, from frozen bites to crunchy biscuits. Your dog will love the flavors, and you'll love knowing exactly what's in every bite.
So why not give it a try? Pick a recipe that catches your eye, gather your ingredients, and enjoy the happy tail wags that follow.

I’m Pallab Kishore, the owner of Little Pets Realm — an animal lover and pet care enthusiast sharing easy tips, healthy recipes, and honest advice to help every small pet live a happy, healthy, tail-wagging life.