
Last updated on September 1st, 2026 at 04:43 pm
Every dog deserves a little extra love in their bowl, and making their food or treats at home is a wonderful way to show it. Whether you're looking for a quick snack or a full meal, these recipes are simple, budget-friendly, and packed with dog-safe ingredients.
From frozen treats for hot days to slow-cooked meals for picky eaters, there's something here for every pup. You don't need to be a chef—just a few basic ingredients and a little time are all it takes.
Let's dive into seven easy recipes that will have your dog's tail wagging with joy. Each one is designed with your dog's health and happiness in mind, so you can feel good about what you're serving.
1. Frozen Peanut Butter and Banana Pupsicles
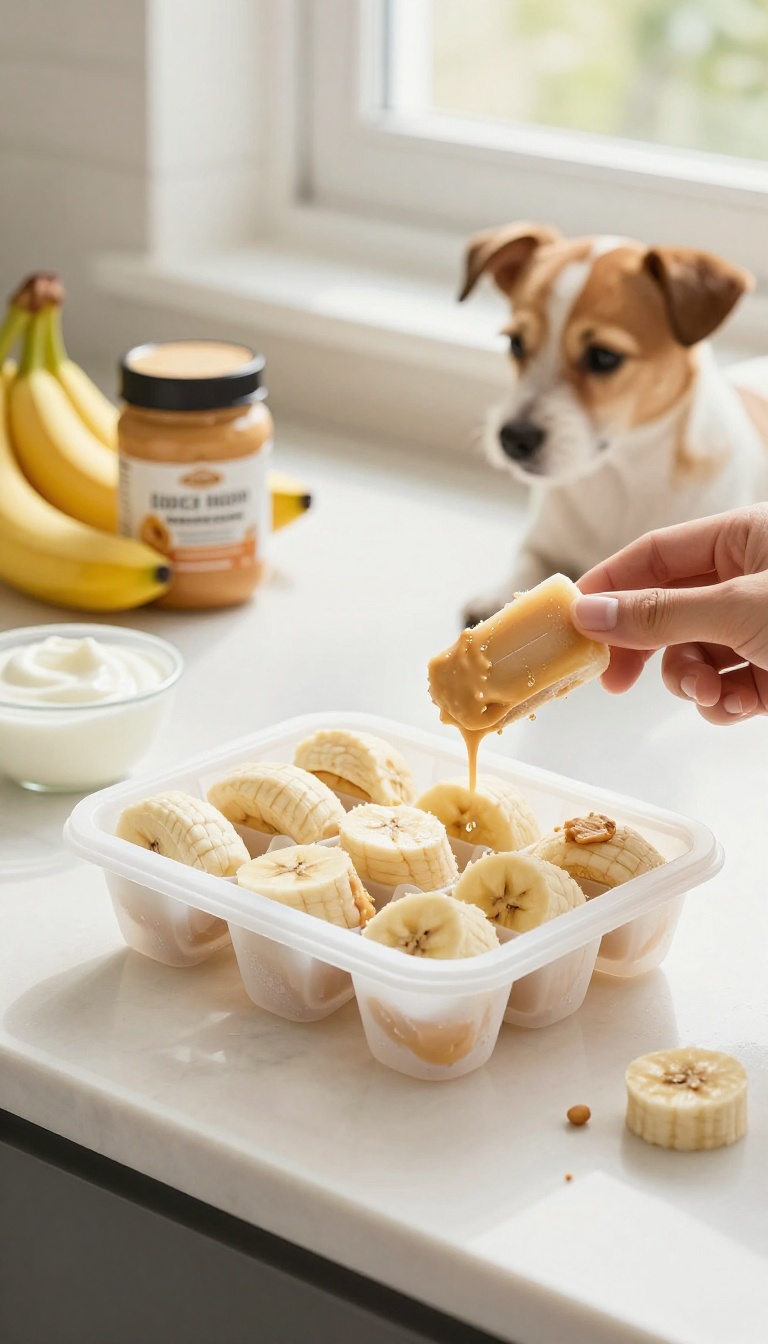
When the temperature climbs, your pup still wants to play, but a little frozen refreshment goes a long way. These pupsicles are a breeze to whip up and use just three ingredients you probably already have. The creamy banana and peanut butter blend freezes into a chewy, cold treat that keeps dogs busy and cool.
Ingredients
- 2 ripe bananas
- 1/2 cup unsweetened peanut butter (xylitol-free)
- 1/2 cup plain yogurt (no added sugar)
Instructions
- In a blender or food processor, combine the bananas, peanut butter, and yogurt until smooth.
- Pour the mixture into ice cube trays or silicone molds, filling each cavity almost to the top.
- Freeze for at least 4 hours or until solid. Pop the pupsicles out and serve one to your dog as a refreshing snack.
Serving Tip
Store leftover pupsicles in a zip-top bag in the freezer for up to a month. For smaller dogs, use mini ice cube trays and offer a single cube; for larger breeds, you can serve two or three. Always supervise your dog while they enjoy a frozen treat.
2. Sweet Potato and Oatmeal Dog Biscuits
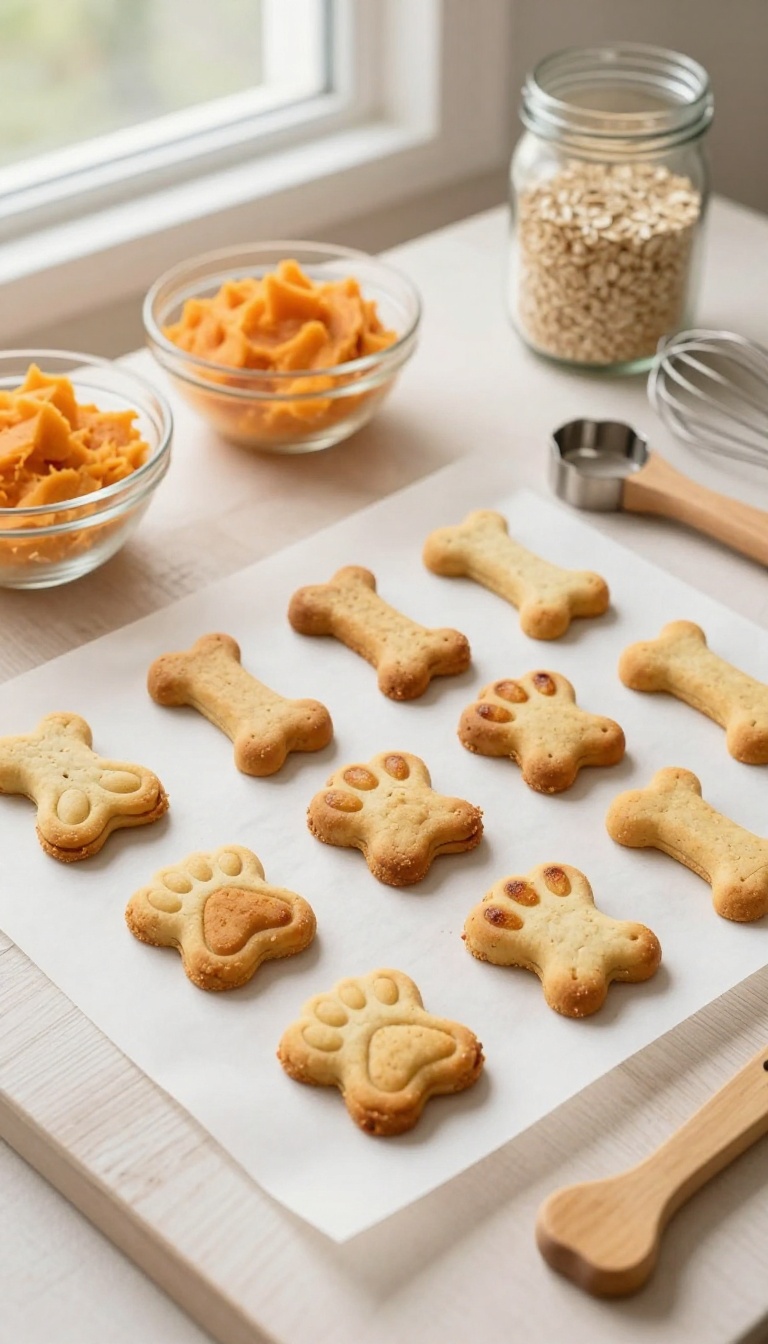
These crunchy-meets-chewy biscuits are a simple way to give your pup a fiber-rich snack that tastes like a treat. The natural sweetness of mashed sweet potato pairs with hearty oats and a pinch of cinnamon, making them a favorite for dogs who love a little flavor. They're easy to bake in batches and store well, so you always have a wholesome option ready for training or just because.
Ingredients
- 1 cup mashed cooked sweet potato (cooled)
- 1 ½ cups oat flour (or ground rolled oats)
- 1 cup rolled oats
- 1 teaspoon ground cinnamon
- 1 large egg
- 2 tablespoons coconut oil (melted)
Instructions
- Preheat your oven to 350°F (175°C) and line a baking sheet with parchment paper.
- In a large bowl, mix the mashed sweet potato, egg, and melted coconut oil until smooth.
- Add the oat flour, rolled oats, and cinnamon, stirring until a dough forms. If it's too sticky, add a little more oat flour.
- Roll the dough out on a floured surface to about ¼-inch thickness, then cut into dog-friendly shapes using a cookie cutter.
- Place the biscuits on the prepared baking sheet and bake for 25–30 minutes, until golden and firm to the touch.
- Let them cool completely before serving to your pup.
Serving Tip
Store these biscuits in an airtight container at room temperature for up to a week, or freeze them for up to three months. For smaller dogs, break a biscuit into bite-sized pieces, and adjust portion sizes based on your dog's size and daily treat allowance.
3. Chicken and Rice Slow Cooker Meal
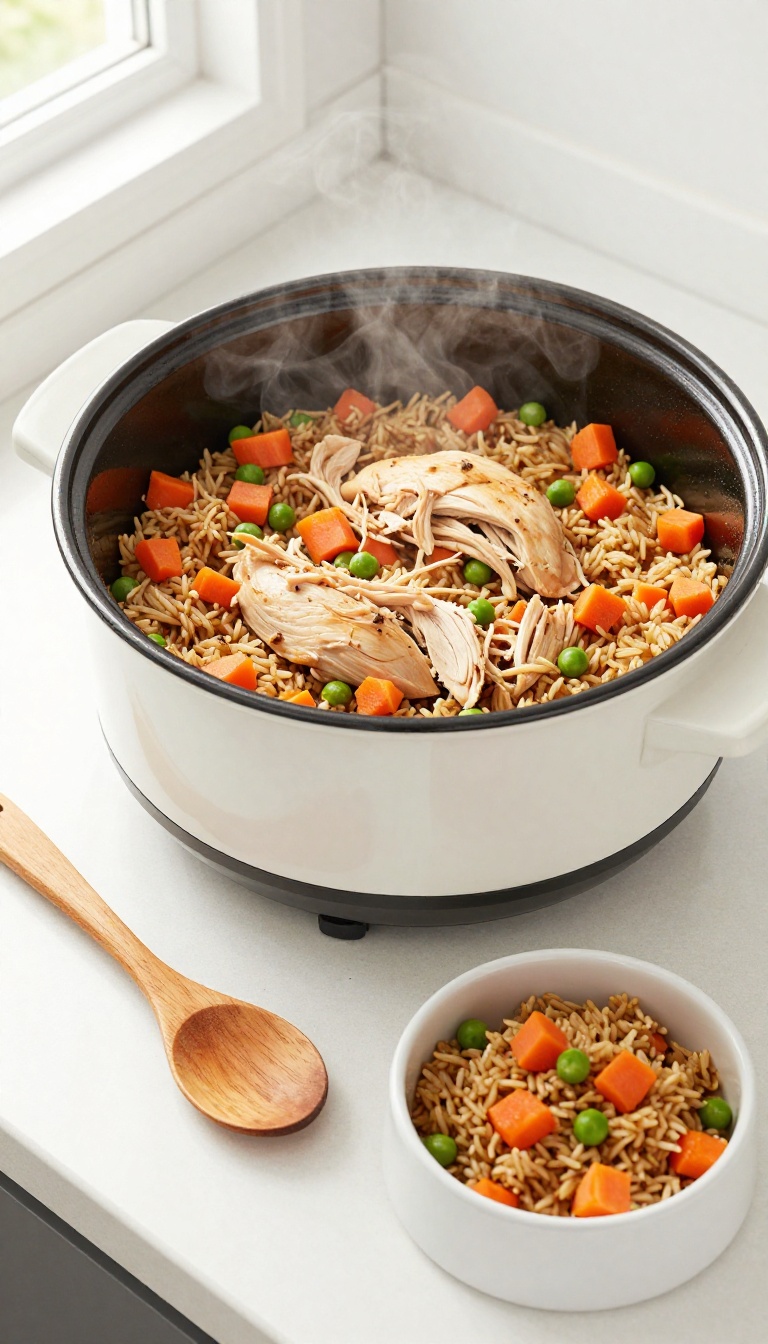
This slow cooker meal is a lifesaver on busy days when you want to feed your dog something wholesome without hovering over the stove. The chicken turns fork-tender, the rice soaks up all the savory flavor, and the veggies add a pop of color and nutrition. It's a gentle, easy-to-digest dinner that's perfect for dogs with sensitive stomachs or picky eaters.
Plus, the hands-off cooking means you can set it and forget it while you tackle the rest of your to-do list.
Ingredients
- 1 lb boneless, skinless chicken breast, cut into 1-inch cubes
- 1 cup brown rice, rinsed
- 2 cups low-sodium chicken broth (or water)
- 1 cup carrots, finely diced
- 1 cup frozen peas (thawed)
- 1 tablespoon olive oil (optional, for extra shine)
Instructions
- Place the chicken cubes, brown rice, and broth (or water) into a slow cooker. Stir to combine, then add the carrots and peas on top.
- Cover and cook on low for 4–5 hours, or until the chicken is cooked through and the rice is tender. Stir once halfway through if possible.
- Once done, let the mixture cool slightly, then shred the chicken with two forks and mix everything together. Serve warm or at room temperature.
Serving Tip
Store leftovers in an airtight container in the fridge for up to 4 days, or freeze in individual portions for up to 3 months. For a 30-pound dog, serve about 1 cup per meal, adjusting based on your dog's activity level and appetite. Always check that the meal has cooled to a safe temperature before serving.
4. Pumpkin and Coconut Oil Frozen Bites
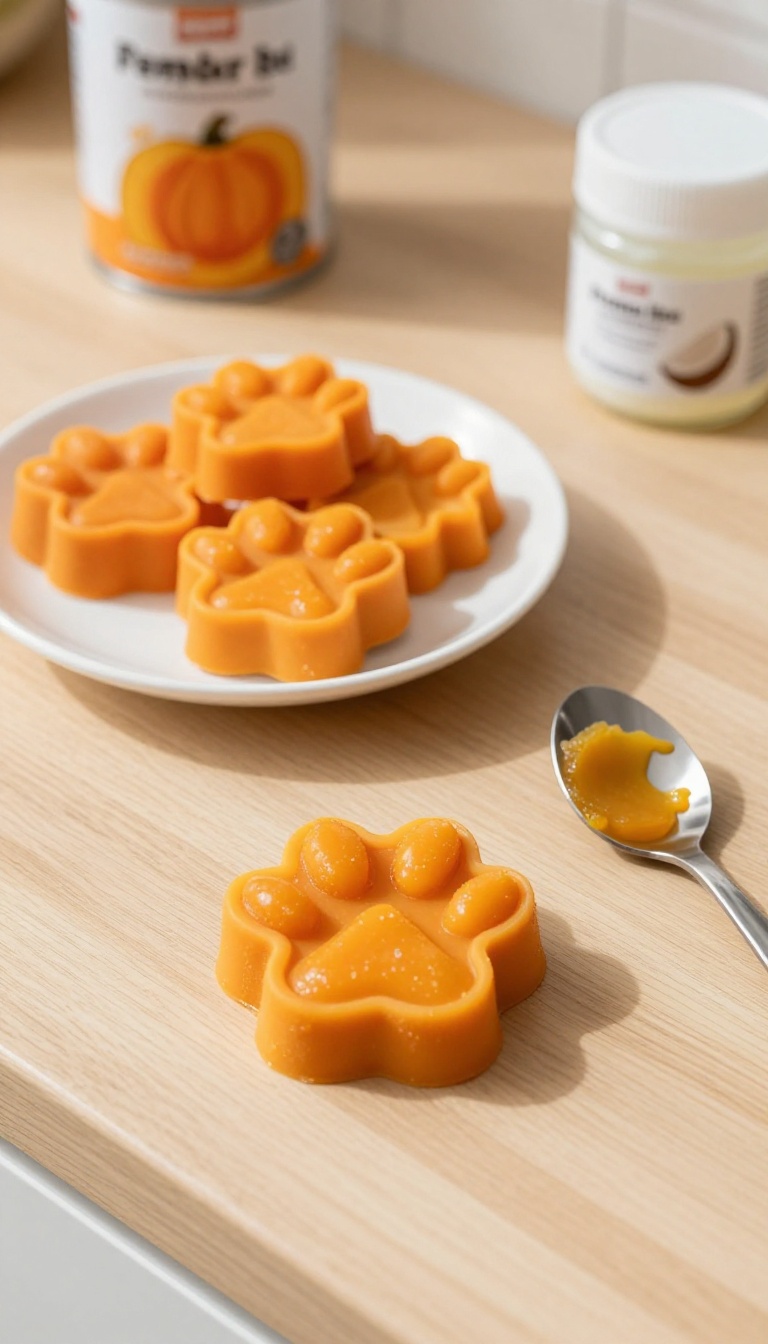
When the weather heats up, these frozen bites are a simple way to cool your pup down while sneaking in some gut-friendly goodness. Pumpkin is a classic for soothing digestion, and coconut oil adds a little shine to their coat. They take about five minutes to mix, so you can whip up a batch without breaking a sweat.
Ingredients
- 1 cup canned pumpkin (plain, not pie filling)
- 2 tablespoons coconut oil, melted
- 1/4 cup water
Instructions
- In a small bowl, stir together the pumpkin, melted coconut oil, and water until smooth.
- Spoon the mixture into silicone molds or an ice cube tray, filling each cavity almost to the top.
- Place the molds in the freezer for at least 2 hours, or until completely solid.
- Pop the frozen bites out of the molds and store them in an airtight container or zip-top bag in the freezer.
Serving Tip
Give your dog one or two bites depending on their size, and always supervise while they enjoy a frozen treat. These are best served straight from the freezer, but if your pup is sensitive to cold, let them sit at room temperature for a minute or two first. They'll keep for up to a month in the freezer.
5. Beef Liver Training Treats
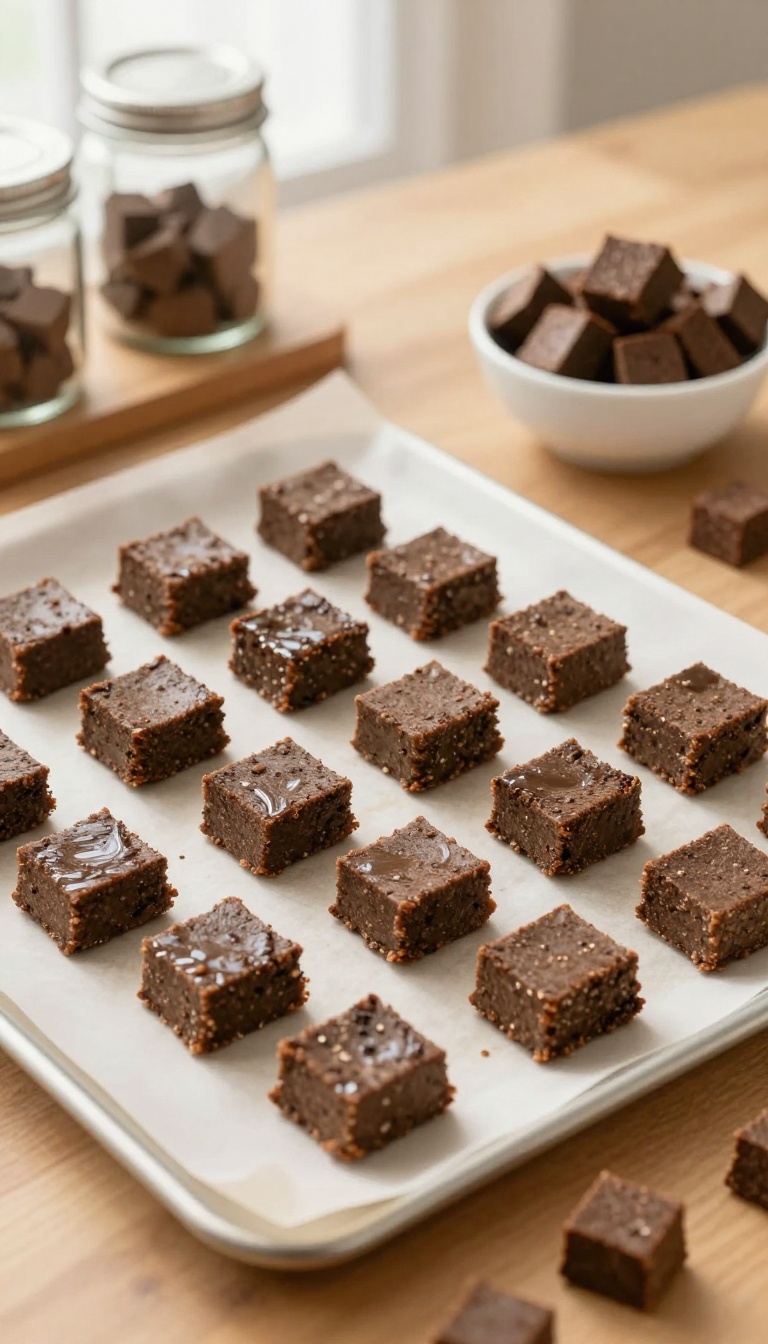
Training sessions call for something extra special, and these beef liver treats deliver. They're packed with rich, savory flavor that dogs find completely irresistible, making them perfect for reinforcing good behavior. Plus, making them at home means you know exactly what's going into each bite—no mystery ingredients, just pure, simple goodness.
Whether you're working on new commands or just want to spoil your pup, these treats are a practical and rewarding choice.
Ingredients
- 1 pound beef liver, trimmed and cut into 1/2-inch slices
- 2 cups water (for simmering)
- 1 tablespoon coconut oil (optional, for baking)
Instructions
- Place the beef liver slices in a saucepan and cover with water. Bring to a boil, then reduce heat and simmer for about 10 minutes until the liver is cooked through. Drain and let cool slightly.
- Preheat your oven to 200°F (95°C) if baking. Line a baking sheet with parchment paper.
- Slice the cooked liver into small, bite-sized pieces (about 1/4-inch thick). For a chewier treat, you can leave them slightly thicker.
- Arrange the pieces in a single layer on the prepared baking sheet. If using coconut oil, lightly brush the pieces with it for a bit of shine and flavor.
- Bake for 2 to 3 hours, flipping halfway, until the pieces are dry and chewy but not hard. Alternatively, use a dehydrator at 160°F (70°C) for 4 to 6 hours.
- Let the treats cool completely before storing. They should be slightly pliable, not brittle.
Serving Tip
These treats are high-value, so use them sparingly during training or as a special reward. Store them in an airtight container in the refrigerator for up to 2 weeks, or freeze for up to 3 months. Break into smaller pieces for small dogs or puppies.
6. Apple and Carrot Crunchy Chews
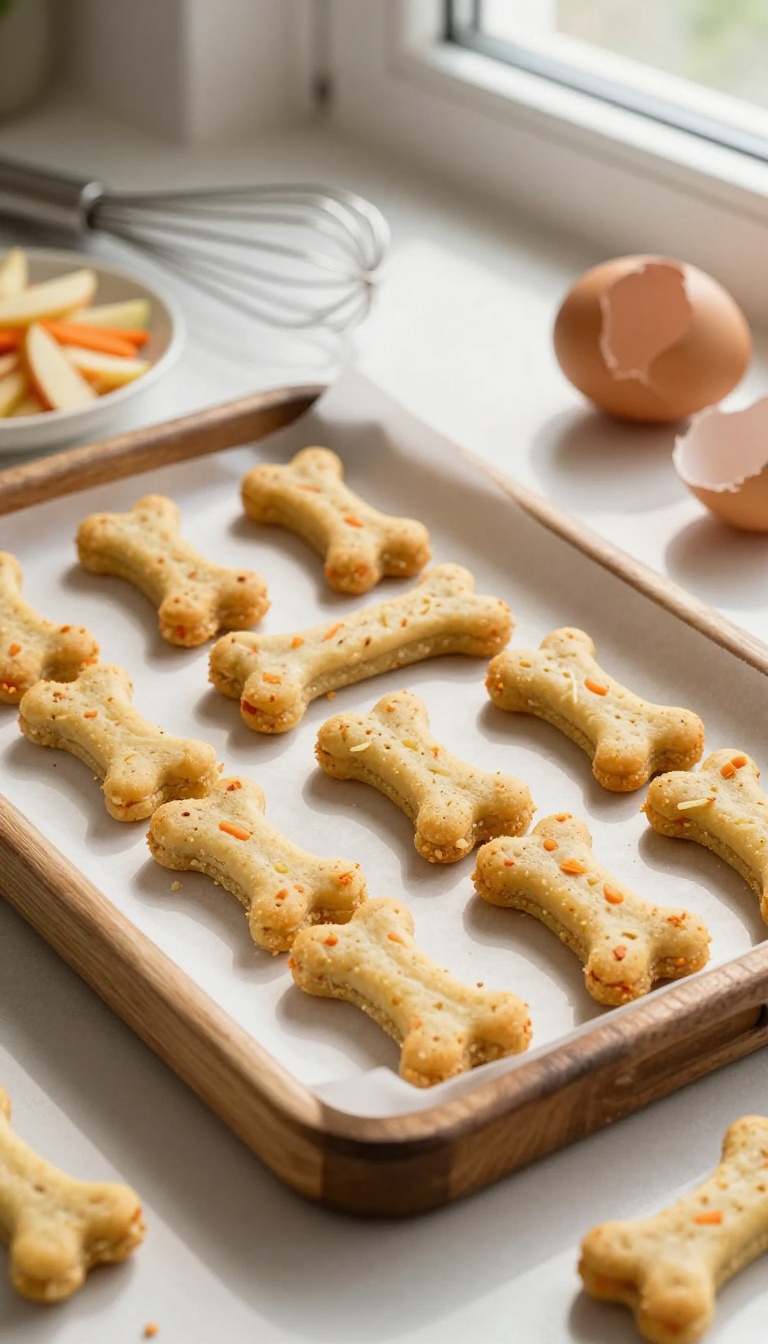
If your dog likes a little snap in their snack, these apple and carrot crunchy chews are a great pick. They mix the natural sweetness of shredded apples and carrots with whole wheat flour and an egg to create a firm, satisfying bite. Baking them until they're crisp gives the treats a texture that can help scrape away plaque as your dog chews, making them a practical choice for dental health.
Plus, they're simple to make with ingredients you probably already have, so you can whip up a fresh batch anytime.
Ingredients
- 1 cup shredded apple (about 1 medium apple, cored)
- 1 cup shredded carrot (about 2 medium carrots, peeled)
- 2 cups whole wheat flour
- 1 large egg, beaten
- 1/4 cup water (or as needed)
Instructions
- Preheat your oven to 350°F (175°C) and line a baking sheet with parchment paper.
- In a large bowl, combine the shredded apple and carrot. Add the beaten egg and mix well.
- Gradually stir in the whole wheat flour, adding water a little at a time until a firm dough forms. You may not need all the water.
- Knead the dough on a lightly floured surface for a minute, then roll it out to about 1/4-inch thickness.
- Cut into bone-shaped or small square treats using a cookie cutter or a knife.
- Place the treats on the prepared baking sheet and bake for 25–30 minutes, until golden and firm. For extra crunch, turn off the oven and let them cool inside for another 30 minutes.
- Let the treats cool completely before serving.
Serving Tip
Store these crunchy chews in an airtight container at room temperature for up to a week, or freeze them for up to three months. Because they're firm, they're great for medium to large dogs, but you can break them into smaller pieces for smaller pups. Offer one or two a day as a snack, and always supervise your dog while they chew.
7. Sardine and Spinach Meal Topper
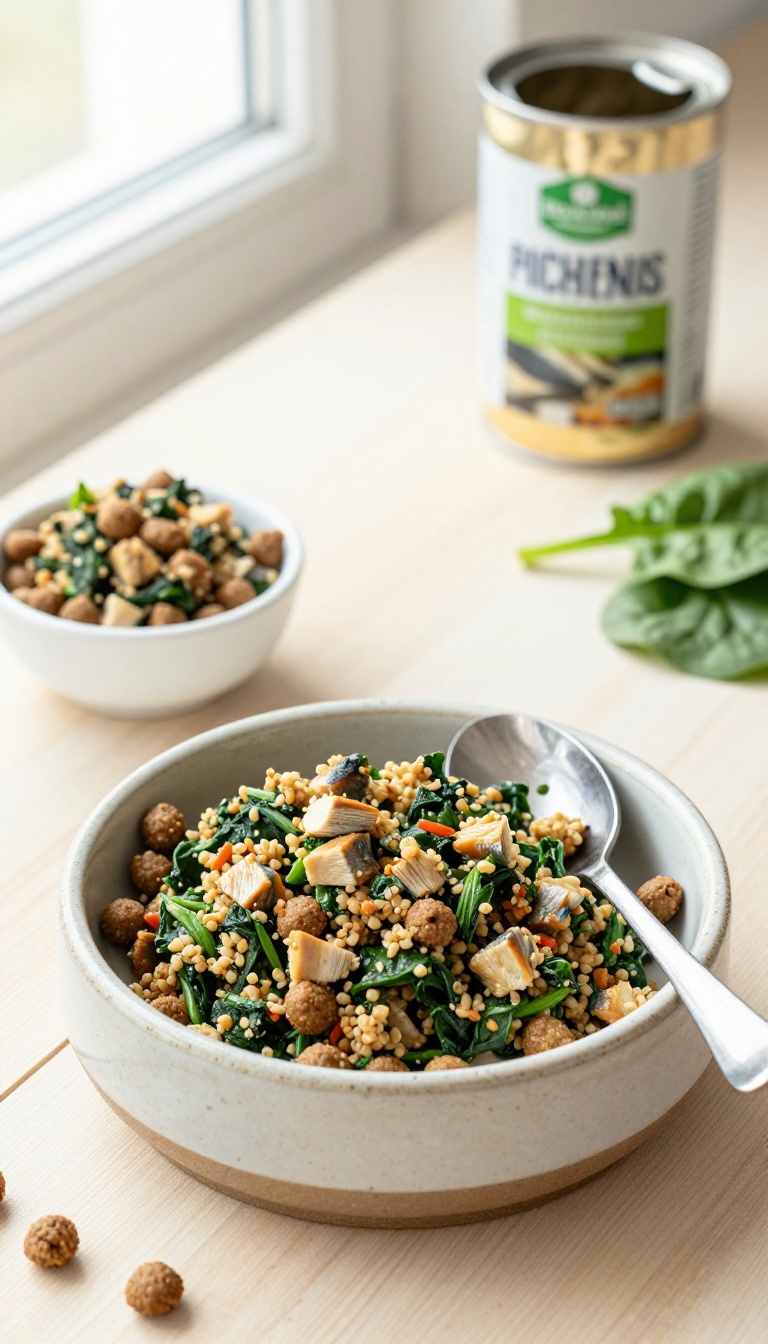
A spoonful of this savory topper can turn plain kibble into a meal your dog actually gets excited about. Sardines are packed with omega-3s for a shiny coat and healthy joints, while spinach adds a boost of vitamins and minerals. This simple mix comes together in minutes and keeps well in the fridge, so you can add a little something special to your pup's bowl every day.
Ingredients
- 1 can (3.75 oz) sardines in water, drained
- 1/2 cup fresh spinach, chopped
- 1/4 cup cooked quinoa
- 1/4 cup water (or low-sodium chicken broth)
Instructions
- In a small saucepan, add the chopped spinach and water (or broth) and cook over medium heat for 2-3 minutes until spinach is wilted.
- Add the drained sardines and cooked quinoa to the pan, breaking up the sardines with a fork. Stir everything together and heat for another 2 minutes until warmed through.
- Let the mixture cool completely before serving. Store in an airtight container in the refrigerator for up to 3 days.
Serving Tip
Spoon 1-2 tablespoons of this topper over your dog's regular meal, depending on their size. For smaller dogs, start with a teaspoon. You can also freeze portions in an ice cube tray for easy serving later.
FAQ
Are homemade dog treats safe for all dogs?
Generally, yes, but always check with your vet first, especially if your dog has allergies or health conditions. Introduce new foods gradually and watch for any adverse reactions.
How should I store homemade dog treats?
Most baked treats can be stored in an airtight container at room temperature for up to a week. For frozen treats, keep them in the freezer and thaw slightly before serving.
Can I substitute ingredients in these recipes?
Absolutely! Feel free to swap ingredients based on what your dog enjoys or what you have on hand. Just ensure any substitutions are dog-safe and avoid toxic foods like grapes, onions, or xylitol.
How often can I give my dog homemade treats?
Treats should make up no more than 10% of your dog's daily calorie intake. Adjust meal portions accordingly to prevent weight gain.
What if my dog is a picky eater?
Try adding a small amount of warm water or unsalted broth to enhance aroma. You can also mix a tiny bit of a favorite treat into the meal to encourage eating.
Conclusion
Homemade dog food and treats are a fantastic way to bond with your pup and ensure they're eating wholesome, high-quality ingredients. With these seven recipes, you can easily rotate between meals, snacks, and training rewards to keep things exciting.
Remember to always prioritize your dog's health by checking with your vet and introducing new foods slowly. Happy cooking, and enjoy those happy, healthy tail wags!

I’m Pallab Kishore, the owner of Little Pets Realm — an animal lover and pet care enthusiast sharing easy tips, healthy recipes, and honest advice to help every small pet live a happy, healthy, tail-wagging life.