
Last updated on September 4th, 2026 at 02:30 pm
Got a birthday bark-day or a playdate coming up? You want your pup to have the best time, and that includes the food! Store-bought treats are fine, but homemade dog food recipes let you control the ingredients and add a personal touch that says "I love you" in every bite.
These 10 homemade dog food ideas are designed for parties—think easy-to-serve, paw-licking good, and made with dog-safe ingredients. Whether you're hosting a doggy dinner or just want to spoil your furry friend, these recipes are simple, healthy, and fun to make.
From savory meatballs to frozen yogurt bark, there's something for every pup's taste. So grab your apron, preheat the oven, and let's get cooking for your four-legged bestie!
1. Pup-Approved Peanut Butter & Banana Bites
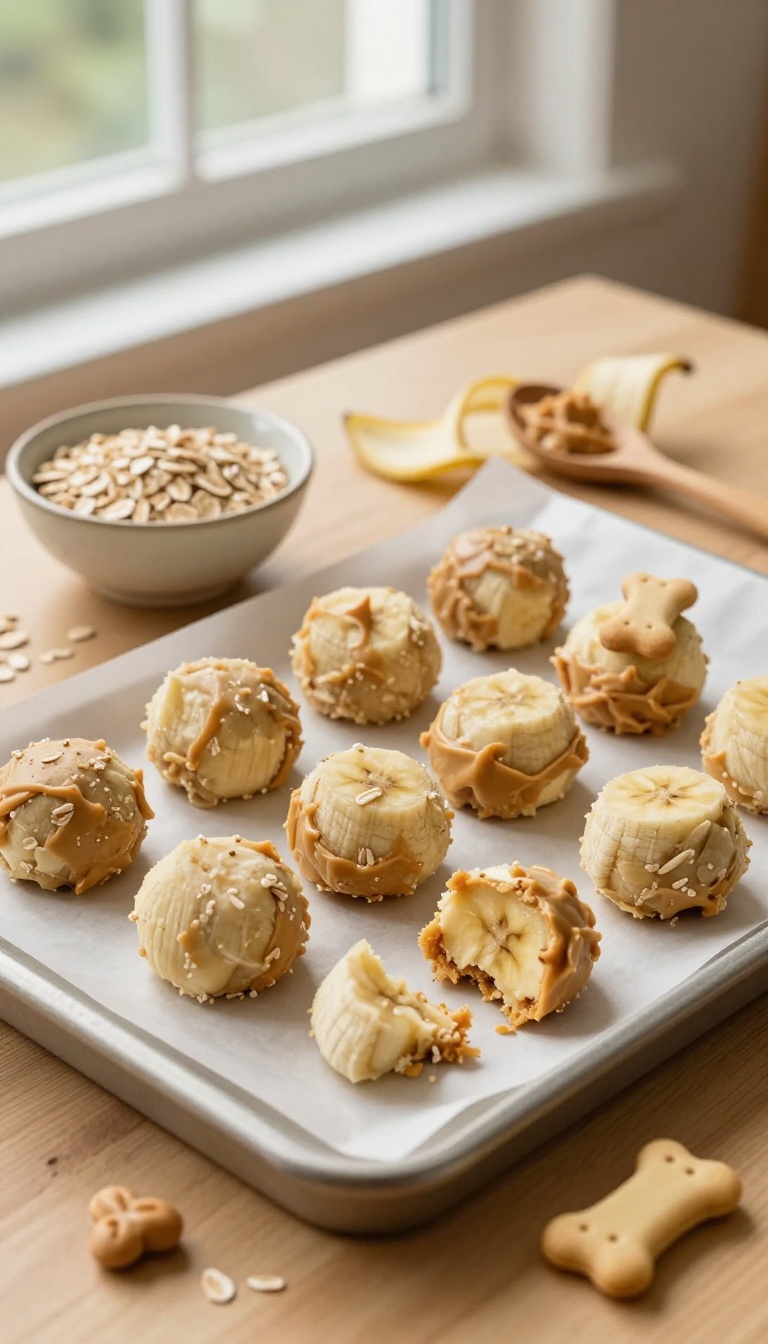
There’s something about the combo of peanut butter and banana that makes tails wag before the first bite. These no-bake bites are a party favorite for good reason—they’re soft, chewy, and packed with flavor that dogs absolutely love. Plus, they come together in minutes with just three simple ingredients, so you can spend less time in the kitchen and more time celebrating with your furry friend.
Whether you’re hosting a doggy playdate or just want to spoil your pup on a lazy afternoon, these treats are sure to be a hit.
Ingredients
- 1 ripe banana, mashed
- 1/2 cup natural peanut butter (xylitol-free)
- 1 1/2 cups rolled oats
Instructions
- In a medium bowl, mash the banana until smooth. Add the peanut butter and stir until well combined.
- Gradually mix in the rolled oats, stirring until a dough forms. If the dough is too sticky, add a little more oats.
- Roll the dough into small balls (about 1 inch) or press into fun shapes using cookie cutters. Place on a parchment-lined tray.
- Refrigerate for at least 30 minutes to firm up. Store in an airtight container in the fridge for up to a week, or freeze for longer storage.
Serving Tip
These bites are perfect for portion control—give one or two per day depending on your dog's size. They're soft enough for senior dogs and gentle on tummies. For a festive touch, press a small dog-friendly biscuit on top before chilling.
2. Sweet Potato & Turkey Meatballs
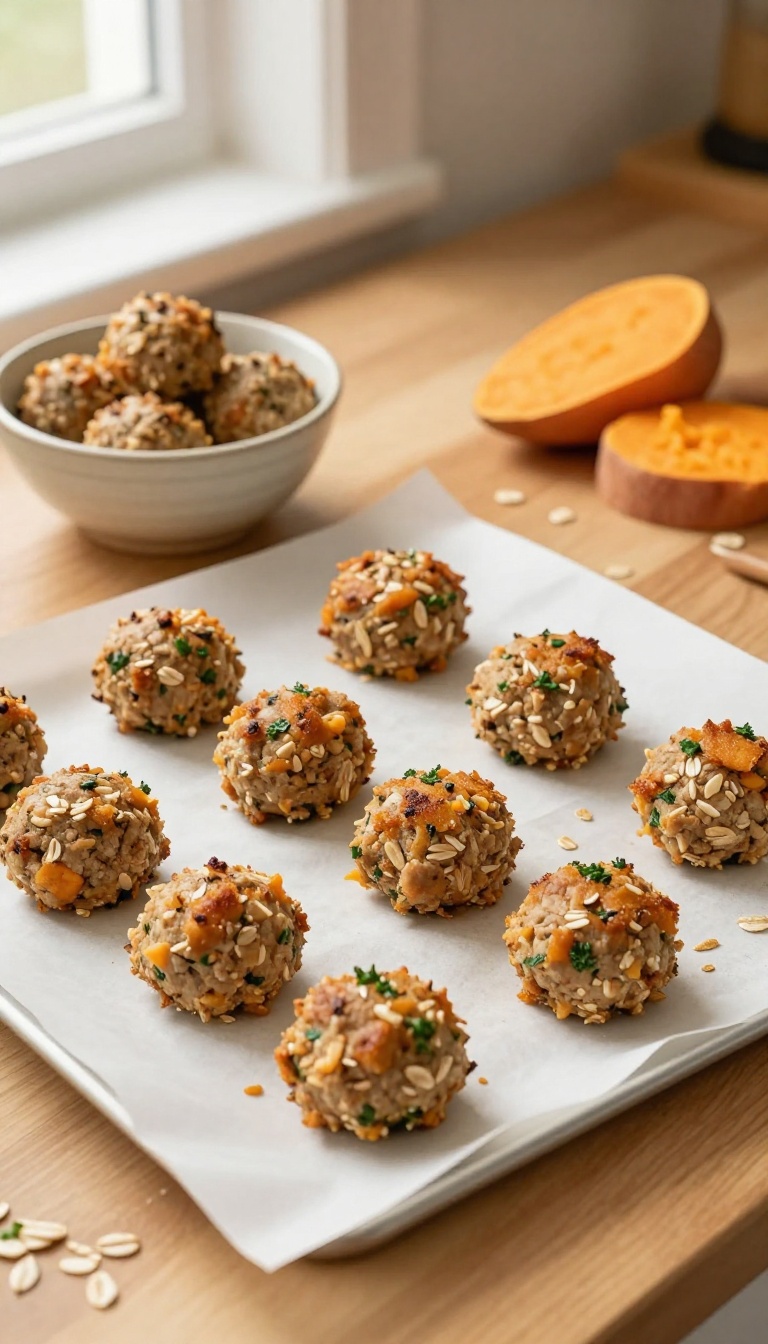
These meatballs bring the party to your pup's bowl. They're baked, not fried, so they're easy to make and even easier to serve. The combination of lean turkey and sweet potato gives your dog a tasty, protein-packed treat that feels like a celebration.
Ingredients
- 1 lb ground turkey
- 1 cup mashed sweet potato (cooked and cooled)
- 1/2 cup rolled oats
- 1 large egg
- 1 tablespoon chopped fresh parsley (optional, for freshness)
Instructions
- Preheat your oven to 375°F (190°C) and line a baking sheet with parchment paper.
- In a large bowl, combine the ground turkey, mashed sweet potato, rolled oats, egg, and parsley if using. Mix until well combined.
- Roll the mixture into small, bite-sized meatballs (about 1 inch in diameter) and place them on the prepared baking sheet.
- Bake for 20-25 minutes, or until the meatballs are cooked through and lightly golden on the outside. Let them cool completely before serving.
Serving Tip
These meatballs are perfect for a special dinner or as a tasty topper for your dog's regular kibble. Store leftovers in an airtight container in the refrigerator for up to 5 days, or freeze for up to 3 months. Always serve at room temperature and adjust portion sizes based on your dog's size and dietary needs.
3. Frozen Yogurt & Berry Bark
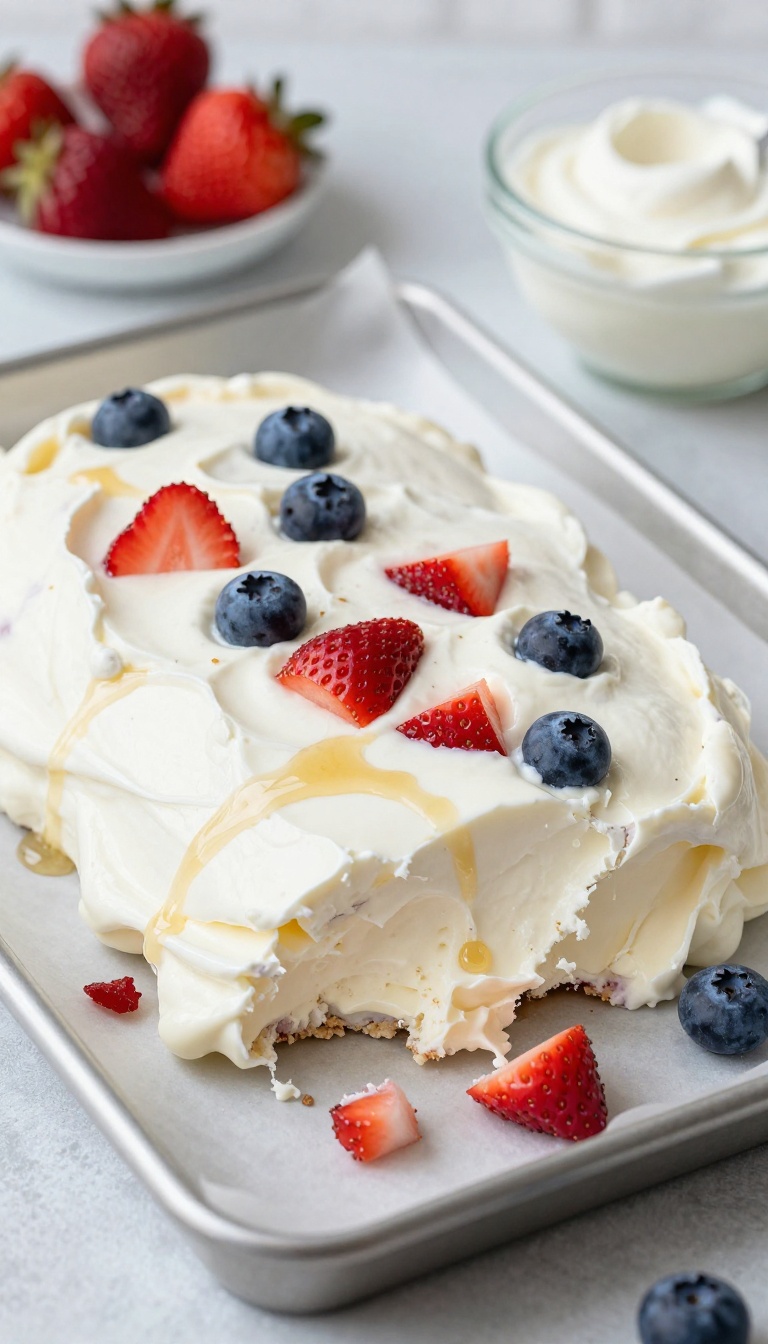
When the temperature climbs and your pup starts looking for cool places to flop, this frozen bark is the answer. It's a party-ready treat that turns a simple snack into something you can break into shareable pieces for a sunny-day get-together. The creamy yogurt base is gentle on tummies, while the berries add a burst of sweetness that dogs go wild for.
Plus, it's so easy to make that you'll want to keep a batch in the freezer for whenever the mood strikes.
Ingredients
- 2 cups plain, unsweetened yogurt (check for xylitol)
- 1/2 cup fresh blueberries, rinsed
- 1/2 cup fresh strawberries, hulled and sliced thinly
- 1 tablespoon honey (optional, for extra sweetness)
Instructions
- Line a baking sheet with parchment paper, then spread the yogurt evenly into a 1/4-inch thick layer.
- Scatter the blueberries and strawberry slices over the yogurt, pressing them in lightly so they stick.
- Drizzle with honey if using, then freeze for at least 4 hours or until completely solid.
- Once frozen, break the bark into irregular pieces and serve immediately. Store leftovers in an airtight container in the freezer.
Serving Tip
For a party, break the bark into small, bite-sized pieces so every pup gets a taste without overdoing it. Keep the pieces in the freezer until you're ready to serve, and pull out only what you need—they soften quickly at room temperature. Always supervise your dog while they enjoy this frozen treat, and adjust portion sizes based on your dog's size and dietary needs.
4. Cheesy Pumpkin Pupcakes
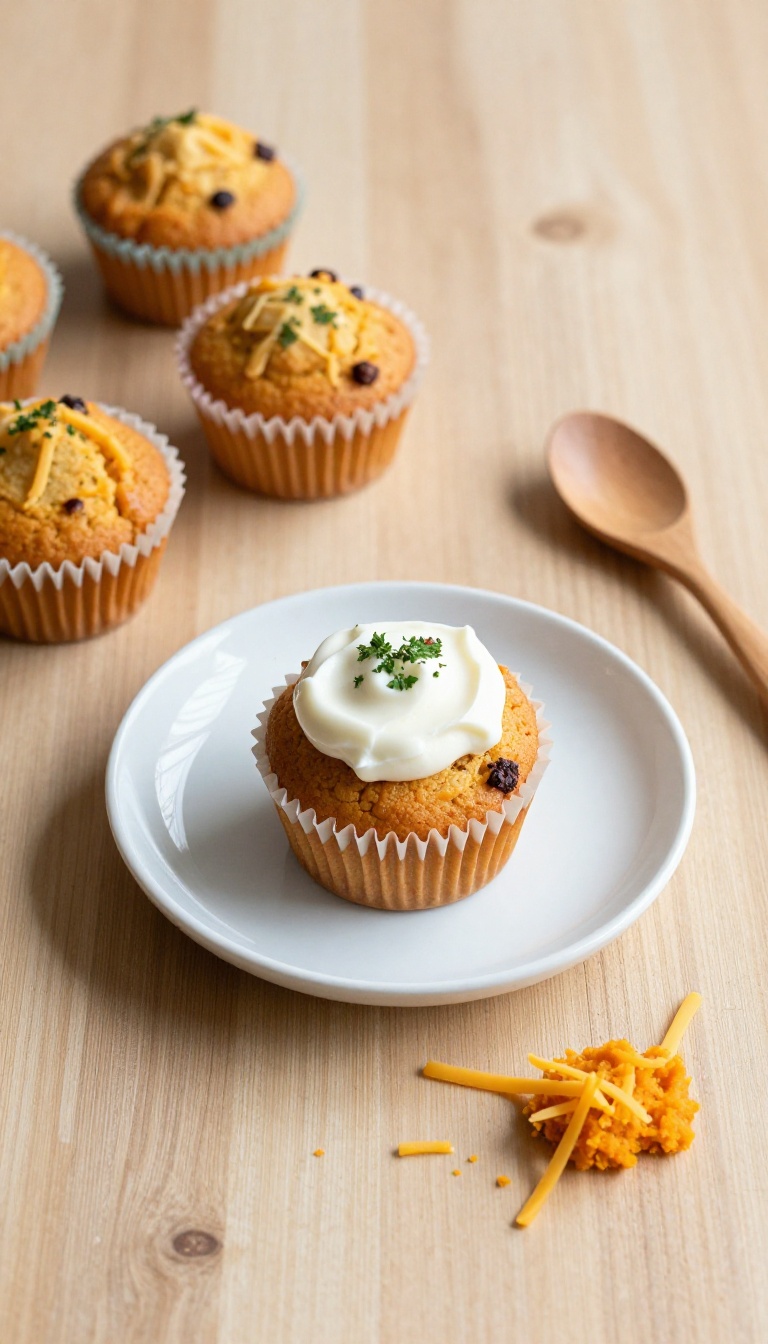
Got a birthday pup or a gotcha day to celebrate? These mini pupcakes bring the party without the sugar rush. Pumpkin and cheddar team up for a moist, savory bite that dogs absolutely adore.
The yogurt frosting is optional, but it adds a creamy finish that makes these feel extra special for your furry guest of honor.
Ingredients
- 1 cup whole wheat flour (or oat flour for sensitive tummies)
- 1 teaspoon baking powder
- 1/2 teaspoon ground cinnamon
- 1/2 cup canned pumpkin (100% pure, not pie filling)
- 1/4 cup plain unsweetened applesauce
- 1/4 cup shredded cheddar cheese
- 1 large egg
- 2 tablespoons coconut oil, melted
- For the frosting: 1/2 cup plain Greek yogurt (optional)
Instructions
- Preheat your oven to 350°F (175°C) and line a mini muffin tin with paper liners or lightly grease it.
- In a large bowl, whisk together the flour, baking powder, and cinnamon. In a separate bowl, mix the pumpkin, applesauce, egg, and melted coconut oil until smooth.
- Stir the wet ingredients into the dry until just combined, then fold in the shredded cheddar.
- Spoon the batter into the mini muffin cups, filling each about 3/4 full. Bake for 12–15 minutes, or until a toothpick inserted comes out clean. Let them cool completely.
- If using frosting, top each pupcake with a small dollop of Greek yogurt just before serving. Store leftovers in an airtight container in the fridge for up to 4 days.
Serving Tip
These pupcakes are perfect for special occasions, but they're also great for training rewards—just break them into smaller pieces. Keep them in the fridge to maintain freshness, and always let them cool completely before serving to avoid any burns. For extra party flair, you can sprinkle a pinch of dried parsley on the yogurt frosting.
5. Chicken & Carrot Training Treats
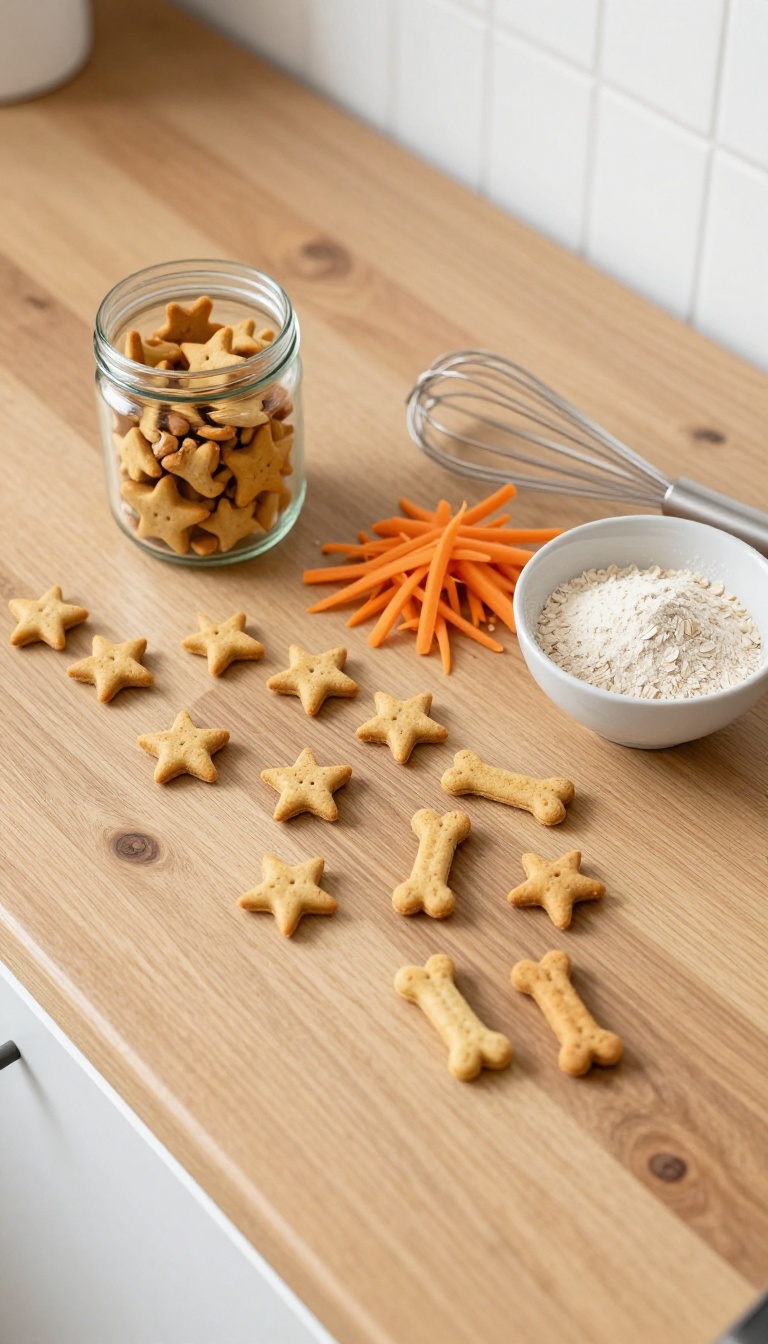
When you're hosting a doggy get-together or just want to reward your pup for a job well done, these crunchy little bites are the perfect party favor. They're small enough to pop in your pocket and hand out during a training session, but tasty enough that your dog will do a happy dance every time you reach for the jar. Plus, they're baked, not fried, so they stay crisp and satisfying without any greasy mess.
Ingredients
- 1 cup cooked chicken breast, finely shredded
- 1/2 cup grated carrot
- 1 large egg
- 1/4 cup chicken broth (low-sodium, no onion or garlic)
- 1 1/2 cups oat flour (or whole wheat flour if your dog tolerates it)
Instructions
- Preheat your oven to 350°F (175°C) and line a baking sheet with parchment paper.
- In a large bowl, mix the shredded chicken, grated carrot, egg, and chicken broth until well combined.
- Gradually add the flour, stirring until a stiff dough forms. If it's too sticky, add a little more flour; if too dry, add a splash of broth.
- Roll the dough out on a lightly floured surface to about 1/4-inch thickness. Use a small cookie cutter or a knife to cut into tiny bite-sized squares or fun shapes.
- Place the treats on the prepared baking sheet and bake for 20-25 minutes, until golden and crisp. Let them cool completely before serving or storing.
Serving Tip
- Because these treats are small and crunchy, they're ideal for training sessions where you might give several rewards in a row. Store them in an airtight container in the fridge for up to a week, or freeze for up to three months. Just thaw a few at a time so they stay crisp.
- Remember to adjust your pup's regular meals to account for the extra calories from treats.
6. Apple & Oatmeal Cookie Slices
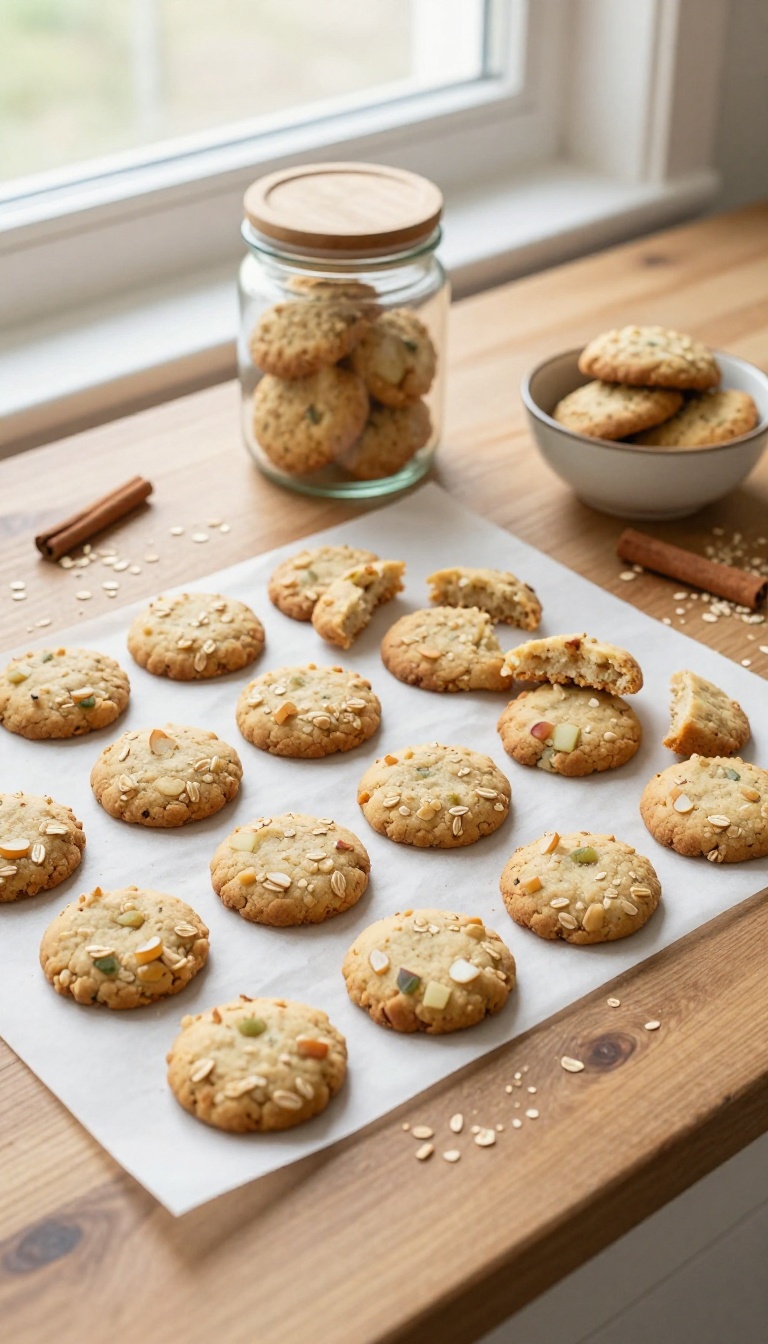
When you want to bring a little extra joy to your pup's day, these slice-and-bake cookies are the perfect choice. They're simple to whip up and even easier to share—just slice, bake, and watch tails wag. The sweet scent of apple and oats fills the kitchen, making it feel like a special occasion for both of you.
Ingredients
- 1 cup rolled oats
- 1/2 cup unsweetened applesauce
- 1/4 cup water (or more as needed)
- 1 large egg (for binding)
- 1/2 teaspoon ground cinnamon (optional, dog-safe)
Instructions
- Preheat your oven to 350°F (175°C) and line a baking sheet with parchment paper.
- In a large bowl, mix the rolled oats, applesauce, water, egg, and cinnamon until a thick, moldable dough forms. If it's too dry, add water a tablespoon at a time.
- Shape the dough into a log about 2 inches in diameter and wrap it in plastic wrap. Chill in the fridge for 30 minutes to make slicing easier.
- Slice the log into 1/4-inch thick rounds and place them on the prepared baking sheet.
- Bake for 12–15 minutes, or until the edges are lightly golden and the cookies are firm to the touch. Let cool completely before serving.
Serving Tip
Store these cookies in an airtight container in the fridge for up to a week, or freeze them for up to three months. For small dogs, break a cookie into smaller pieces to avoid overfeeding. They're perfect for parties—just arrange them on a dog-friendly platter and let your pup's guests enjoy!
7. Beef & Sweet Potato Jerky
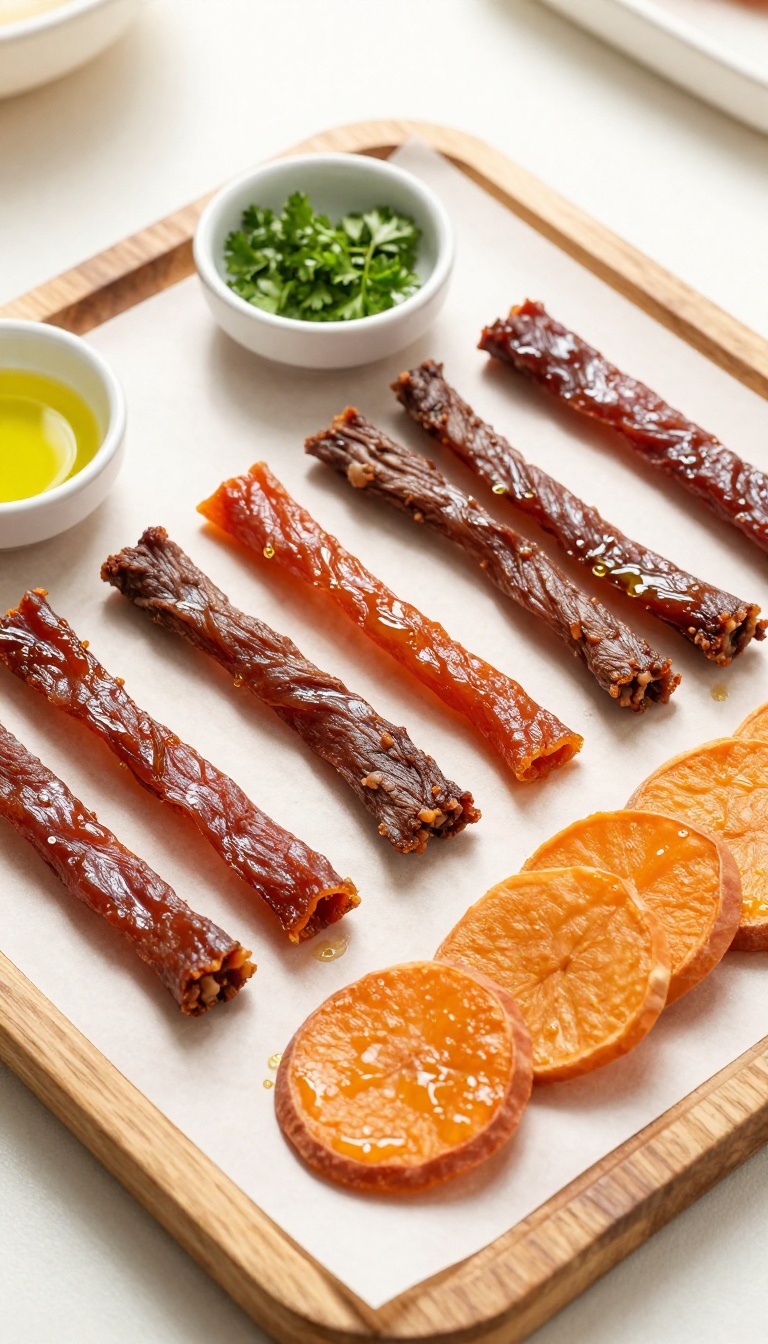
When the party's at your place, your pup deserves a snack that's just as impressive as the appetizers you're serving. This homemade jerky is chewy, savory, and packed with protein, making it a crowd-pleaser for both two-legged and four-legged guests. Dehydrating the beef and sweet potato concentrates their flavors into a satisfying treat that's perfect for snacking or sharing.
Plus, it's a healthier alternative to store-bought jerky, which often contains additives and preservatives you'd rather avoid.
Ingredients
- 1 lb lean beef (such as sirloin or flank steak), thinly sliced against the grain
- 1 medium sweet potato, peeled and thinly sliced into 1/4-inch rounds
- 1 tablespoon olive oil
- 1 teaspoon dried parsley (optional, for a hint of freshness)
Instructions
- Preheat your oven to 175°F (80°C) or the lowest setting. Line two baking sheets with parchment paper.
- In a large bowl, toss the beef slices and sweet potato rounds with olive oil and parsley (if using) until evenly coated.
- Arrange the beef and sweet potato in a single layer on the prepared baking sheets, making sure they don't overlap.
- Bake for 2 to 3 hours, flipping halfway through, until the beef is dry and chewy and the sweet potatoes are slightly leathery but not brittle. The exact time will depend on thickness and your oven.
- Let the jerky cool completely on a wire rack. It will continue to firm up as it cools.
Serving Tip
Store the jerky in an airtight container in the refrigerator for up to 2 weeks, or freeze for longer storage. Break into small, bite-sized pieces for smaller dogs, and always supervise your pup while they enjoy this chewy treat. Because it's a high-protein snack, offer it in moderation—a few pieces a day is plenty.
8. Blueberry & Spinach Muffin Bites
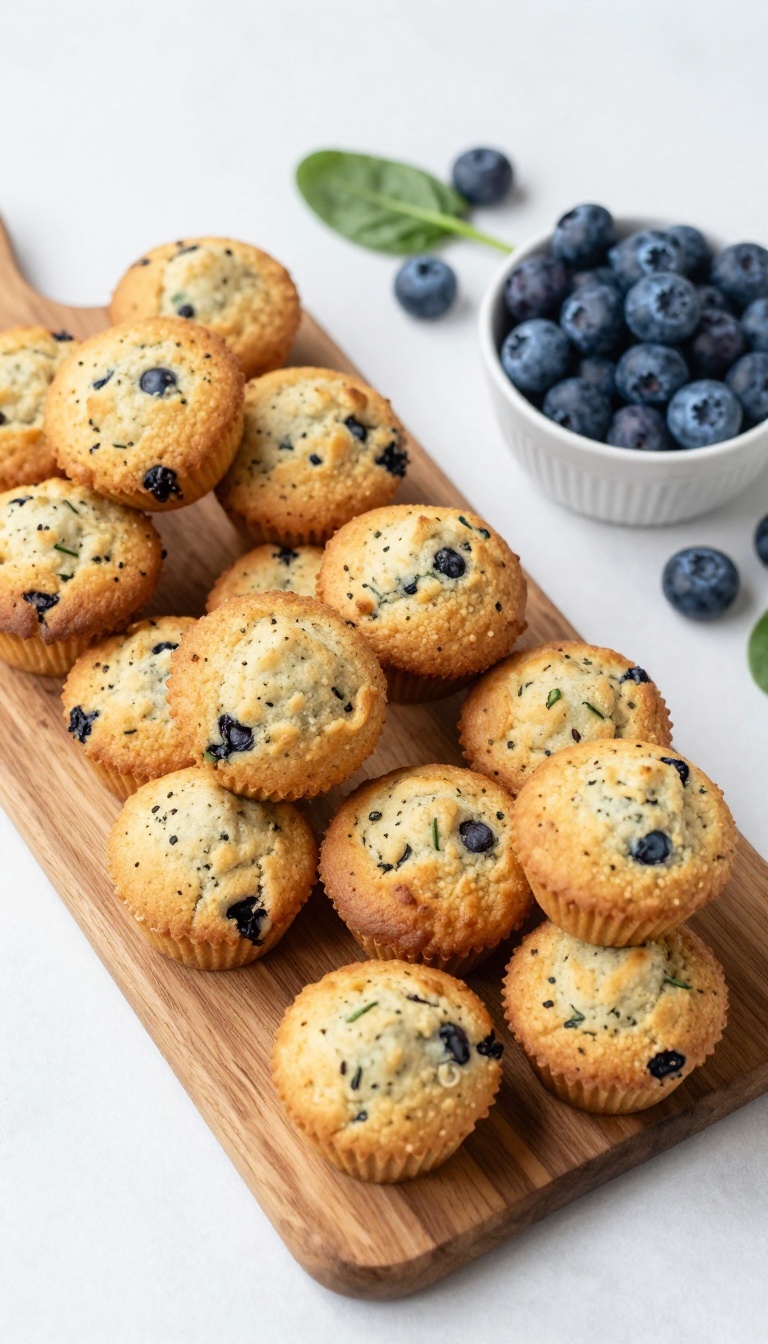
These mini muffins are a colorful, party-ready addition to your pup's treat spread. Packed with antioxidant-rich blueberries and iron-packed spinach, they offer a tasty way to sneak in some greens. Soft and bite-sized, they're perfect for dogs who prefer a gentle chew, and they're sure to be a hit at any doggy gathering.
Ingredients
- 1 cup whole wheat flour
- 1/2 cup rolled oats
- 1/2 cup fresh or frozen blueberries
- 1/2 cup fresh spinach, finely chopped
- 1/4 cup unsweetened applesauce
- 1 large egg
- 1/4 cup water (or more as needed)
Instructions
- Preheat your oven to 350°F (175°C) and lightly grease a mini muffin tin.
- In a large bowl, mix the flour and oats. Add the blueberries and chopped spinach, stirring to coat.
- In a separate bowl, whisk the applesauce, egg, and water. Pour the wet ingredients into the dry and mix until just combined. If the batter is too thick, add a little more water.
- Spoon the batter into the mini muffin cups, filling each about 3/4 full.
- Bake for 12-15 minutes, or until a toothpick inserted into the center comes out clean. Let cool completely before serving.
Serving Tip
Store these muffin bites in an airtight container in the refrigerator for up to 5 days, or freeze for up to 3 months. For a party, arrange them on a platter with other dog-friendly treats. Give one or two as a snack, adjusting for your dog's size—smaller pups might get half a muffin.
9. Salmon & Quinoa Party Patties
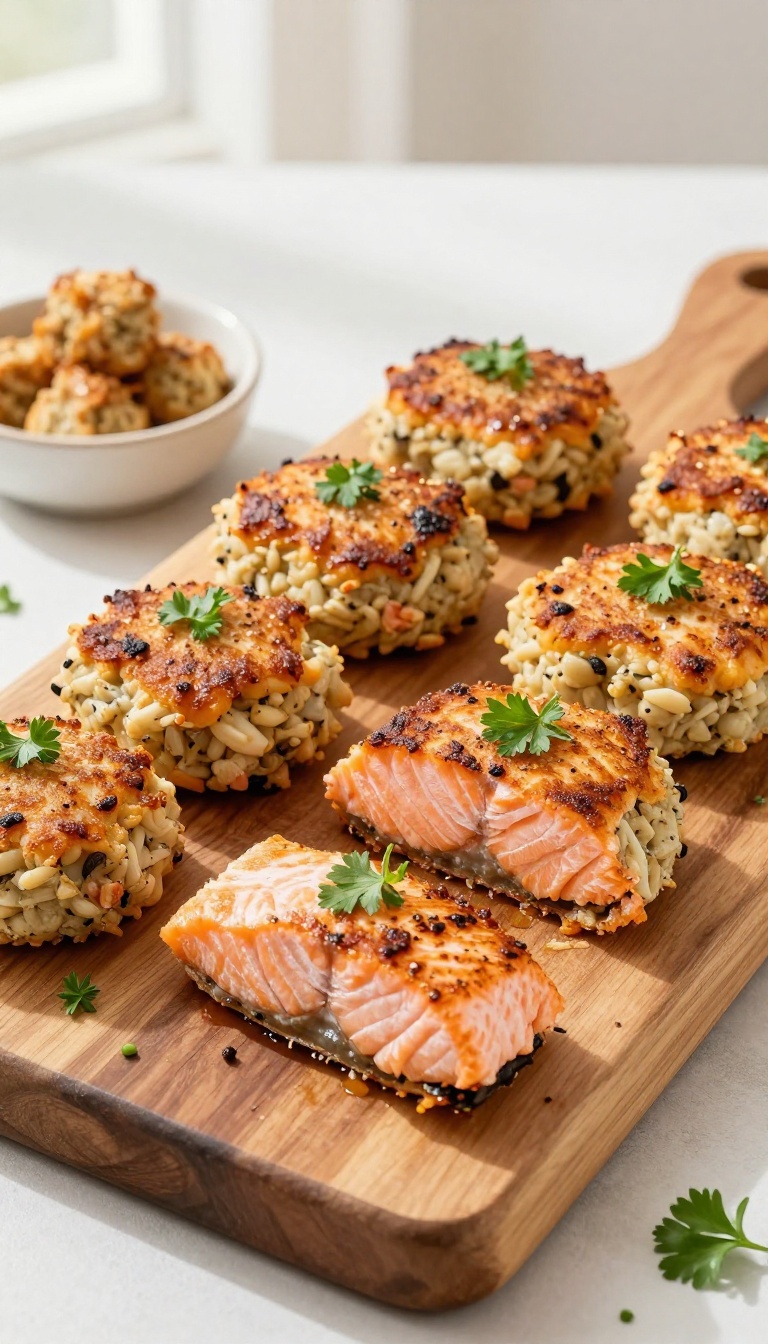
Got a special occasion coming up? These salmon and quinoa patties bring a little extra flair to your pup's bowl without any fuss. They're pan-seared until the outside gets nice and crispy, while the inside stays tender and flaky.
Rich in omega-3s from the salmon and packed with protein from the quinoa, they're a wholesome way to celebrate a birthday, gotcha day, or just a Tuesday.
Ingredients
- 1 cup cooked salmon, flaked (skinless, boneless)
- 1 cup cooked quinoa, cooled
- 1 large egg, beaten
- 1/4 cup finely chopped fresh parsley (optional)
- 2 tablespoons oat flour (or more as needed)
Instructions
- In a large bowl, combine the flaked salmon, cooked quinoa, beaten egg, and parsley (if using). Mix well.
- Sprinkle in the oat flour and stir until the mixture holds together when pressed. If it seems too wet, add a little more oat flour.
- Shape the mixture into small patties, about 2 inches in diameter.
- Heat a non-stick skillet over medium heat and lightly coat with coconut oil or olive oil.
- Cook the patties for 3-4 minutes per side, until golden brown and heated through.
- Let cool completely before serving to your dog.
Serving Tip
- These patties are best served fresh, but you can store them in an airtight container in the fridge for up to 3 days. For longer storage, freeze them on a baking sheet, then transfer to a zip-top bag. Thaw in the fridge before serving.
- As a special treat, give one patty per 10 pounds of body weight, and adjust meal portions accordingly.
10. Peanut Butter & Pumpkin Frozen Pops
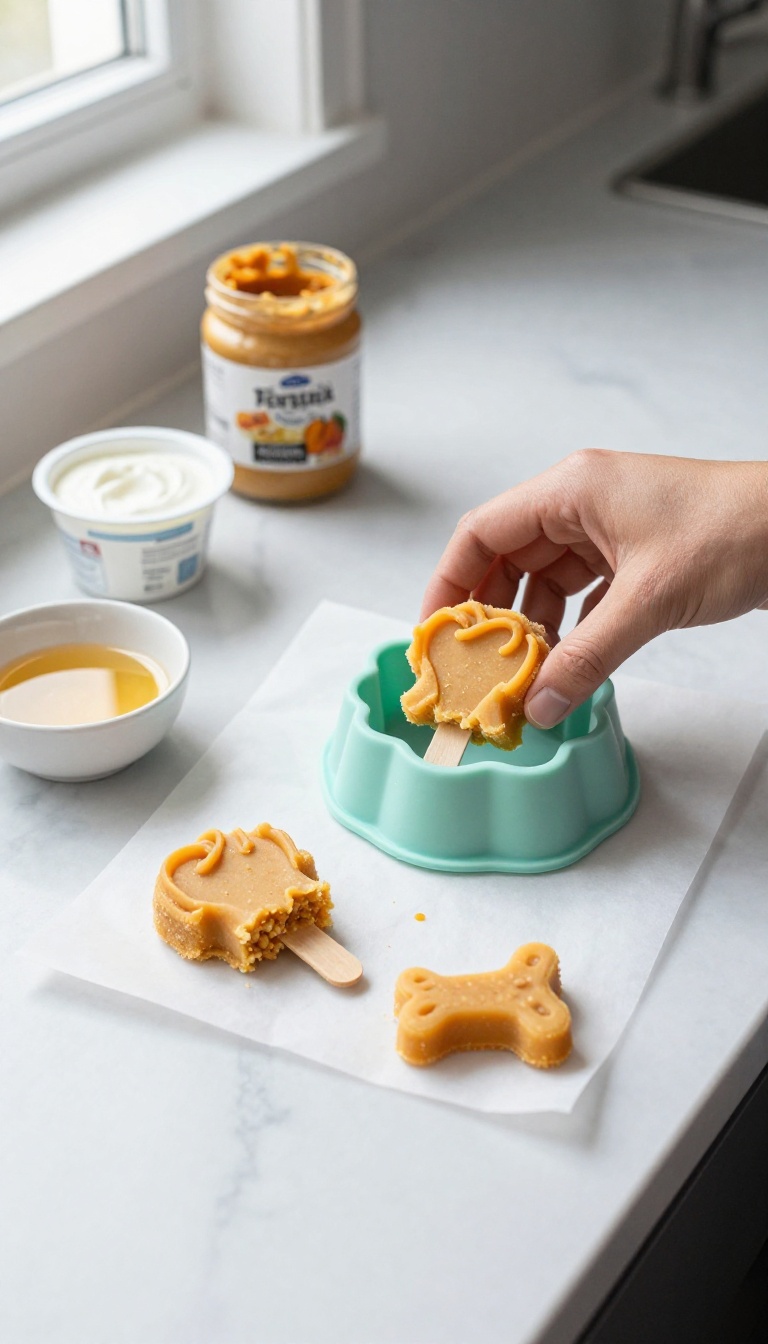
When the heat has your pup flopped on the cool tile floor, these frozen pops are the perfect way to turn things around. They’re creamy, lickable, and packed with flavors dogs go wild for—peanut butter and pumpkin. Plus, they’re a breeze to whip up, so you can spend less time in the kitchen and more time watching your dog happily cool down.
Whether it’s for a sunny afternoon or a playdate with furry friends, these pops are a fun, party-ready treat that’s as easy to share as it is to make.
Ingredients
- 1 cup plain unsweetened yogurt (no xylitol)
- 1/2 cup canned pumpkin (not pumpkin pie filling)
- 1/4 cup natural peanut butter (no xylitol, no added sugar or salt)
- 1 tablespoon honey (optional, for extra sweetness)
- Dog-safe silicone molds or ice cube trays
Instructions
- In a medium bowl, whisk together the yogurt, pumpkin, peanut butter, and honey (if using) until smooth and fully combined.
- Spoon or pour the mixture into silicone molds or ice cube trays, filling each cavity almost to the top.
- Tap the molds gently on the counter to release any air bubbles, then place them in the freezer for at least 4 hours, or until completely solid.
- Once frozen, pop the pops out of the molds and serve immediately. Store any leftovers in an airtight container or zip-top bag in the freezer for up to 2 weeks.
Serving Tip
These pops are best served on a hot day or after a long walk. For smaller dogs, use mini molds or drop spoonfuls onto a parchment-lined tray to make bite-sized frozen drops. Always supervise your dog while they enjoy a frozen treat, and if your dog is new to frozen foods, let the pop sit at room temperature for a minute or two to soften slightly before serving.
FAQ
Are these homemade dog food recipes safe for all dogs?
Most are safe for healthy adult dogs, but always check with your vet if your dog has allergies or health issues. Avoid ingredients like xylitol, chocolate, grapes, and onions, and introduce new foods gradually.
How should I store these homemade dog treats?
Store baked treats in an airtight container in the refrigerator for up to a week. Frozen treats can be kept in the freezer for up to three months. Always label with the date.
Can I substitute ingredients in these recipes?
Yes, you can swap ingredients based on your dog's preferences or allergies. For example, use turkey instead of beef, or apples instead of blueberries. Just ensure all substitutions are dog-safe.
How many treats should I give my dog at a party?
Treats should be given in moderation. As a general rule, treats should not make up more than 10% of your dog's daily calorie intake. Monitor your dog during the party to prevent overeating.
Can I make these recipes ahead of time?
Absolutely! Most baked treats can be made 2-3 days ahead and stored in the fridge. Frozen treats can be made weeks in advance.
Just thaw or serve as directed.
Conclusion
These 10 homemade dog food recipes are sure to make your pup the star of any party. From savory meatballs to frozen treats, each one is made with love and dog-safe ingredients. Your furry friend will be the envy of the dog park!
Remember, the best part of homemade treats is seeing the joy in your dog's eyes. So get creative, have fun, and don't forget to snap a picture of your pup enjoying their special party spread. Happy cooking!

I’m Pallab Kishore, the owner of Little Pets Realm — an animal lover and pet care enthusiast sharing easy tips, healthy recipes, and honest advice to help every small pet live a happy, healthy, tail-wagging life.