
If you're looking for a simple way to spoil your dog without spending hours in the kitchen, you've come to the right place. These 7 easy 3-ingredient oat dog treats are perfect for weekly prep, so you can always have a fresh batch ready.
Oats are a fantastic base for homemade dog treats because they're gentle on tummies and easy to mix with other dog-safe ingredients. Each recipe is designed to be quick, budget-friendly, and totally tail-wagging worthy.
Whether you're a seasoned home cook or a total beginner, these treats will become a regular part of your dog's snack rotation.
1. Peanut Butter & Oat Dog Biscuits
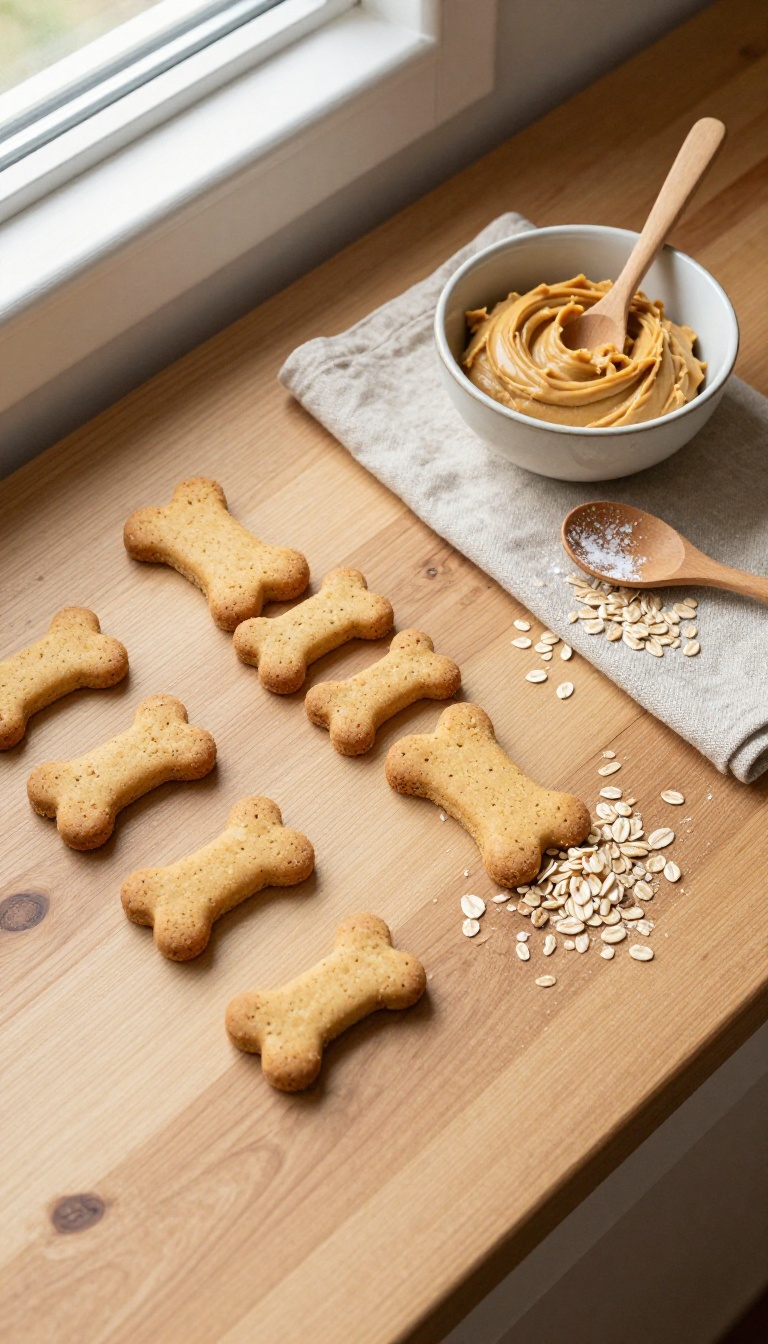
These crunchy peanut butter and oat biscuits are a timeless favorite that most dogs can't resist. With just three simple ingredients, they're incredibly easy to whip up on a Sunday afternoon for the week ahead. The oats provide wholesome fiber, while peanut butter adds a rich, savory flavor that makes these treats perfect for training sessions or just a cozy afternoon snack.
Plus, they bake up firm enough to satisfy your pup's natural urge to chew, making them a great choice for keeping your furry friend happily occupied.
Ingredients
- 1 cup rolled oats
- 1/2 cup natural, unsalted peanut butter (ensure no xylitol)
- 1/2 cup water (plus a little extra if needed)
Instructions
- Preheat your oven to 350°F (175°C) and line a baking sheet with parchment paper.
- In a medium bowl, combine the oats and peanut butter. Gradually add the water, mixing until a thick, slightly sticky dough forms. If it's too crumbly, add another tablespoon of water.
- Roll the dough out on a lightly floured surface to about 1/4-inch thickness. Use dog-shaped cookie cutters or simply slice into squares with a knife.
- Place the biscuits on the prepared baking sheet and bake for 15-18 minutes, or until they're golden brown and firm to the touch.
- Let them cool completely on a wire rack before serving. Store in an airtight container for up to a week, or freeze for longer storage.
Serving Tip
These biscuits are great for portioning out into small training treats—just break them into smaller pieces if needed. They'll keep in an airtight container at room temperature for about a week, or you can freeze them for up to three months. Always supervise your dog when giving treats, and adjust the size based on your pup's breed and chewing habits.
2. Pumpkin & Oat Dog Treats
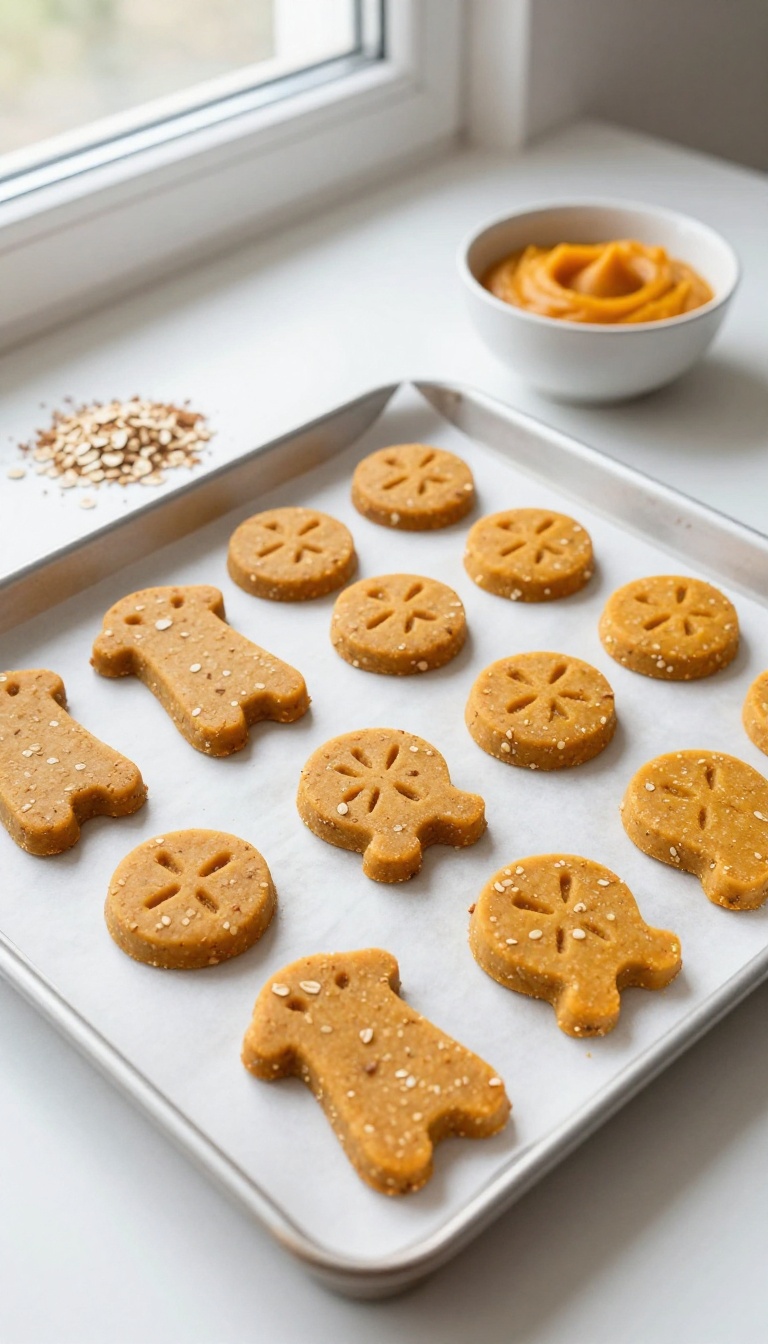
Fall is the perfect time to spoil your pup with a seasonal snack that’s as wholesome as it is tasty. These pumpkin and oat treats come together with just three simple ingredients you probably already have in your pantry. They’re soft, gently spiced, and packed with fiber, making them a gentle option for dogs with sensitive stomachs.
Plus, they’re incredibly easy to batch-prep on a lazy Sunday, so you’ll have a week’s worth of tail-wagging rewards ready to go.
Ingredients
- 1 cup pure pumpkin puree (unsweetened, not pie filling)
- 2 cups rolled oats (or oat flour for a smoother texture)
- 1/2 teaspoon ground cinnamon (optional, but adds a cozy aroma)
Instructions
- Preheat your oven to 350°F (175°C) and line a baking sheet with parchment paper.
- In a large bowl, mix the pumpkin puree and cinnamon (if using) until well combined.
- Gradually add the oats, stirring until a thick, slightly sticky dough forms. If the dough feels too wet, add a tablespoon more oats; if too dry, add a splash of water.
- Roll the dough into small balls (about 1 inch) and place them on the prepared baking sheet. Gently flatten each ball with a fork to create a crisscross pattern.
- Bake for 20–25 minutes, until the treats are firm to the touch but still slightly soft in the center. Let them cool completely before serving.
Serving Tip
These soft treats are perfect for dogs of all ages, especially seniors or those with dental issues. Store them in an airtight container in the fridge for up to a week, or freeze them for up to three months. For portion control, give small dogs one treat per day and larger dogs two or three, adjusting based on their daily calorie needs.
3. Banana & Oat Dog Cookies
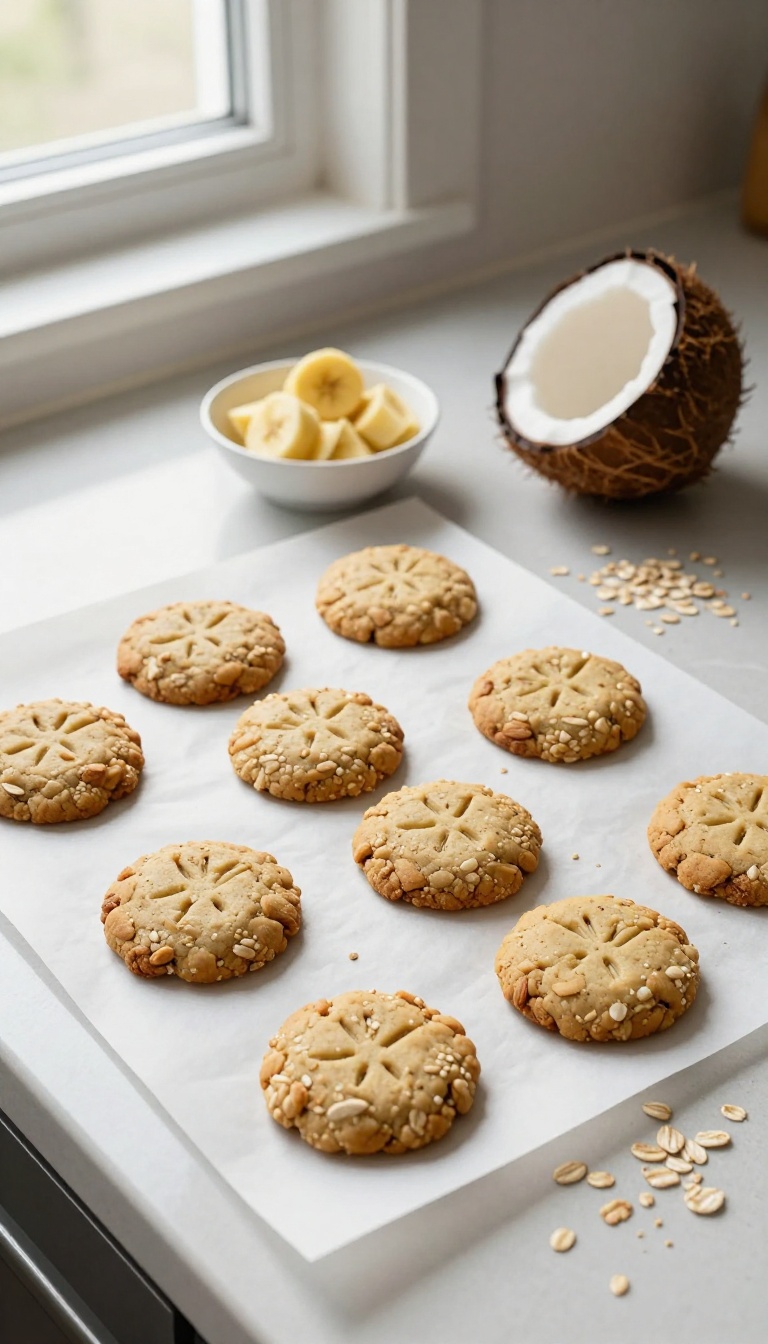
Got a bunch of overripe bananas sitting on the counter? Turn them into these soft, chewy cookies that your dog will absolutely love. The natural sweetness of banana means you don't need any added sugar, and the oats give a nice hearty texture.
Plus, a little coconut oil adds a subtle flavor and helps keep the cookies moist. They're perfect for weekly prep because they store well in the fridge or freezer, so you always have a homemade treat ready when your pup gives you those hopeful eyes.
Ingredients
- 2 ripe bananas, mashed
- 1 1/2 cups rolled oats (not instant)
- 1 tablespoon coconut oil, melted
Instructions
- Preheat your oven to 350°F (175°C) and line a baking sheet with parchment paper.
- In a mixing bowl, mash the bananas well until smooth. Stir in the melted coconut oil.
- Add the oats and mix until everything is combined. Let the mixture sit for 5 minutes so the oats absorb some moisture.
- Scoop tablespoon-sized portions onto the prepared baking sheet and flatten slightly with a fork.
- Bake for 12-15 minutes, until the edges are lightly golden. Let cool completely before serving.
Serving Tip
- These cookies are soft and chewy, making them great for training or just a midday snack. Store them in an airtight container in the fridge for up to a week, or freeze for up to 3 months. For smaller dogs, break them into bite-sized pieces.
- Always check with your vet if your dog has dietary sensitivities, especially to grains.
4. Apple & Oat Dog Bites
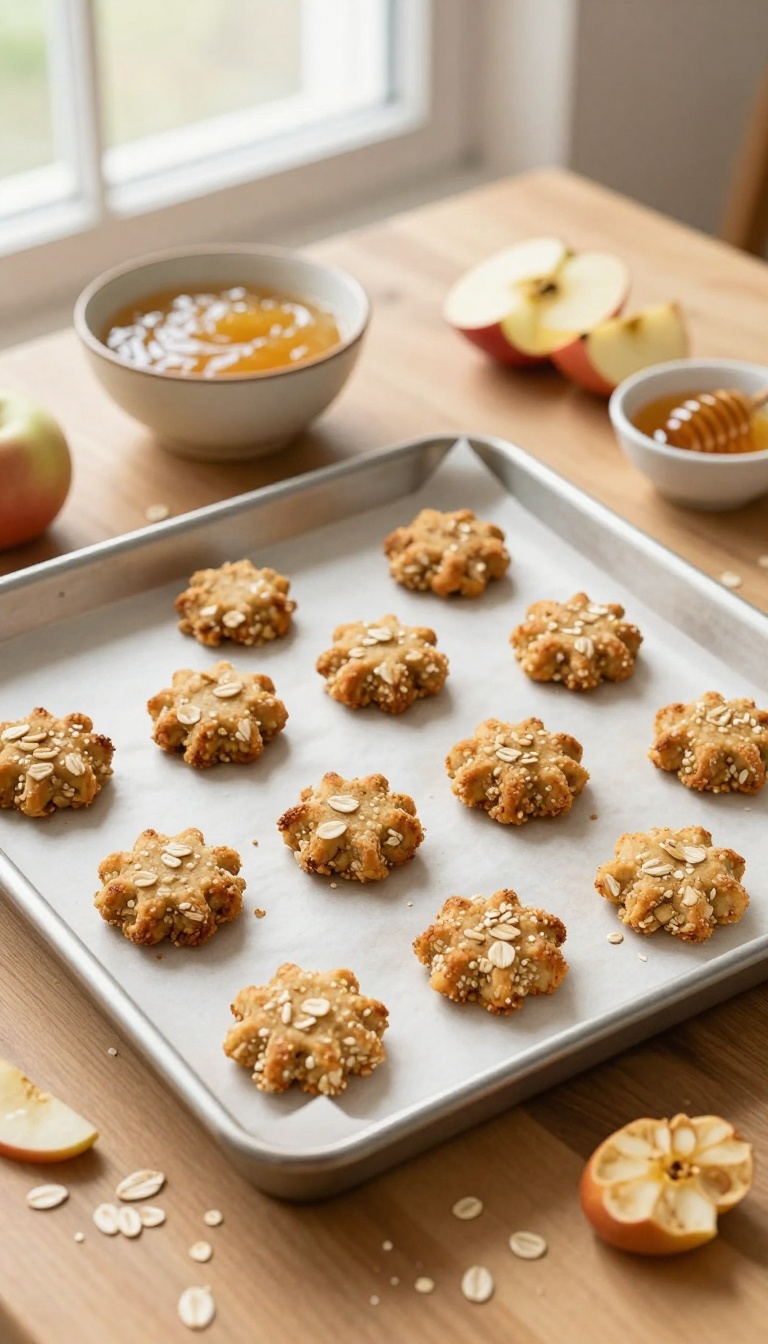
These crunchy bites are a fun way to give your pup a refreshing snack that’s full of wholesome goodness. With just three simple ingredients—unsweetened applesauce, oats, and a touch of honey—they come together in minutes and bake into crisp little rounds that dogs love to crunch. They’re perfect for meal prep because they store well and are easy to grab for a quick treat during training sessions or outdoor adventures.
Plus, the natural sweetness makes them a crowd-pleaser among picky eaters.
Ingredients
- 1 cup unsweetened applesauce
- 2 cups rolled oats (or oat flour for a smoother texture)
- 1 tablespoon honey (optional, but adds a touch of sweetness)
Instructions
- Preheat your oven to 350°F (175°C) and line a baking sheet with parchment paper.
- In a large bowl, mix the applesauce and honey until well combined.
- Gradually add the oats, stirring until a thick dough forms. If the mixture is too sticky, add a little more oats; if too dry, add a splash of water.
- Drop spoonfuls of the dough onto the prepared baking sheet, flattening each slightly with the back of a spoon to create bite-sized discs.
- Bake for 15–18 minutes, until the edges are golden and the bites are firm to the touch. Let them cool completely before serving.
Serving Tip
Store these bites in an airtight container in the fridge for up to a week, or freeze them for longer storage. They’re great for breaking into smaller pieces for training rewards, and you can even pack a few in your pocket for on-the-go adventures. Always check with your vet before introducing new treats, especially if your dog has dietary sensitivities.
5. Sweet Potato & Oat Dog Chews
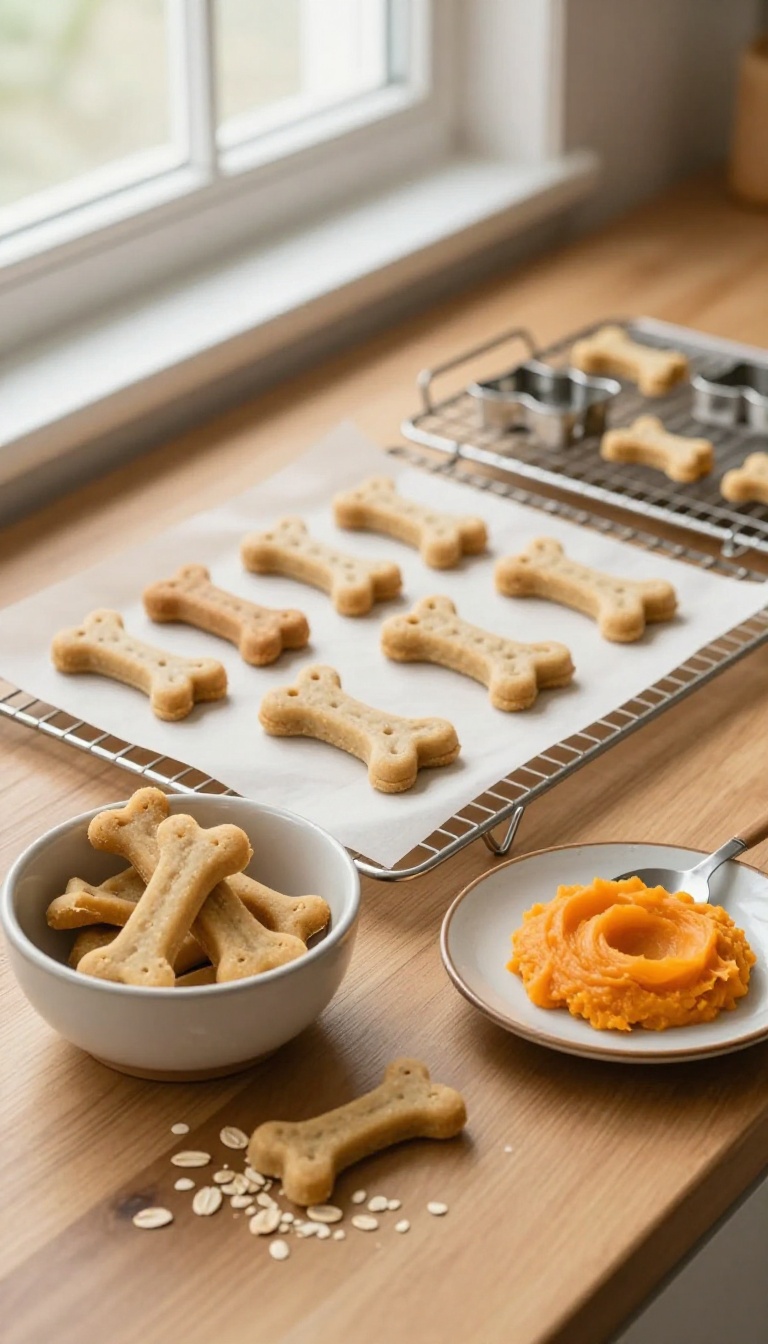
If your pup is a fan of sweet, earthy flavors and enjoys a satisfying chew, these Sweet Potato & Oat Dog Chews are about to become a household favorite. They're simple to make with just three ingredients, and they're perfect for weekly prep because they store well and stay soft and chewy for days. Whether you need a rewarding training treat or a quiet-time chew, these little bites are a wholesome choice that your dog will absolutely love.
Ingredients
- 1 cup mashed sweet potato (about 1 medium sweet potato, peeled and boiled until soft)
- 1 1/2 cups old-fashioned rolled oats
- 1/4 cup water (or as needed)
Instructions
- Preheat your oven to 350°F (175°C) and line a baking sheet with parchment paper.
- In a large bowl, mix the mashed sweet potato and rolled oats together. Add water gradually, stirring until a thick, slightly sticky dough forms. You may not need all the water, or you might need a touch more if the dough is too dry.
- Turn the dough out onto a lightly floured surface (use oat flour or a bit of extra oats). Roll it out to about 1/4-inch thickness.
- Use a dog-bone cookie cutter or a small round cutter to cut out shapes. Re-roll scraps and cut again.
- Place the treats on the prepared baking sheet and bake for 25–30 minutes, until they are firm to the touch and lightly golden on the edges.
- Let them cool completely on a wire rack before serving or storing.
Serving Tip
Store these chews in an airtight container in the refrigerator for up to one week, or freeze them for up to three months. For a softer chew, pull them out of the oven at the 25-minute mark; for a crunchier texture, leave them in for the full 30 minutes. Always supervise your dog when giving any treat, and adjust portion size based on your dog's size and dietary needs.
6. Blueberry & Oat Dog Muffins
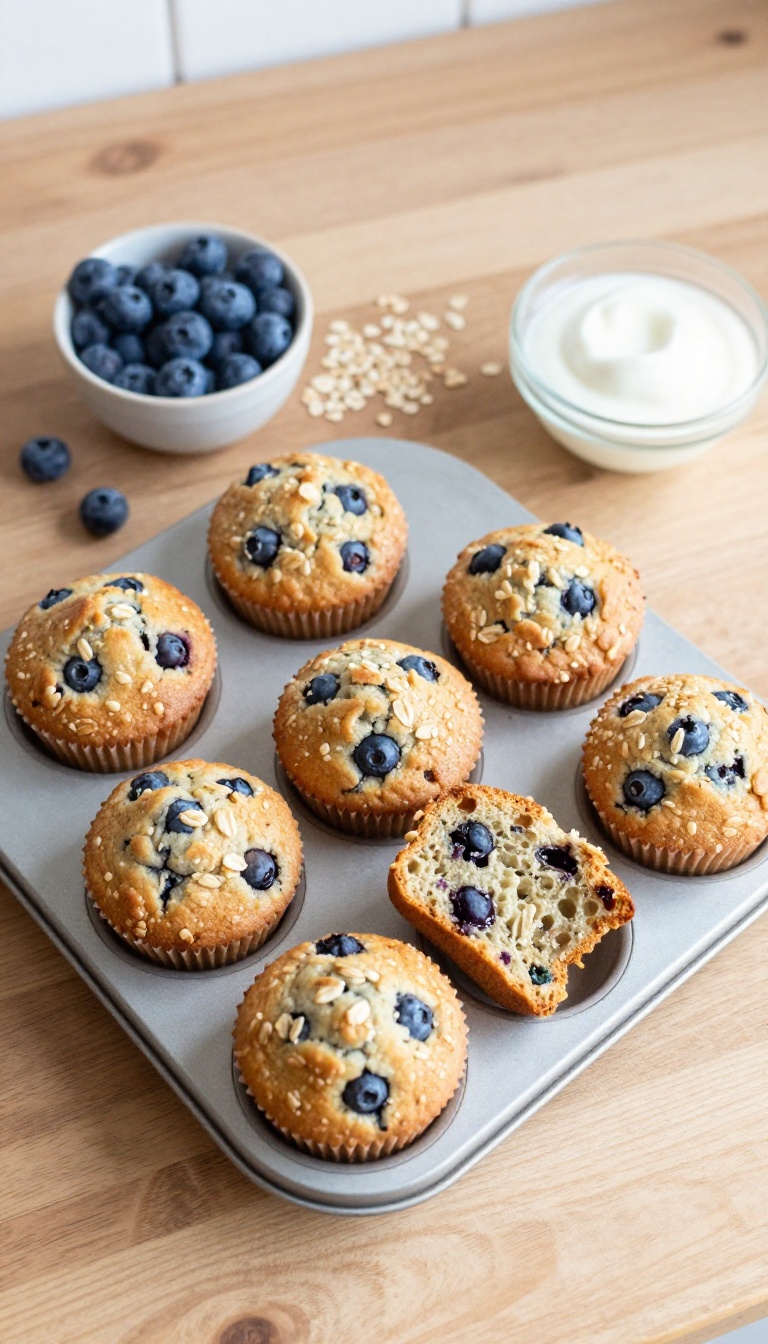
These mini muffins are a soft, chewy reward that feels like a special bakery treat, but they come together in one bowl with just three simple ingredients. The blueberries add a pop of natural sweetness and antioxidants, while the oats give them a hearty texture that dogs love. Since they're bite-sized, they're perfect for training sessions or just for sprinkling a little joy into your dog's day.
Ingredients
- 1 cup rolled oats (or quick oats)
- 1/2 cup fresh or frozen blueberries (thawed if frozen)
- 1/4 cup plain, unsweetened yogurt (no xylitol)
Instructions
- Preheat your oven to 350°F (175°C) and lightly grease a mini muffin tin or line it with mini paper liners.
- In a food processor, pulse the oats until they form a coarse flour. Add the blueberries and yogurt, then blend until a thick batter forms. If it's too dry, add a teaspoon of water at a time.
- Spoon the batter into the mini muffin cups, filling each about 3/4 full. Bake for 12–15 minutes, until the tops are set and a toothpick comes out clean.
- Let the muffins cool completely before serving. Store in an airtight container in the fridge for up to 5 days, or freeze for up to 3 months.
Serving Tip
Because these muffins are soft and moist, they're great for older dogs or those with dental issues. For training, break each muffin into smaller pieces. Keep the portion size small—one mini muffin is plenty for a medium-sized dog, and adjust based on your pup's size and calorie needs.
7. Carrot & Oat Dog Bars
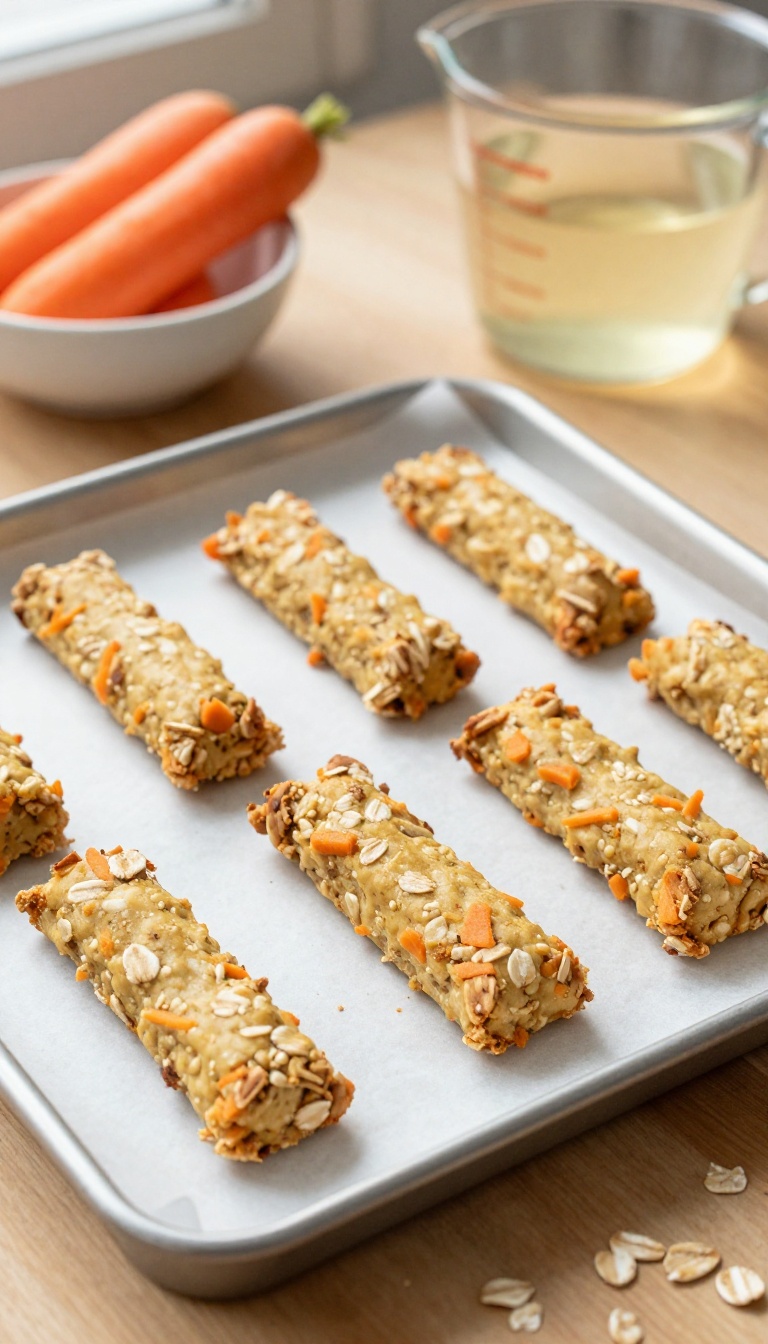
These hearty bars are a fantastic way to use up extra carrots from your fridge, and they come together in no time. The grated carrots add natural sweetness and moisture, while the oats give them a satisfying crunch that dogs love. Plus, the chicken broth ties it all together with a savory flavor that will have your pup begging for more.
Ingredients
- 1 cup rolled oats
- 1 cup grated carrots (about 2 medium carrots)
- 1/2 cup low-sodium chicken broth
Instructions
- Preheat your oven to 350°F (175°C) and line a baking sheet with parchment paper.
- In a large bowl, mix the rolled oats and grated carrots until well combined.
- Pour in the chicken broth and stir until the mixture forms a thick, sticky dough. If it seems too dry, add a tablespoon more broth at a time.
- Scoop tablespoon-sized portions of the dough and shape them into small bars or patties. Place them on the prepared baking sheet.
- Bake for 20-25 minutes, or until the bars are firm and lightly golden. Let them cool completely before serving to your dog.
Serving Tip
Store these bars in an airtight container in the fridge for up to a week, or freeze them for up to three months. For smaller dogs, break the bars into bite-sized pieces. They're perfect for training treats or a crunchy afternoon snack.
FAQ
Are oats safe for dogs?
Yes, oats are generally safe and even beneficial for dogs. They're a good source of fiber and can help with digestion. Just make sure to use plain, cooked oats and avoid any added sugar or flavorings.
Can I use quick oats instead of rolled oats?
Absolutely! Quick oats work just as well in these recipes. They'll create a slightly different texture, but your dog won't mind.
Just keep in mind that quick oats absorb more liquid, so you might need to adjust the moisture slightly.
How should I store these homemade dog treats?
Store your treats in an airtight container in the refrigerator for up to a week. For longer storage, you can freeze them for up to three months. Just thaw them in the fridge before serving.
Can I substitute ingredients if my dog has allergies?
Definitely! These recipes are flexible. If your dog is allergic to peanut butter, try using sunflower seed butter or pumpkin puree.
For grain-free options, you can swap oats for chickpea flour or coconut flour, but you may need to adjust the liquid.
How many treats should I give my dog per day?
Treats should make up no more than 10% of your dog's daily caloric intake. Start with one or two small treats and adjust based on your dog's size, activity level, and overall diet. Always consult your vet if you're unsure.
Conclusion
These 7 easy 3-ingredient oat dog treats are a fantastic way to show your pup how much you care. With simple ingredients and quick prep, you can whip up a fresh batch in no time, making weekly prep a breeze. Your dog will love the variety, and you'll love knowing exactly what's in every bite.
So grab your apron, preheat the oven, and get ready to see some happy tails. Your furry friend deserves it!

I’m Pallab Kishore, the owner of Little Pets Realm — an animal lover and pet care enthusiast sharing easy tips, healthy recipes, and honest advice to help every small pet live a happy, healthy, tail-wagging life.