
Last updated on September 4th, 2026 at 02:30 pm
Training your dog is all about timing and the right reward. But you don't need to spend a fortune on fancy treats.
With just three simple ingredients, you can whip up tasty, healthy snacks your pup will love. Plus, making them at home means you know exactly what's inside.
Whether you're teaching a new trick or just want to spoil your furry friend, these budget-friendly treats are a win-win. Let's get started!
1. Peanut Butter & Banana Bites
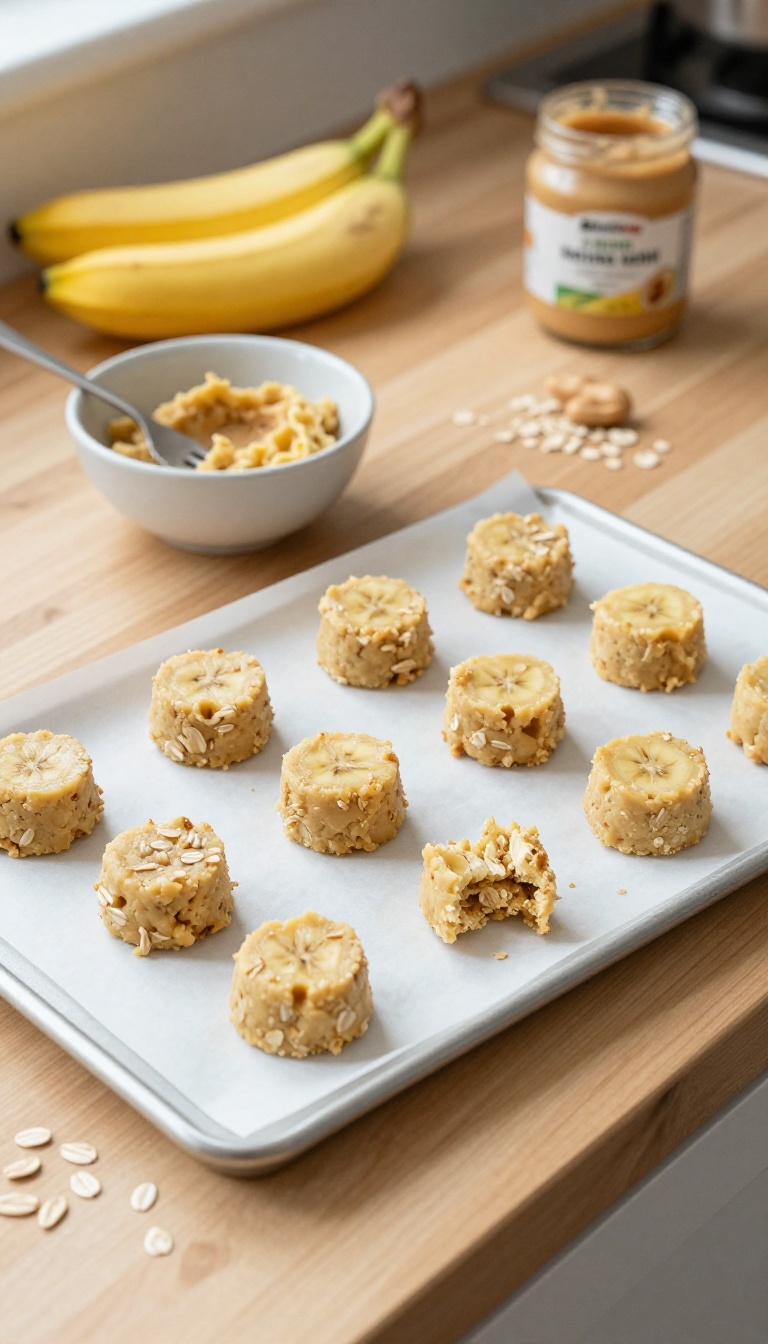
If your pup is a fan of the classic PB-and-banana combo, these soft, chewy bites are a total win. They come together in minutes with just three pantry staples, and they bake up into tiny, training-ready treats that won't crumble in your pocket. Plus, they're budget-friendly—no fancy ingredients or special equipment needed, just a fork, a bowl, and a cookie sheet.
Ingredients
- 1 ripe banana, mashed
- 1/2 cup natural peanut butter (no xylitol)
- 1 cup rolled oats
Instructions
- Preheat your oven to 350°F (175°C) and line a baking sheet with parchment paper.
- In a medium bowl, mash the banana until smooth. Stir in the peanut butter until well combined.
- Add the oats and mix until a soft dough forms. If it's too sticky, add a few more oats.
- Drop small teaspoon-sized scoops onto the prepared baking sheet, spacing them about an inch apart.
- Bake for 10–12 minutes, until the edges are lightly golden. Let cool completely before serving.
Serving Tip
These bites are soft and chewy, making them ideal for training sessions or as a quick reward. Store them in an airtight container in the fridge for up to a week, or freeze for up to three months—just thaw a few at a time so they stay fresh.
2. Sweet Potato Chews
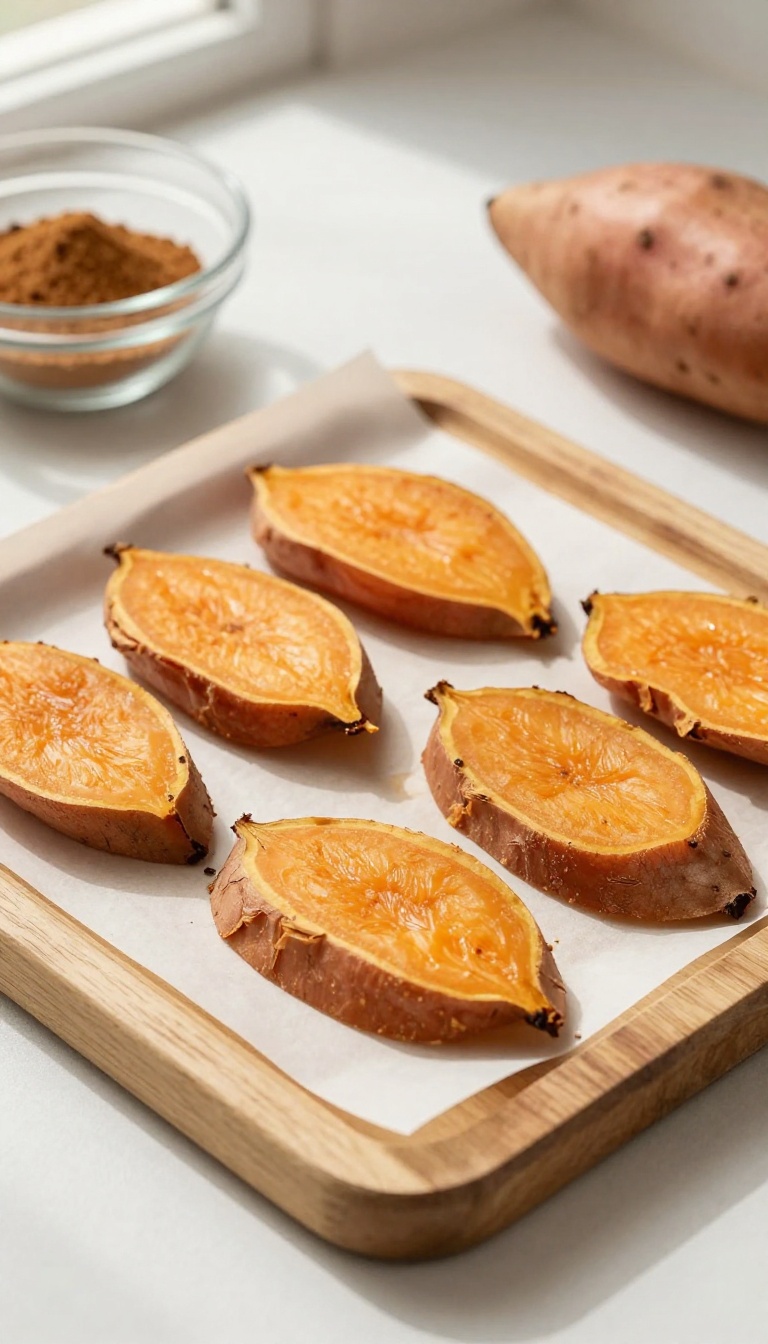
Some dogs are all about the crunch, but others live for a good, satisfying chew. If your pup falls into the latter group, these sweet potato chews are about to become a household staple. They're incredibly simple to make with just one ingredient, and they're a budget-friendly way to keep your dog happily occupied during training sessions or quiet time at home.
Plus, the natural sweetness makes them feel like a special reward without any added sugar or fuss.
Ingredients
- 1 large sweet potato
- Optional: a light sprinkle of cinnamon (dog-safe, but skip if your pup has a sensitive stomach)
- No other ingredients needed – just the sweet potato!
Instructions
- Preheat your oven to 200°F (95°C) and line a baking sheet with parchment paper.
- Wash the sweet potato thoroughly and slice it into thin, even rounds – aim for about 1/8-inch thick. Thinner slices will crisp up more, while thicker ones stay chewier.
- Arrange the slices in a single layer on the prepared baking sheet, making sure they don't overlap.
- Bake for 2 to 3 hours, flipping the slices halfway through. Check at the 2-hour mark: if they're still soft in the center, keep going and check every 20 minutes until they're chewy but not brittle. Let them cool completely before serving – they'll firm up a bit as they cool.
Serving Tip
These chews are perfect for training because you can break them into smaller pieces for quick rewards. Store them in an airtight container in the fridge for up to a week, or freeze them for up to 3 months – just thaw a few at a time. Keep an eye on your dog while they chew, and adjust slice thickness based on your pup's size and chewing style.
3. Pumpkin & Oat Cookies
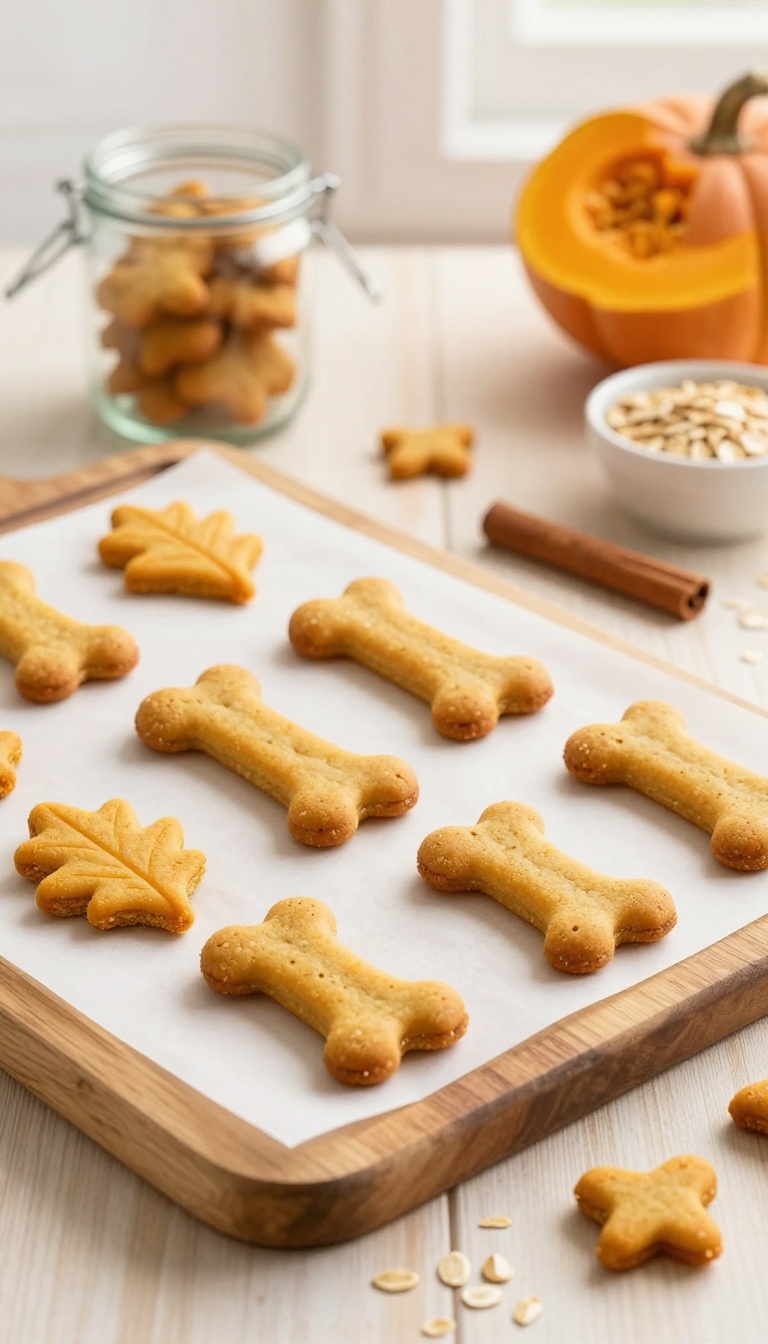
When the leaves start to turn and the air gets crisp, it's the perfect time to bake up something cozy for your pup. These Pumpkin & Oat Cookies are a budget-friendly way to bring a little autumn joy to your dog's treat jar. With just three simple ingredients, you can whip up a batch of soft, chewy cookies that are packed with the flavors dogs love—and they're gentle on your wallet too.
Plus, they're so easy to roll and cut into tiny shapes, making them ideal for training sessions or just a sweet little reward.
Ingredients
- 1 cup canned pumpkin (unsweetened, not pumpkin pie filling)
- 2 cups rolled oats
- 1/2 teaspoon ground cinnamon (optional, but adds a nice aroma)
Instructions
- Preheat your oven to 350°F (175°C) and line a baking sheet with parchment paper.
- In a large bowl, mix together the canned pumpkin, rolled oats, and cinnamon until a thick, sticky dough forms.
- Roll the dough out on a lightly floured surface to about 1/4-inch thickness, then use small cookie cutters to cut out fun shapes.
- Place the cookies on the prepared baking sheet and bake for 20-25 minutes, until they are firm to the touch and slightly golden around the edges.
- Let the cookies cool completely on a wire rack before serving to your pup.
Serving Tip
These cookies are soft and chewy, making them great for training rewards—just break them into tiny pieces. Store them in an airtight container in the refrigerator for up to a week, or freeze for up to three months. For extra crunch, bake them a little longer, but keep an eye on them to avoid burning.
4. Frozen Yogurt Drops
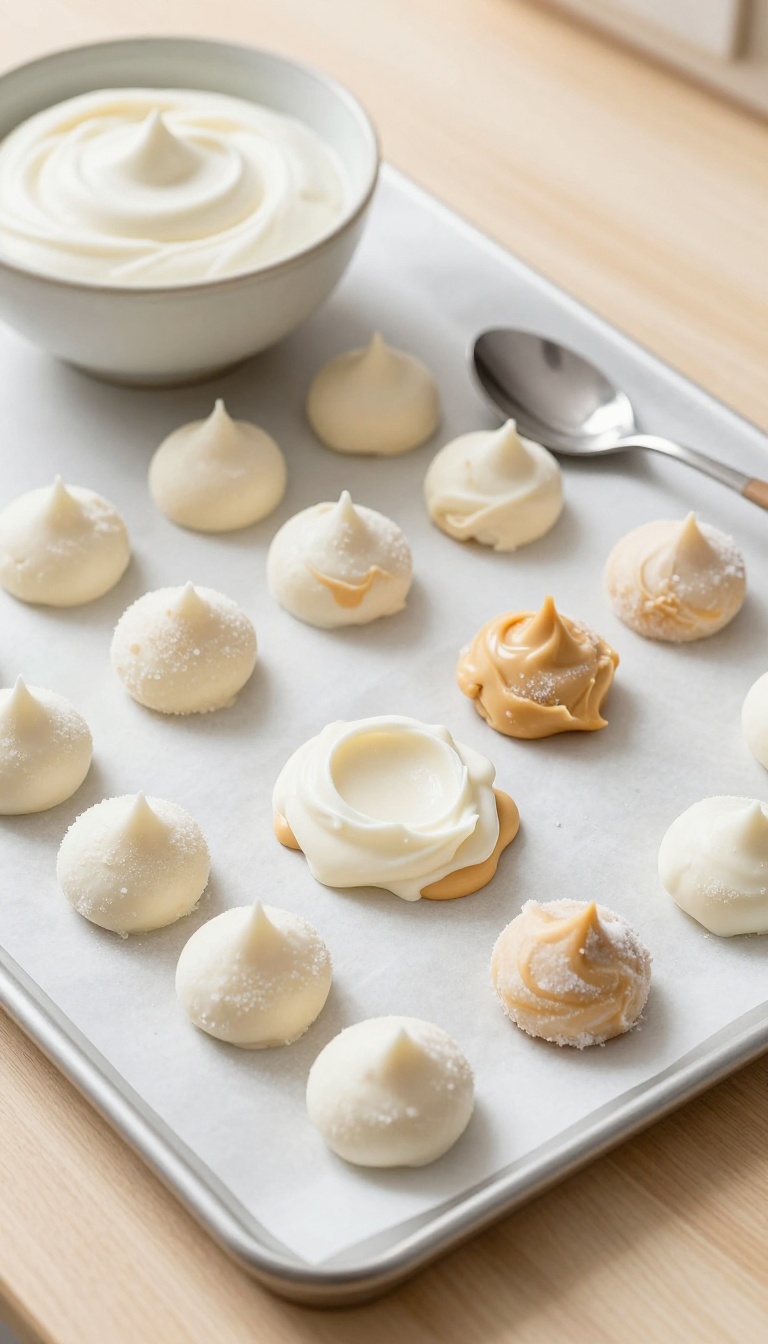
When the sun is blazing and your pup is looking for a way to cool down, these frozen yogurt drops are a simple, budget-friendly win. You only need three ingredients you probably already have, and they come together in minutes. They're perfect for training sessions or just a refreshing little reward after a walk, and dogs absolutely love the creamy, chilly texture.
Ingredients
- 1 cup plain, unsweetened yogurt (Greek or regular)
- 2 tablespoons natural peanut butter (xylitol-free)
- 1 teaspoon honey (optional, for a touch of sweetness)
Instructions
- In a small bowl, stir together the yogurt, peanut butter, and honey until smooth and well combined.
- Line a baking sheet with parchment paper. Drop small spoonfuls (about 1/2 teaspoon each) of the mixture onto the sheet, spacing them apart.
- Place the baking sheet in the freezer for 2-3 hours, or until the drops are completely frozen solid.
- Once frozen, transfer the drops to an airtight container or zip-top bag and store in the freezer.
Serving Tip
These frozen drops are best served straight from the freezer. For training, keep them small—about the size of a pea—and let them soften for a minute or two if your dog prefers a less icy treat. They'll last up to 3 months in the freezer, so you can make a big batch ahead of time.
5. Carrot & Apple Crunchies
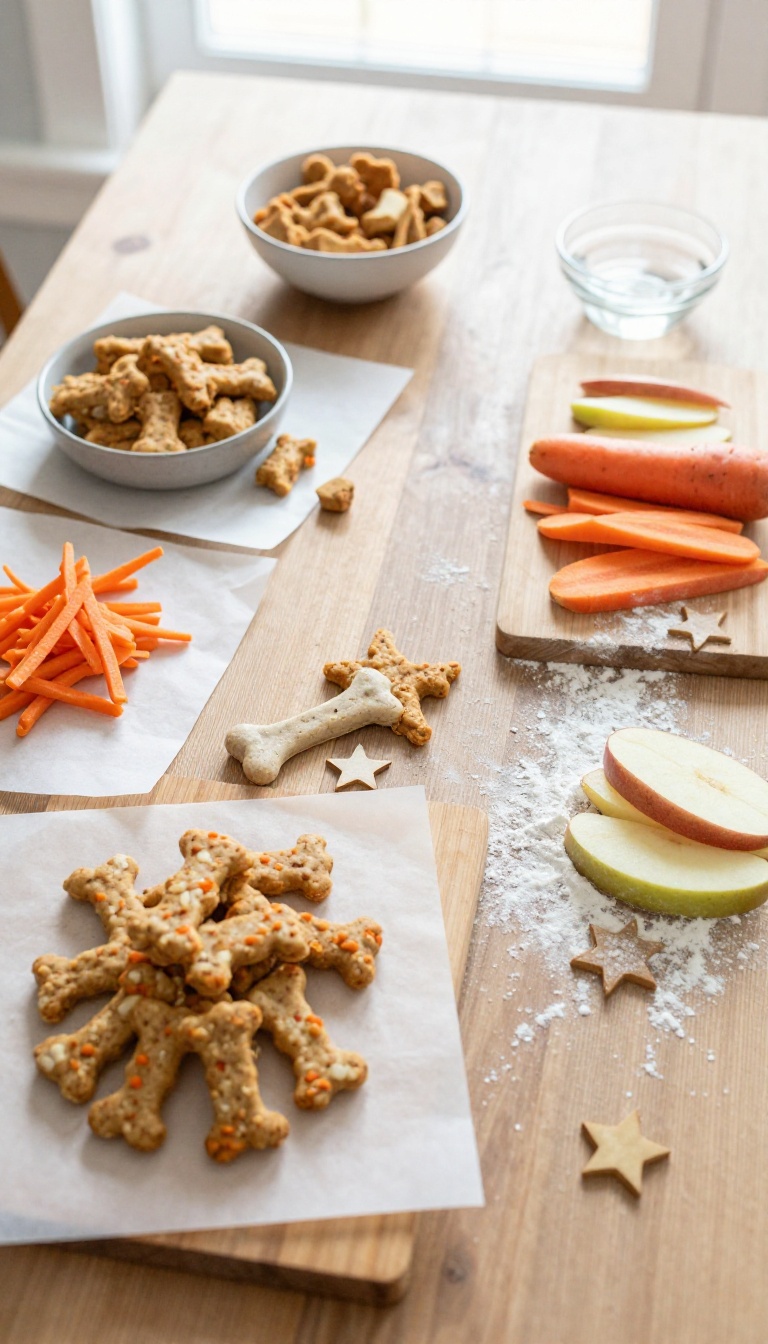
Carrots and apples are two of the most budget-friendly fruits and veggies you can find, and they're also totally safe for dogs. These crunchy bites come together with just a handful of ingredients, making them perfect for a quick baking session when you want to spoil your pup without spending a lot. The natural sweetness of the apple and the earthy crunch of the carrot create a texture that dogs love, and you'll love how easy they are to make.
Ingredients
- 1 cup grated carrot (about 1 medium carrot)
- 1 cup grated apple (about 1 medium apple, seeds removed)
- 2 cups whole wheat flour (plus extra for rolling)
Instructions
- Preheat your oven to 350°F (175°C) and line a baking sheet with parchment paper.
- In a large bowl, mix the grated carrot, grated apple, and whole wheat flour until a dough forms. If it's too dry, add a tablespoon of water at a time until it comes together.
- Turn the dough out onto a lightly floured surface and roll it to about 1/4-inch thickness.
- Use a small cookie cutter or a knife to cut out fun shapes, then place them on the prepared baking sheet.
- Bake for 25-30 minutes, or until the treats are golden and crisp. Let them cool completely before serving.
Serving Tip
These crunchies are great for training because they're small and firm. Store them in an airtight container in the fridge for up to a week, or freeze them for up to three months. For smaller dogs, break them into smaller pieces to avoid overfeeding.
6. Chicken & Rice Balls
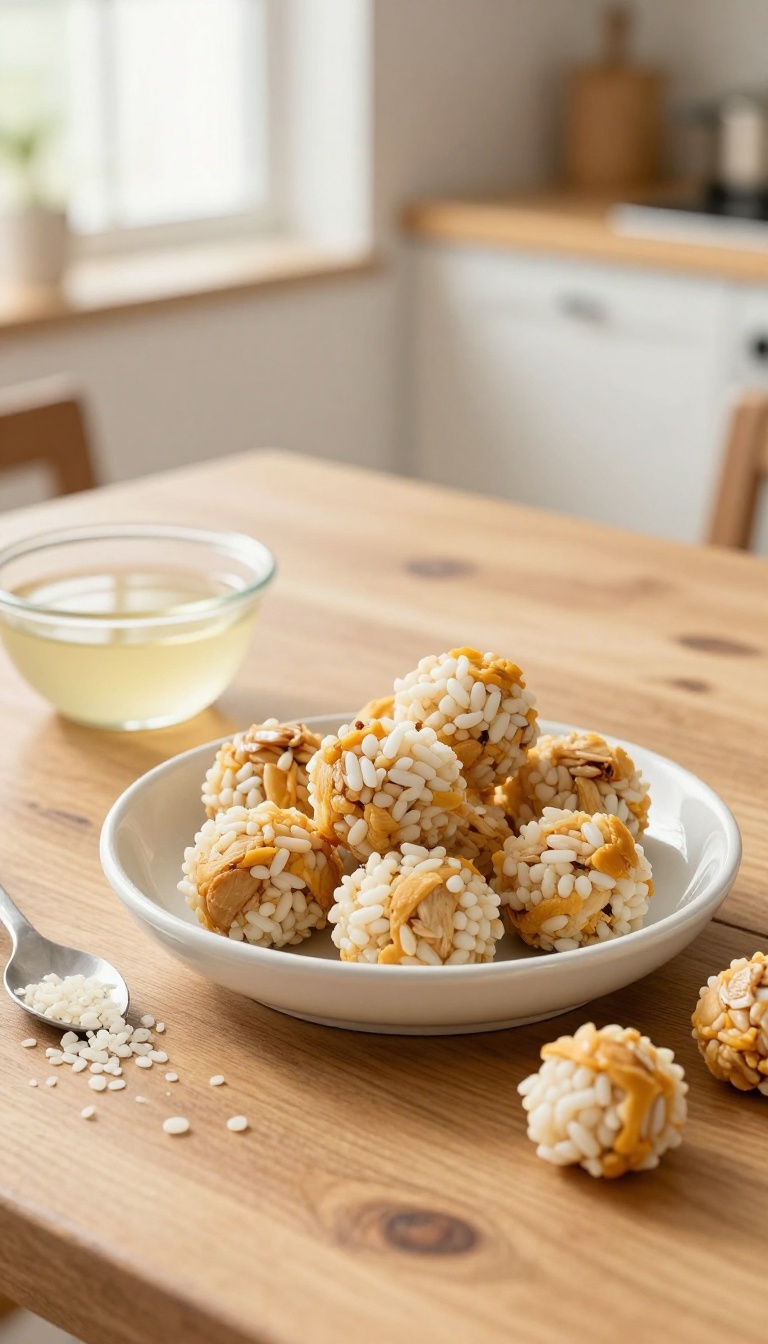
These little balls are like a warm hug for your pup's taste buds. Made with just chicken, rice, and broth, they're soft, savory, and perfect for training sessions where you need something extra special. Since they're budget-friendly, you can make a big batch without breaking the bank, and your dog will think you're the best chef ever.
Whether you're teaching a new trick or just want to spoil your furry friend, these chicken and rice balls are a crowd-pleaser that's sure to get tails wagging.
Ingredients
- 1 cup cooked chicken, shredded or finely chopped
- 1 cup cooked white rice
- 2–3 tablespoons low-sodium chicken broth (or water)
Instructions
- In a mixing bowl, combine the cooked chicken and rice. Add the broth a little at a time, mixing until the mixture holds together when pressed.
- Scoop out small portions and roll them into bite-sized balls, about the size of a marble or slightly larger, depending on your dog's size.
- Place the balls on a plate or baking sheet and refrigerate for at least 30 minutes to help them firm up before serving.
Serving Tip
- These balls are soft and easy to break apart, making them ideal for small dogs or puppies. Store them in an airtight container in the fridge for up to 3 days, or freeze them for up to a month. For training, keep a few in a zip-top bag in your pocket—just make sure they're not too crumbly.
- Always let them come to room temperature before giving to your dog, and adjust portion size based on your dog's daily calorie needs.
7. Cheese & Spinach Bites
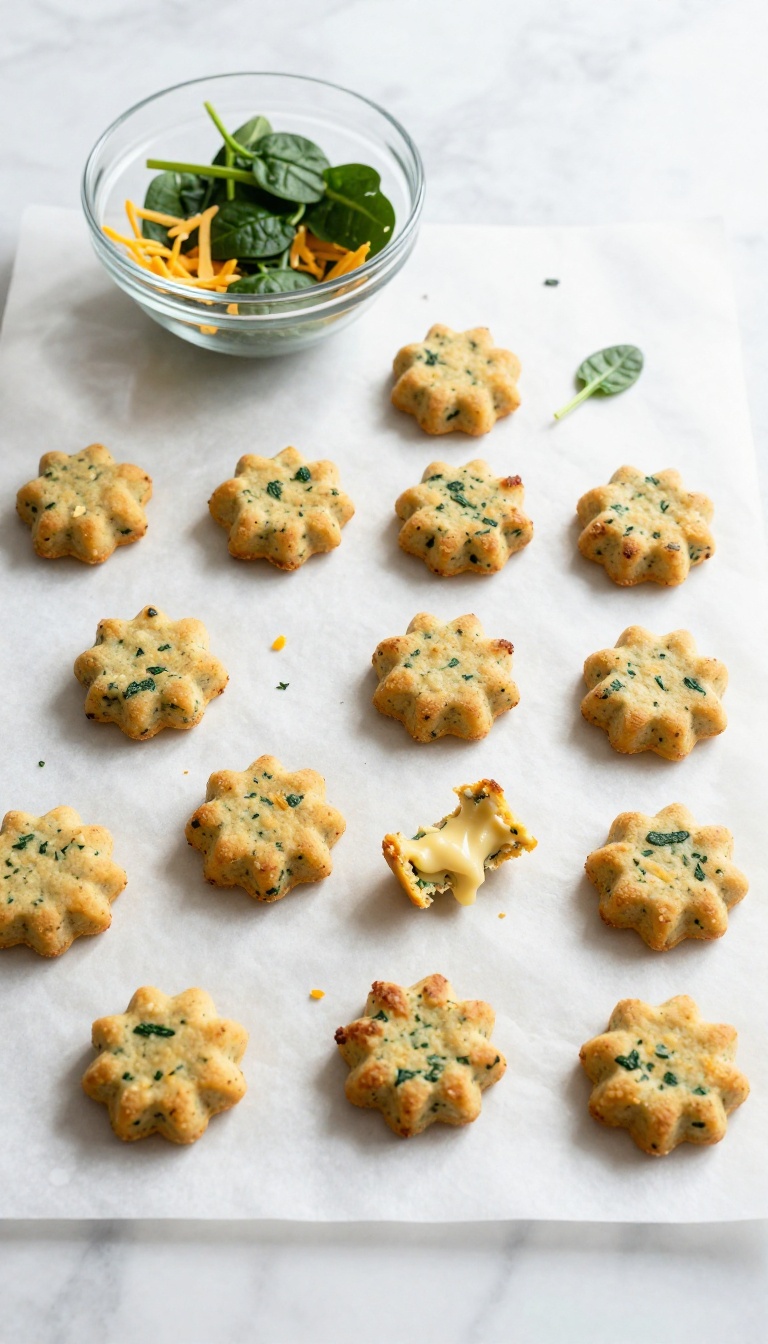
When you want a treat that feels a little more substantial, these cheesy spinach bites are a great pick. They come together fast with just three fridge staples, and the combo of cheese and greens makes them a crowd-pleaser for picky pups. Plus, they're budget-friendly since you probably already have most of the ingredients on hand.
Ingredients
- 1 cup shredded cheddar cheese
- 1 cup fresh spinach, finely chopped
- 1 large egg
Instructions
- Preheat your oven to 350°F (175°C) and line a baking sheet with parchment paper.
- In a bowl, mix the shredded cheese, chopped spinach, and egg until well combined.
- Scoop small spoonfuls of the mixture onto the baking sheet, flattening them slightly with the back of a spoon.
- Bake for 12–15 minutes until the edges are golden and the bites are set. Let cool completely before serving.
Serving Tip
These bites are best served fresh but can be stored in an airtight container in the fridge for up to 4 days. For training, break them into smaller pieces to keep portions tiny. You can also freeze them for up to 2 months—just thaw in the fridge before use.
8. Blueberry & Oat Bars
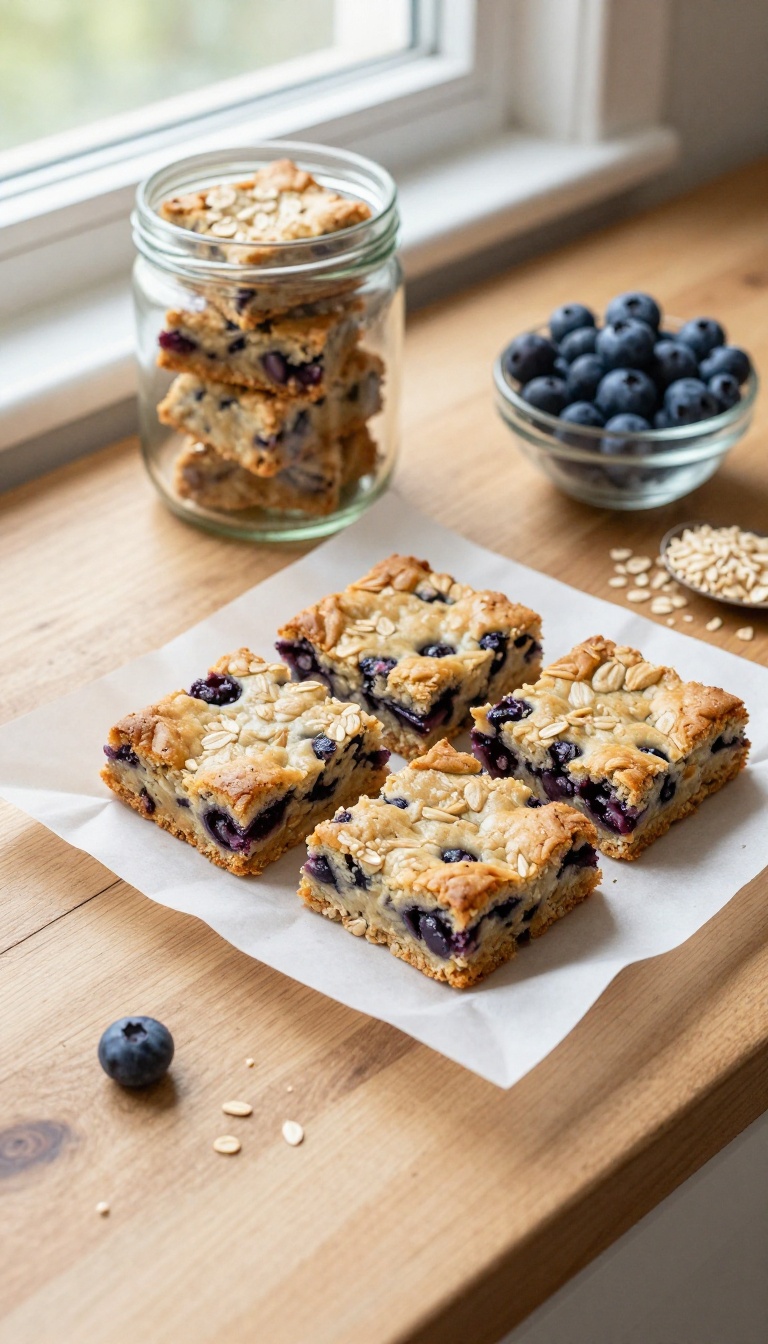
If your dog goes wild for sweet, fruity snacks, these blueberry oat bars are a budget-friendly way to say 'good boy' without breaking the bank. Blueberries are packed with antioxidants, and oats are a gentle, filling grain that many dogs love. You probably already have these three ingredients in your pantry, so you can whip up a batch whenever you need a quick reward.
Ingredients
- 1 cup fresh or frozen blueberries (thawed if frozen)
- 2 cups rolled oats (not instant)
- 1/2 cup water (or more as needed)
Instructions
- Preheat your oven to 350°F (175°C) and line an 8×8-inch baking pan with parchment paper.
- In a mixing bowl, lightly mash the blueberries with a fork—you want some whole berries for texture but mostly crushed ones.
- Stir in the rolled oats and water until everything is well combined. The mixture should be slightly sticky but not runny; add a little more water if it’s too dry.
- Press the mixture evenly into the prepared pan, smoothing the top with a spatula.
- Bake for 20–25 minutes, until the edges are golden and the center is set. Let cool completely in the pan.
- Once cool, slice into small bite-sized bars or squares. Store in an airtight container in the fridge for up to a week.
Serving Tip
These bars are soft and chewy, making them perfect for training sessions or as a tiny treat between meals. Cut them into small squares—about 1 inch—so they’re easy to pop in your pocket during walks. You can also freeze them for up to three months; just thaw a few at a time in the fridge.
9. Salmon & Sweet Potato Patties
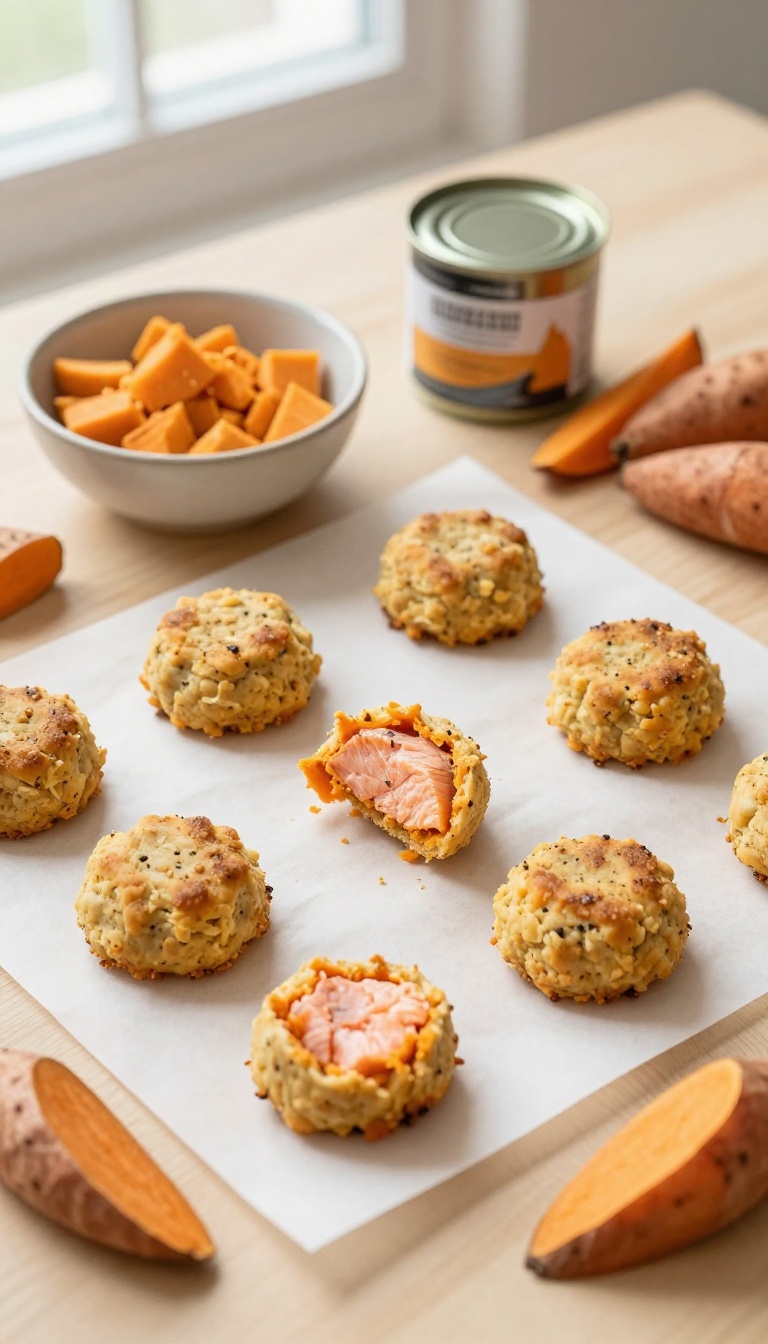
If your dog loves fishy flavors and you want a treat that’s kind to your wallet, these patties are a win-win. Canned salmon is a budget-friendly way to add omega-3s for a shiny coat, and sweet potatoes bring natural sweetness and fiber. They’re soft, flaky, and perfect for training sessions or a special snack.
Ingredients
- 1 can (15 oz) salmon, drained and flaked
- 1 cup mashed sweet potato (cooked and cooled)
- 1 large egg
Instructions
- Preheat your oven to 350°F (175°C) and line a baking sheet with parchment paper.
- In a mixing bowl, combine the flaked salmon, mashed sweet potato, and egg. Mix until well blended.
- Scoop tablespoon-sized portions and shape into small patties. Place them on the prepared baking sheet.
- Bake for 15–18 minutes, until the patties are firm and lightly golden on the edges. Let them cool completely before serving.
Serving Tip
Store these patties in an airtight container in the fridge for up to 5 days, or freeze them for up to 3 months. They’re soft enough to break into tiny pieces for training rewards, and you can even crumble them over your dog’s regular meal as a tasty topper.
10. Coconut & Banana Balls
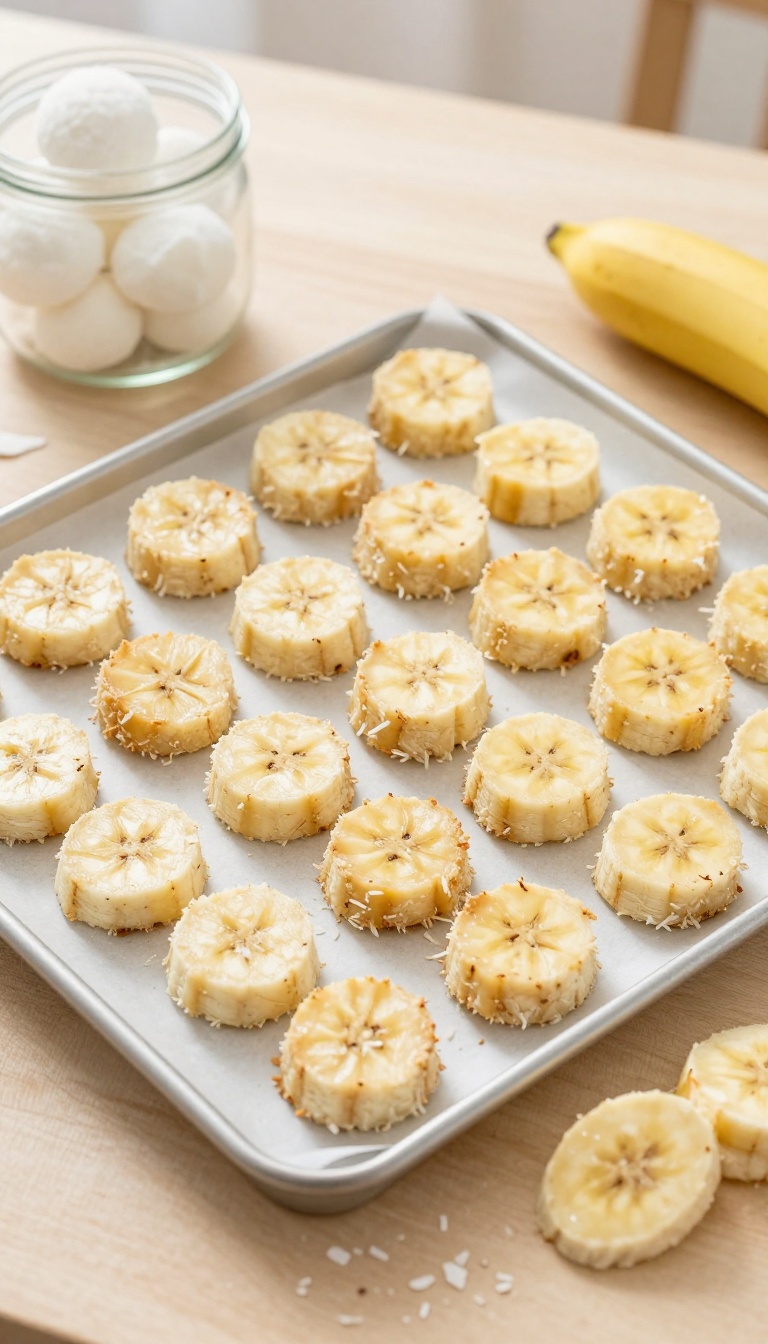
These no-bake bites are like a mini tropical vacation for your pup's taste buds. The combo of creamy banana and chewy coconut is a crowd-pleaser that feels a little fancy, but it's actually one of the most budget-friendly treats you can whip up. With just three simple ingredients you probably already have, you can make a batch that keeps your dog happy without stretching your wallet.
Ingredients
- 2 ripe bananas, mashed
- 1/2 cup unsweetened shredded coconut
- 1 tablespoon coconut oil, melted
Instructions
- In a medium bowl, mash the bananas until smooth. Stir in the shredded coconut and melted coconut oil, mixing until everything is well combined.
- Roll the mixture into small, bite-sized balls (about 1 inch in diameter) and place them on a parchment-lined baking sheet.
- Freeze the balls for at least 1 hour, or until firm. Store them in an airtight container in the freezer.
Serving Tip
Keep these frozen and serve them straight from the freezer—they'll be chewy and refreshing, perfect for a quick training reward or a warm-day treat. Because they're frozen, they last for up to 3 months, so you can make a big batch and always have a healthy snack on hand. Start with one ball per treat session, adjusting for your dog's size.
FAQ
Are these treats safe for all dogs?
Most are safe, but always check with your vet if your dog has allergies or health conditions. Avoid ingredients like xylitol or chocolate.
How should I store homemade dog treats?
Store in an airtight container in the fridge for up to a week, or freeze for longer. Frozen treats can last up to 3 months.
Can I use these treats for training?
Absolutely! Cut them into tiny pieces so they're easy to eat quickly during training sessions. Keep them small to avoid overfeeding.
What if my dog has a sensitive stomach?
Start with simple recipes like sweet potato or pumpkin. Introduce new treats gradually and watch for any digestive upset.
Can I substitute ingredients?
Yes, but keep the 3-ingredient rule in mind. Swap peanut butter for sunflower seed butter, or use oat flour instead of wheat if needed.
Conclusion
These 10 easy, 3-ingredient treats are proof that you don't need a lot to make your dog happy. They're budget-friendly, simple to prepare, and perfect for training or just showing your pup some love. Try a few and see which ones become your dog's new favorites.
Your furry friend will thank you with wagging tails and eager eyes. Happy treat-making!

I’m Pallab Kishore, the owner of Little Pets Realm — an animal lover and pet care enthusiast sharing easy tips, healthy recipes, and honest advice to help every small pet live a happy, healthy, tail-wagging life.