Last updated on February 12th, 2026 at 06:36 pm
Dog grooming gets expensive fast when you treat every little mess like an emergency. One muddy walk turns into a full bath, and suddenly your weekend disappears along with your patience.
The good news is you don’t need fancy tools or professional skills to keep your dog clean.
You just need a few smart habits that make grooming easier, faster, and way cheaper.
1. Use Baby Wipes the Right Way (Not Randomly)
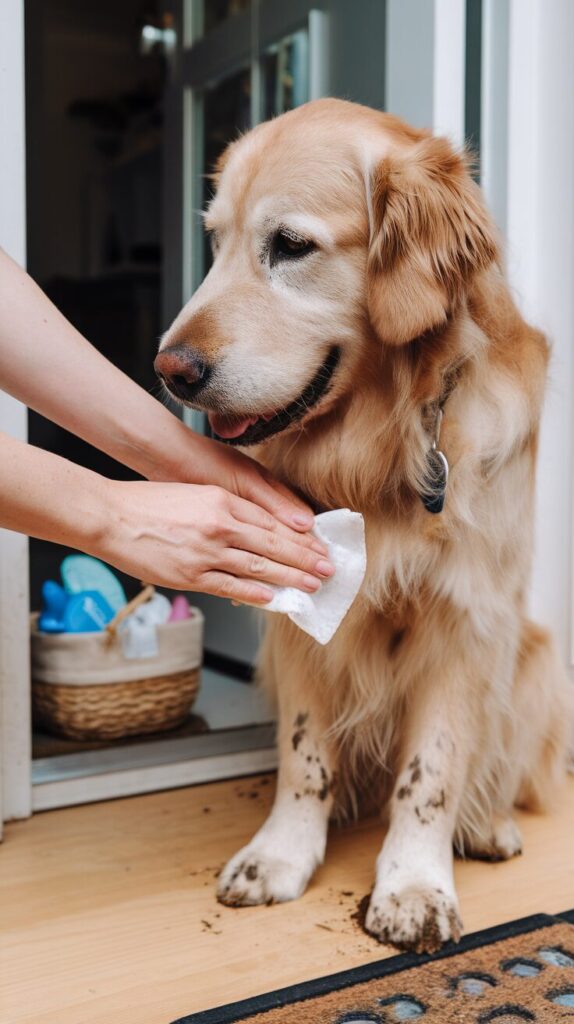
Most people grab wipes only when their dog already looks like a disaster. That’s usually too late, because dirt has already dried into the fur and now you’re basically scrubbing a carpet.
I keep unscented baby wipes near the door and use them right after walks. It sounds simple, but it prevents that “dog smell buildup” that creeps in slowly until your whole house smells like a kennel.
Wipes work best as a quick maintenance tool, not a deep cleaning method. Think of them like brushing your teeth, not like going to the dentist.
Why It Works
Baby wipes remove surface grime before it turns into stuck-on gunk. They also cut down on how often you need full baths, which saves money and saves your dog’s skin.
Frequent bathing dries out a dog’s coat and makes them itchy, so avoiding unnecessary baths actually helps their health too. Plus, fewer baths means less shampoo, less water, and less chaos.
How to Use / Apply / Style
- Wipe paws first, because they track in most of the dirt
- Focus on the belly area, especially for short dogs
- Clean around the mouth after meals if your dog has a drooly face
- Use a fresh wipe per area so you don’t just spread grime
- Finish with a quick towel rub so fur doesn’t stay damp
Tips & Variations
Quick tip: Always buy unscented wipes, because fragrance can irritate sensitive skin.
Optional variation: Keep a small wipe pack in your bag or car for surprise mud moments.
2. Brush Before Bathing, Not After
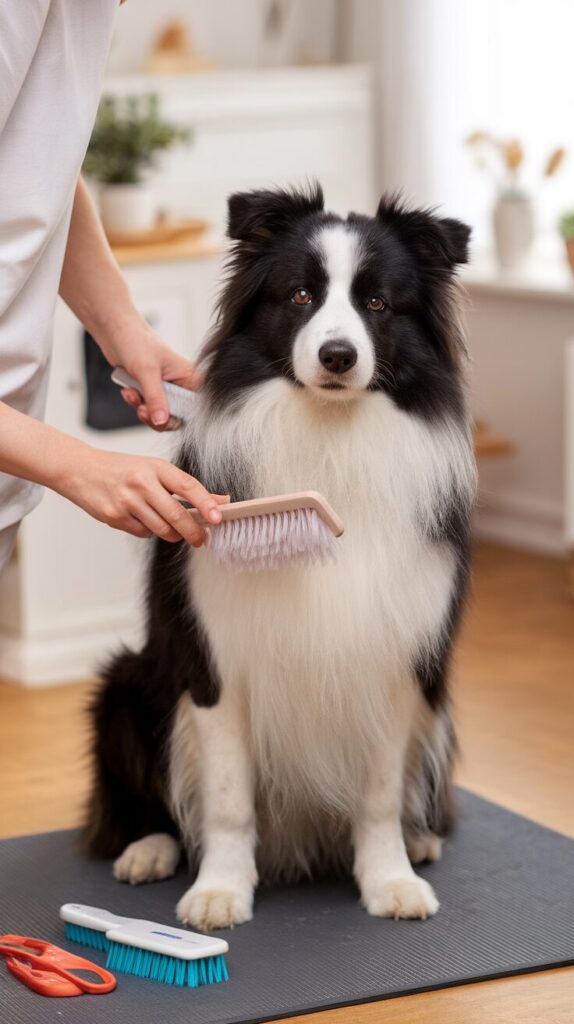
Most people brush their dog after the bath because it “feels logical.” That’s the exact wrong order, because wet fur tangles like crazy and suddenly your brush turns into a torture device.
I learned this the hard way when I tried brushing a damp golden retriever and nearly started a fight with a dog who usually loves me. Dry brushing before the bath prevents knots and removes loose hair before water turns it into clumps.
It also makes the bath itself easier because the shampoo spreads more evenly. Less scrubbing, less time, less drama.
Why It Works
Brushing before bathing removes loose undercoat hair that would otherwise clog your drain. It also prevents matting, which can lead to painful skin pulling.
A clean, detangled coat dries faster too. That means less time with a wet dog shaking water across your walls like a sprinkler.
How to Use / Apply / Style
- Use a slicker brush for fluffy coats and a rubber brush for short coats
- Brush in the direction of hair growth first
- Lift fur layers gently to reach the undercoat
- Focus on armpits, behind ears, and tail base
- Do a quick second pass to catch what you missed
Tips & Variations
Quick tip: Brush for 5 minutes daily instead of 30 minutes weekly.
Optional variation: Use a de-shedding tool once a week if your dog sheds like it’s their job.
Get the Free Healthy Dog Treat Starter Pack
Easy homemade dog treat recipes, simple safety tips, and helpful printable pages for dog parents who want to make treat time more fun.
3. Make a DIY Dry Shampoo With Cornstarch
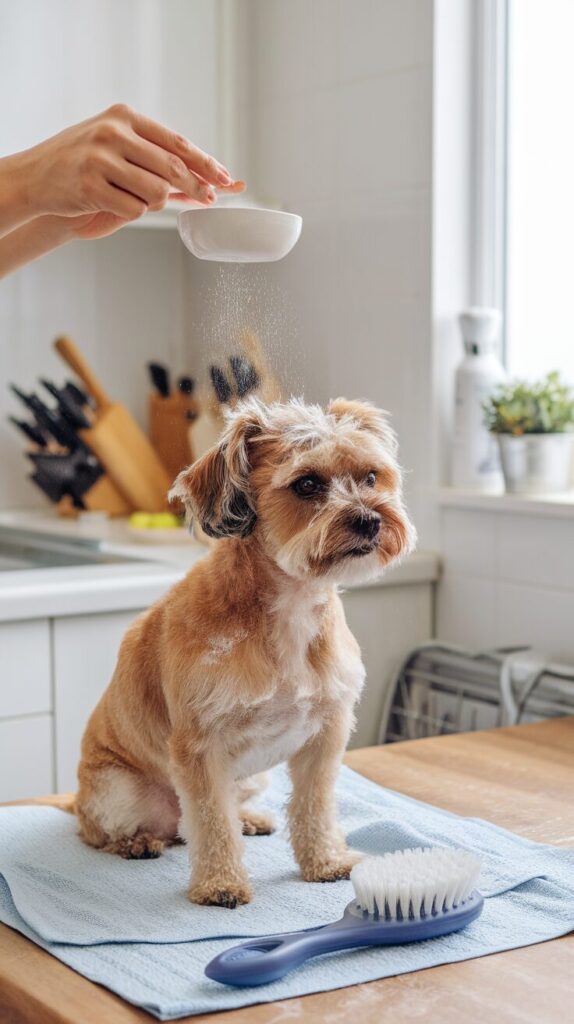
Not every dog needs a full bath just because they smell a little “doggy.” Sometimes your dog just rolled on grass and now has that weird outdoor funk.
Cornstarch works like a cheap dry shampoo because it absorbs oil and odor. I’ve used it when guests were coming over and my dog smelled suspiciously like adventure.
It won’t replace real cleaning, but it saves you from unnecessary bath time. It’s basically a quick reset button.
Why It Works
Cornstarch absorbs excess oil from the coat and reduces odor fast. It also loosens dirt, making brushing more effective afterward.
Dry shampoo methods work great for winter too, when you don’t want a wet dog in a cold house. That alone saves your sanity.
How to Use / Apply / Style
- Sprinkle a small amount onto your dog’s coat
- Rub it gently into the fur with your hands
- Let it sit for 2–3 minutes
- Brush thoroughly to remove powder and dirt
- Avoid eyes, nose, and mouth area
Tips & Variations
Quick tip: Use very little at first, because too much makes your dog look dusty.
Optional variation: Mix cornstarch with a tiny pinch of baking soda for extra odor control.
4. Use a Towel “Pre-Bath” Instead of Instant Water
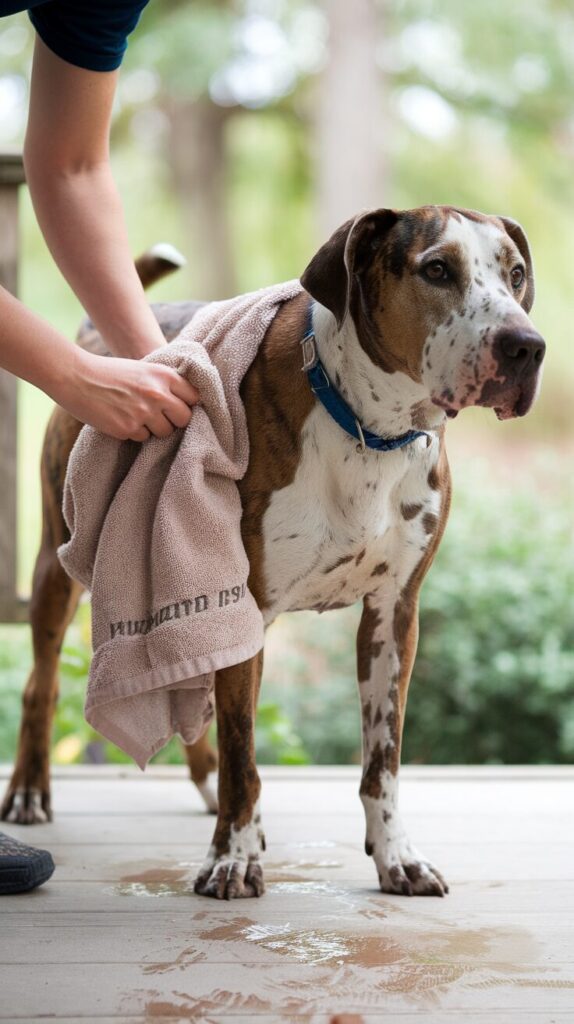
Some dogs hate baths because the water shock feels aggressive. You know the moment you turn on the tap and your dog suddenly remembers they have urgent business somewhere else.
A towel wipe-down first makes bath time easier and faster. It removes surface dirt so the water doesn’t turn into a muddy soup instantly.
I do this especially after rainy walks. It makes the actual bath shorter and less messy.
Why It Works
A towel removes loose mud and debris before you add water. That means you use less shampoo and spend less time rinsing.
It also keeps your bathtub cleaner, which saves you from scrubbing the tub afterward. Nobody wants to wash the dog and then wash the bathroom like it’s a second job.
How to Use / Apply / Style
- Use an old towel you don’t care about
- Rub paws, belly, and legs first
- Press gently instead of aggressively rubbing sensitive areas
- Shake out the towel outside before continuing
- Then start the bath with cleaner fur already
Tips & Variations
Quick tip: Keep a mud towel near the door and accept that it will never be pretty again.
Optional variation: Use microfiber towels for dogs with thick coats because they absorb faster.
5. Trim Paw Hair to Stop Dirt Tracking
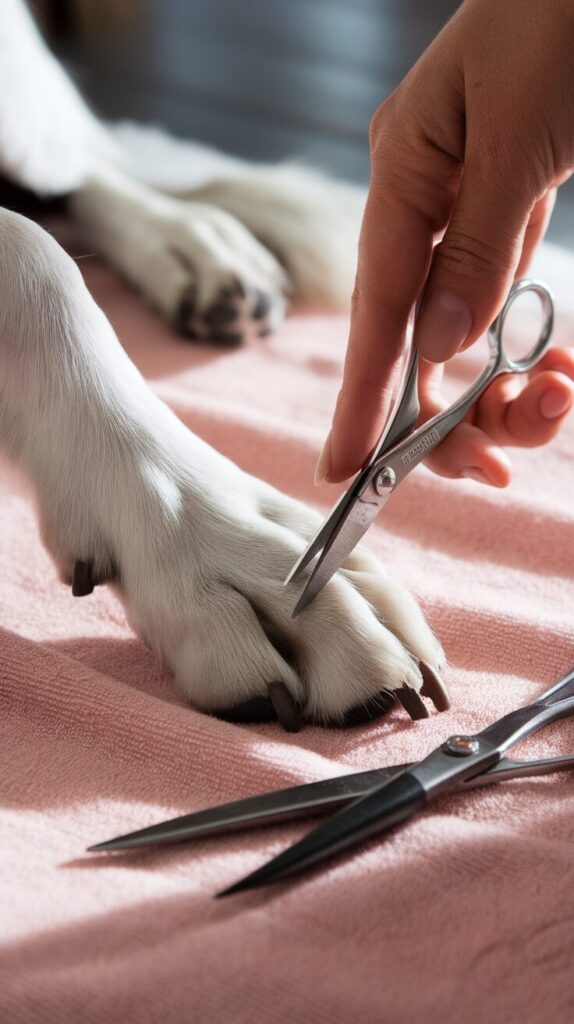
Long paw fur looks cute until your dog starts collecting dirt like a walking mop. If your dog has fluffy feet, they basically carry tiny mud sponges everywhere.
Trimming paw hair makes your floors cleaner instantly. It also prevents mats between the toes, which can get painful and trap moisture.
I don’t mean shaving the paw bald either. Just a clean trim around the pads makes a massive difference.
Why It Works
Shorter paw hair reduces dirt buildup and helps dogs maintain better traction. It also reduces the risk of slipping on tile floors.
Moist fur between paw pads can cause irritation and even yeast problems. Keeping it neat helps with hygiene and comfort.
How to Use / Apply / Style
- Use small grooming scissors or pet clippers
- Spread the paw gently and locate the pads
- Trim the fur that hangs over the pads
- Avoid cutting too close to skin
- Reward your dog immediately so they tolerate it next time
Tips & Variations
Quick tip: Trim paws after a walk when your dog feels calmer and tired.
Optional variation: Use an electric trimmer if your dog hates scissors near their feet.
6. Use Conditioner on Long Coats (Yes, Really)
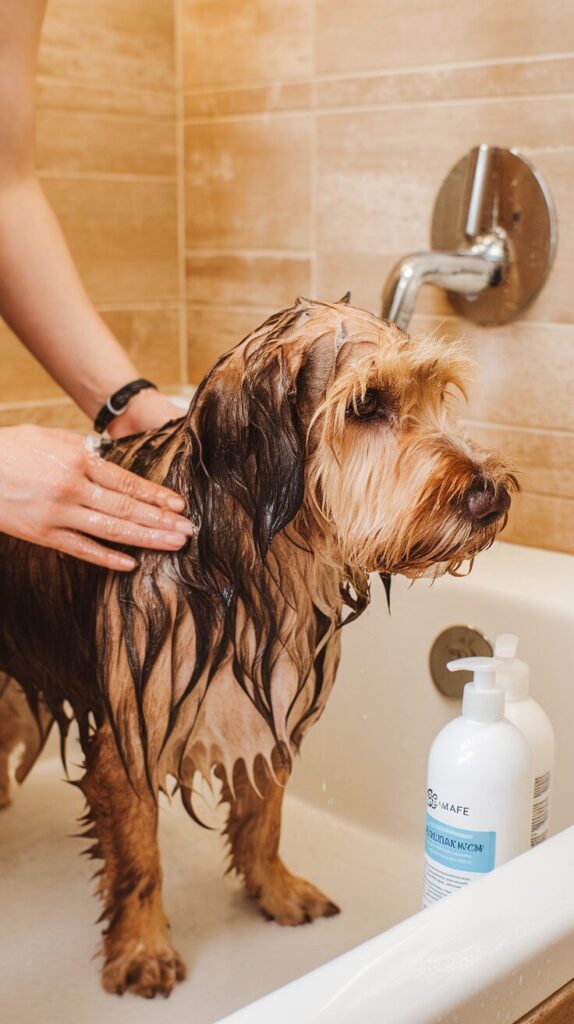
A lot of people skip conditioner because they think it’s “extra.” For long-haired dogs, skipping conditioner creates tangles, mats, and endless brushing pain later.
Conditioner makes the coat smoother and reduces shedding breakage. I started using it on fluffy dogs and instantly noticed less hair on furniture and less brushing struggle.
The key is using pet-safe conditioner, not your fancy salon stuff. Dogs don’t need coconut lavender luxury.
Why It Works
Conditioner softens the coat and prevents friction between hair strands. That reduces tangles and makes drying faster.
A smooth coat collects less dirt too. Dirt sticks to rough, dry fur way more than soft fur.
How to Use / Apply / Style
- Shampoo first and rinse thoroughly
- Apply conditioner lightly, focusing on tail, legs, and belly
- Leave it on for 2–3 minutes
- Rinse until water runs clean
- Towel dry and brush gently
Tips & Variations
Quick tip: Always rinse well, because leftover conditioner can cause itchiness.
Optional variation: Use a leave-in detangling spray for quick daily brushing sessions.
7. Blow Dry With a Cheap Hair Dryer on Cool Mode
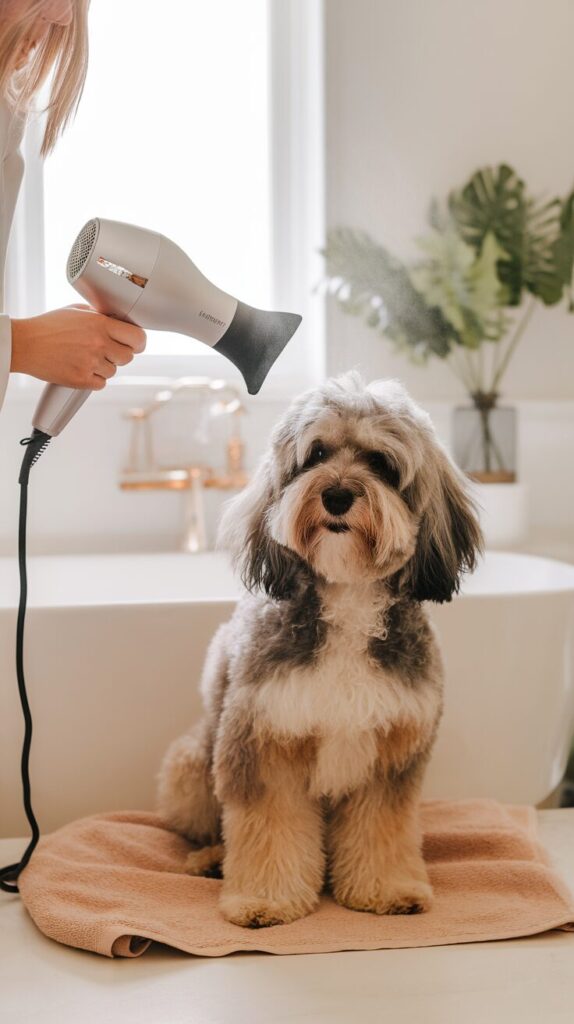
Professional groomers use high-powered dryers, but you don’t need to spend a fortune. A basic hair dryer works fine if you use the right setting and don’t cook your dog like a rotisserie chicken.
Drying matters more than people think. Wet fur causes odor, skin irritation, and that “wet dog smell” that basically haunts your house.
I always dry the paws and belly fully, because those areas stay damp the longest. Leaving them wet feels like inviting fungus to move in.
Why It Works
Drying prevents bacteria and yeast growth on the skin. It also stops fur from matting while damp, especially on long-haired dogs.
A properly dried coat stays cleaner longer too. Moisture attracts dirt and makes the fur feel sticky faster.
How to Use / Apply / Style
- Towel dry first to remove most water
- Use a hair dryer on cool or low heat
- Keep the dryer moving constantly
- Brush while drying to prevent tangles
- Focus on paws, belly, chest, and tail area
Tips & Variations
Quick tip: Hold the dryer at least 8–12 inches away so your dog stays comfortable.
Optional variation: Use a grooming dryer attachment if your dog has very thick undercoat.
8. Clean Ears With Cotton Pads, Not Cotton Swabs
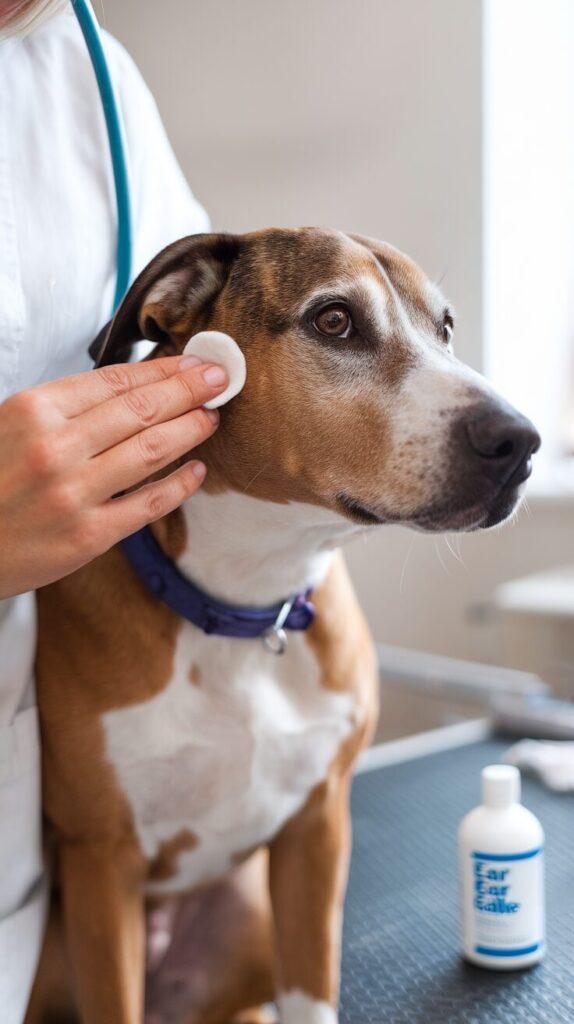
Cotton swabs feel like the obvious tool for ear cleaning. They also push gunk deeper into the ear canal, which makes problems worse.
Use cotton pads or gauze instead and wipe only what you can see. Ear infections get expensive fast, so simple weekly cleaning saves money long-term.
I check ears during brushing sessions because it feels easier than turning it into a separate “medical appointment.” Dogs sense fear, and ear cleaning scares them if you act weird.
Why It Works
Wiping the outer ear removes wax and moisture that can cause infections. It also helps you notice redness or smell early before it becomes a vet visit.
Healthy ears also mean less scratching and head shaking. That’s good for your furniture and your peace.
How to Use / Apply / Style
- Use a vet-approved ear cleaning solution
- Pour a small amount onto a cotton pad
- Wipe the visible ear folds gently
- Never push anything deep into the ear
- Reward your dog so it becomes routine
Tips & Variations
Quick tip: If you smell a strong sour odor, don’t DIY it forever because infection needs treatment.
Optional variation: Use fragrance-free pet wipes for quick ear wipe-downs between deep cleans.
9. Use a Rubber Brush During Baths for Fast Shedding Control
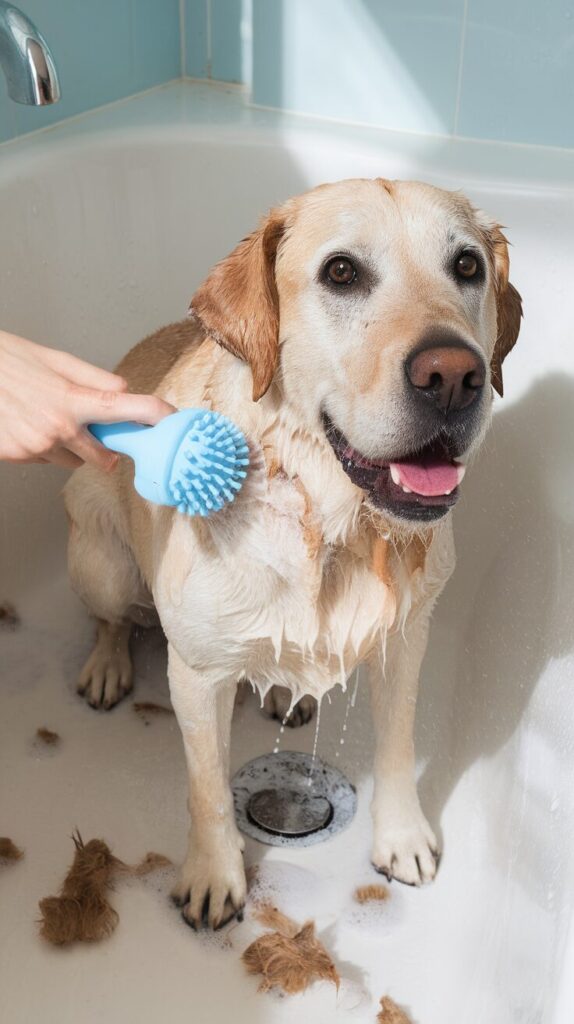
If your dog sheds a lot, you already know the pain. Hair ends up in your clothes, your food, and somehow in places that don’t make sense.
A rubber grooming brush during the bath pulls loose hair out while the coat stays wet and soft. It cuts down shedding massively and reduces the amount of hair floating around your home.
I love this trick because it feels like cheating. It’s quick, satisfying, and honestly kind of gross in a rewarding way.
Why It Works
Wet fur loosens dead hair, and the rubber brush grabs it easily. That prevents loose fur from sticking to your couch later.
It also improves shampoo penetration and helps you clean deeper without harsh scrubbing. Better cleaning with less effort always wins.
How to Use / Apply / Style
- Wet your dog’s coat fully first
- Apply shampoo and lather gently
- Use the rubber brush in circular motions
- Focus on back, sides, and chest
- Rinse and repeat brushing during rinse if needed
Tips & Variations
Quick tip: Brush outside if possible, unless you want your drain to suffer.
Optional variation: Use a silicone glove brush if your dog feels nervous about tools.
10. Set a 10-Minute Weekly Grooming Routine (Not Random Chaos)
Most people groom their dog only when things get bad. That’s like cleaning your house only when you can’t see the floor anymore.
A simple weekly routine prevents mats, smell, and surprise messes. I swear this saves more money than any fancy product, because it reduces emergency groomer visits.
It also makes your dog calmer about grooming. Dogs hate surprises, and grooming always feels like a surprise when you do it once a month.
Why It Works
Consistency keeps the coat healthy and reduces the need for expensive deep grooming sessions. It also helps you catch issues early like ticks, skin bumps, or ear irritation.
A weekly routine also builds trust. Your dog learns grooming equals normal life, not punishment.
How to Use / Apply / Style
- Pick one day per week and stick to it
- Brush for 5 minutes minimum
- Check ears, paws, and nails quickly
- Wipe down coat with a towel or wipes
- Give a treat at the end so your dog associates grooming with good things
Tips & Variations
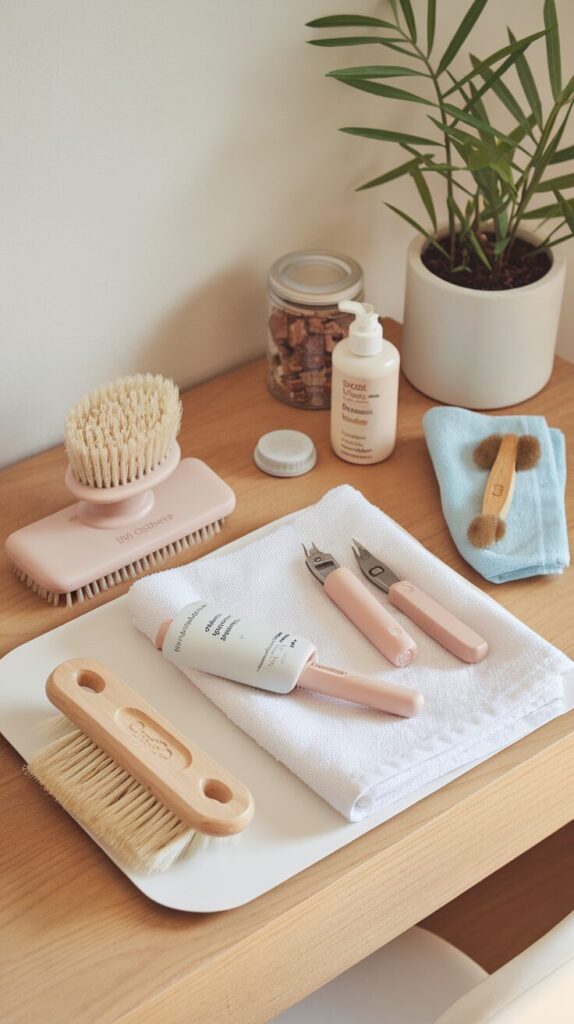
Quick tip: Keep a small grooming basket in one spot so you don’t waste time searching for tools.
Optional variation: Split grooming into two mini sessions if your dog gets impatient, because short and calm beats long and stressful.
Final Thoughts
Dog grooming doesn’t need to feel like a full-time job or a monthly bill that hurts your wallet. Small habits like quick paw trims, wipe-downs, and weekly brushing make a bigger difference than people expect.
Once you build a simple routine, your dog stays cleaner without constant baths and expensive appointments. And honestly, a dog that smells good and looks fresh just makes life easier for everyone.

I’m Pallab Kishore, the owner of Little Pets Realm — an animal lover and pet care enthusiast sharing easy tips, healthy recipes, and honest advice to help every small pet live a happy, healthy, tail-wagging life.
Get the Free Healthy Dog Treat Starter Pack
Easy homemade dog treat recipes, simple safety tips, and helpful printable pages for dog parents who want to make treat time more fun.