
Last updated on September 1st, 2026 at 04:38 pm
Homemade dog treats don't have to break the bank or eat up your whole weekend. With a little planning, you can whip up a batch of healthy snacks that keep your pup happy and your wallet full.
These nine recipes are designed with meal prep in mind, so you can make them in bulk and store them for the week. From crunchy biscuits to frozen bites, there's something here for every dog.
Plus, you'll know exactly what's going into every treat—no mystery ingredients. Let's get started!
1. Peanut Butter & Pumpkin Biscuits
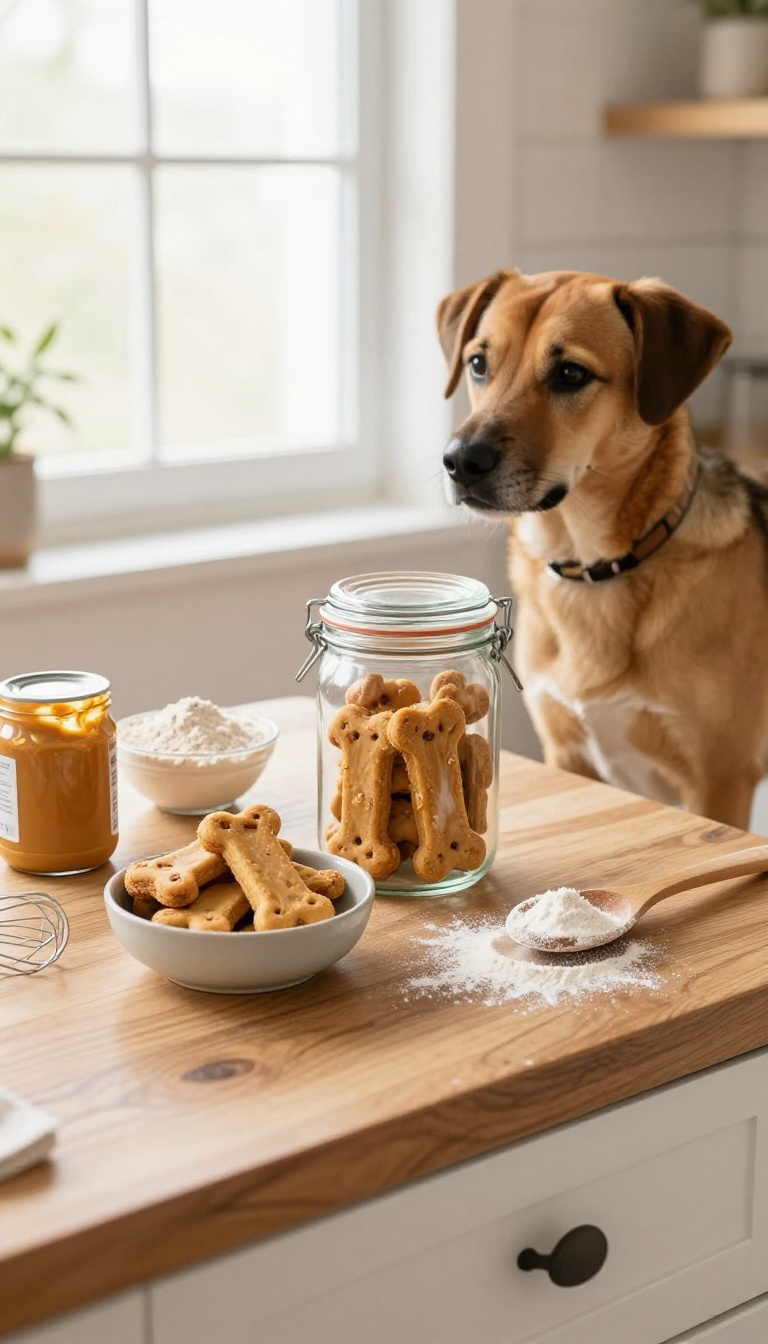
Batch-baking these crunchy biscuits is a smart way to keep your dog's snack jar full without spending a lot. The combo of peanut butter and pumpkin is a proven favorite, and the dough comes together fast with ingredients you likely already have. You can mix up a big batch on the weekend and have treats ready for weeks, which makes this a go-to for meal-prepping pet parents.
Ingredients
- 2 ½ cups whole wheat flour (or oat flour for a grain-free option)
- 1 cup canned pumpkin (unsweetened, not pumpkin pie filling)
- ½ cup natural peanut butter (xylitol-free)
- 2 large eggs
- ?? cup water (add more if dough is too dry)
Instructions
- Preheat your oven to 350°F (175°C) and line two baking sheets with parchment paper.
- In a large bowl, mix the flour, pumpkin, peanut butter, eggs, and water until a stiff dough forms. If it's too crumbly, add a tablespoon of water at a time.
- Roll the dough to about ¼-inch thickness on a floured surface, then cut into bone-shaped or any fun cookie cutters.
- Place the biscuits on the prepared sheets and bake for 25–30 minutes, until golden and firm. For extra crunch, turn off the oven and let them cool inside for another 30 minutes.
- Let the biscuits cool completely before serving or storing.
Serving Tip
Store these biscuits in an airtight container at room temperature for up to two weeks, or freeze them for up to three months. For small dogs, break into smaller pieces to avoid overfeeding. A good rule of thumb is one medium biscuit per 10 pounds of body weight per day, adjusting for your dog's overall diet.
2. Sweet Potato Chews
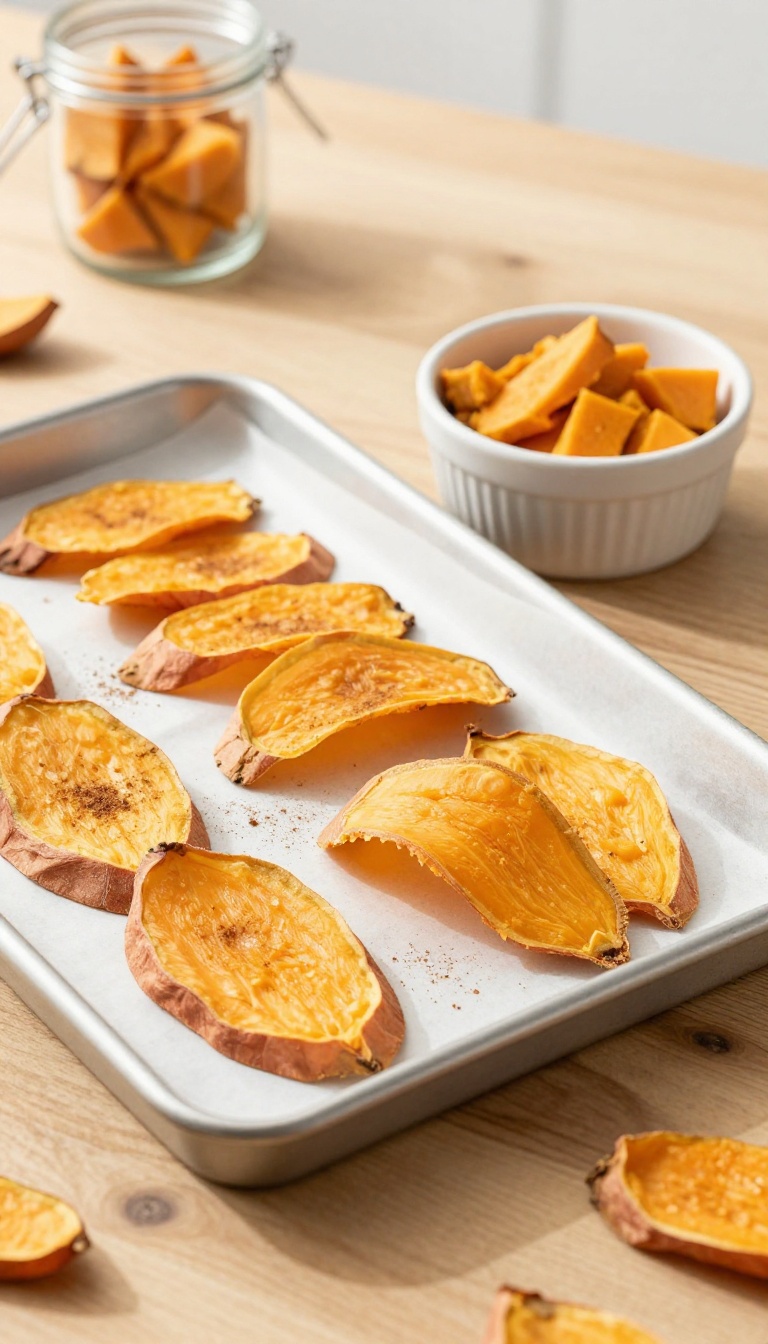
Sweet potatoes are a fantastic, budget-friendly base for homemade dog treats, and these chews are about as simple as it gets. With just one ingredient and a low-and-slow bake, you can turn a few sweet potatoes into a batch of chewy snacks that are perfect for meal prep. They're naturally sweet, which dogs love, and they're packed with fiber and vitamins that support digestion and overall health.
Plus, they're easy to store, so you can make a big batch and have treats ready for the week.
Ingredients
- 2 large sweet potatoes, washed and dried
- Optional: a light sprinkle of cinnamon (dog-safe, but skip if your dog has sensitivities)
- 1 cup prepared cooked sweet potato in small dog-safe pieces
- 1 cup oat flour or finely ground oats
- 1 egg or 2 tablespoons unsweetened applesauce for binding
Instructions
- Preheat your oven to 200°F (93°C) and line a baking sheet with parchment paper.
- Slice the sweet potatoes into 1/4-inch thick rounds or strips, keeping them uniform for even drying.
- Arrange the slices in a single layer on the baking sheet, making sure they don't overlap.
- Bake for 2 to 3 hours, flipping halfway, until the slices are dried and chewy but not brittle. They should bend without breaking.
- Let them cool completely before serving or storing.
- Mix the prepared cooked sweet potato with the oat flour and binder until a soft dough or spoonable mixture forms.
- Shape into small treat portions, bake on a lined tray at 325°F until firm, then cool completely before serving.
Serving Tip
Store these chews in an airtight container in the fridge for up to two weeks, or freeze them for longer storage. For smaller dogs, cut the slices into smaller pieces to prevent choking. Always supervise your dog when giving any treat, and adjust the baking time for a softer or crunchier texture based on your dog's preference.
3. Frozen Yogurt & Berry Bites
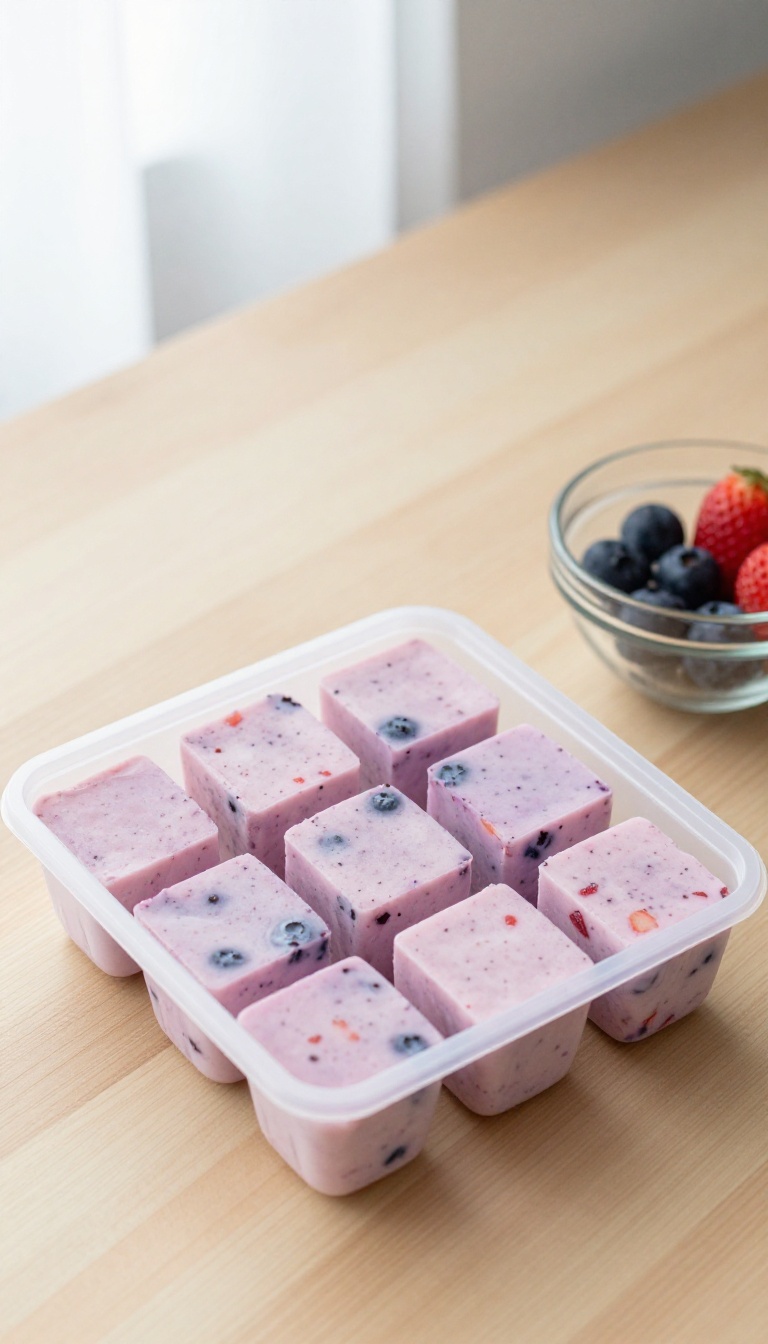
When the temperature climbs, these frozen bites are a simple way to keep your dog cool and happy. They take just a few minutes to mix together, and the freezer does the rest of the work. You can make a big batch ahead of time, so you always have a refreshing treat ready on hot days.
Ingredients
- 1 cup plain, unsweetened yogurt (check for xylitol)
- 1/2 cup fresh or frozen blueberries, mashed slightly
- 1/2 cup fresh or frozen strawberries, chopped small
- 1 tablespoon honey (optional, for extra sweetness)
Instructions
- In a mixing bowl, stir together the yogurt, mashed blueberries, chopped strawberries, and honey until well combined.
- Spoon the mixture into silicone ice cube trays or small silicone molds, filling each cavity almost to the top.
- Place the trays in the freezer for at least 4 hours, or until completely solid.
- Pop the frozen bites out of the trays and store them in a zip-top bag or airtight container in the freezer.
Serving Tip
Give your dog one or two frozen bites as a refreshing snack, depending on their size. For small dogs, you can break the bites into smaller pieces. These are best served straight from the freezer, and any leftovers can be kept frozen for up to two months.
4. Oatmeal & Banana Soft Bites
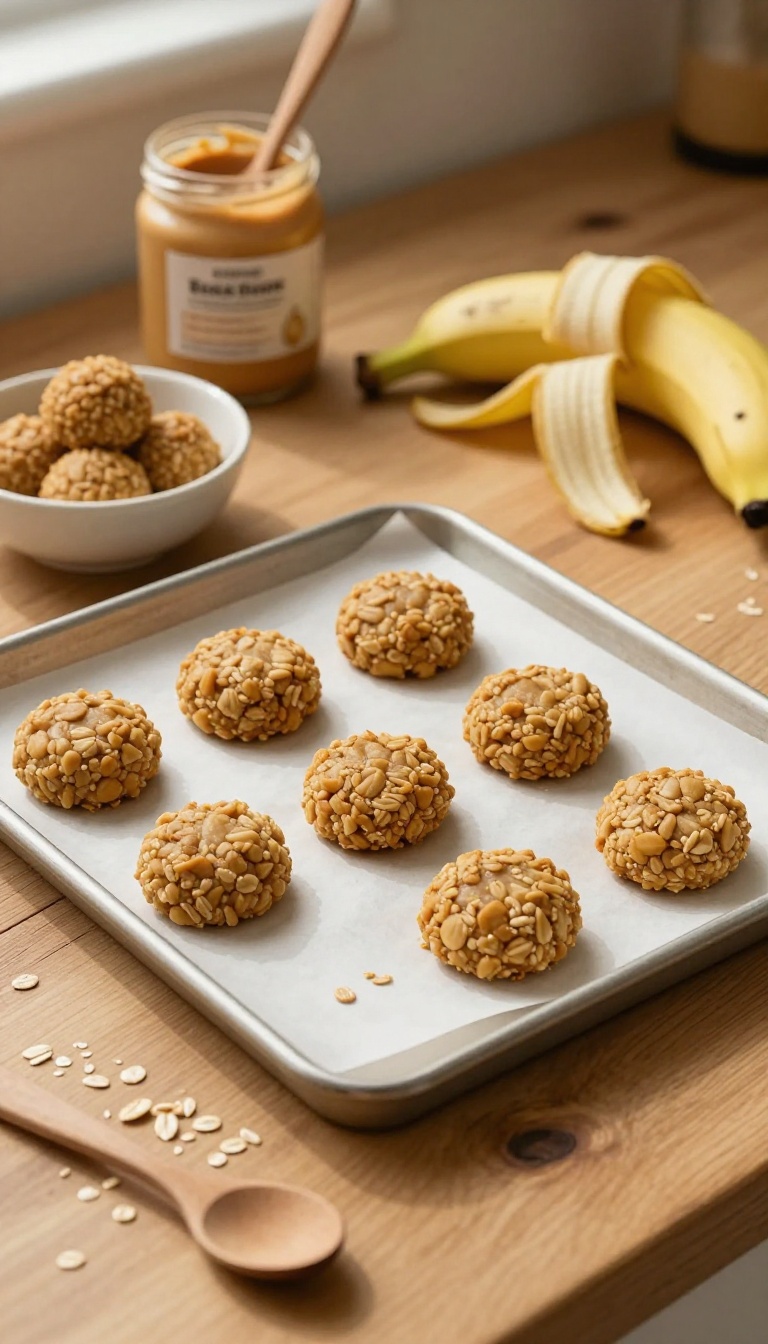
These no-bake soft bites are a game-changer for busy dog owners who still want to offer something homemade. With just two main ingredients, they come together in minutes and require zero oven time, making them perfect for meal-prep Sundays. The oats provide gentle fiber, while banana adds natural sweetness and potassium, and the soft texture is ideal for senior dogs or puppies with sensitive teeth.
Ingredients
- 1 ½ cups old-fashioned rolled oats (not instant)
- 1 ripe banana, mashed
- 1 tablespoon unsalted peanut butter (xylitol-free)
Instructions
- In a medium bowl, mash the banana until smooth. Add the peanut butter and stir until well combined.
- Fold in the oats, mixing until a thick dough forms. If the mixture is too dry, add a teaspoon of water; if too sticky, add a bit more oats.
- Roll the dough into small bite-sized balls, about 1 inch in diameter. Place them on a plate or baking sheet lined with parchment paper.
- Refrigerate for at least 30 minutes to firm up. Store in an airtight container in the fridge for up to 5 days, or freeze for up to 3 months.
Serving Tip
For meal-prep, make a double batch and freeze half. Thaw a few bites overnight in the fridge for a quick, ready-to-serve treat. Because they're soft, they're great for training sessions—just break into smaller pieces for extra rewards.
5. Chicken & Rice Meatballs
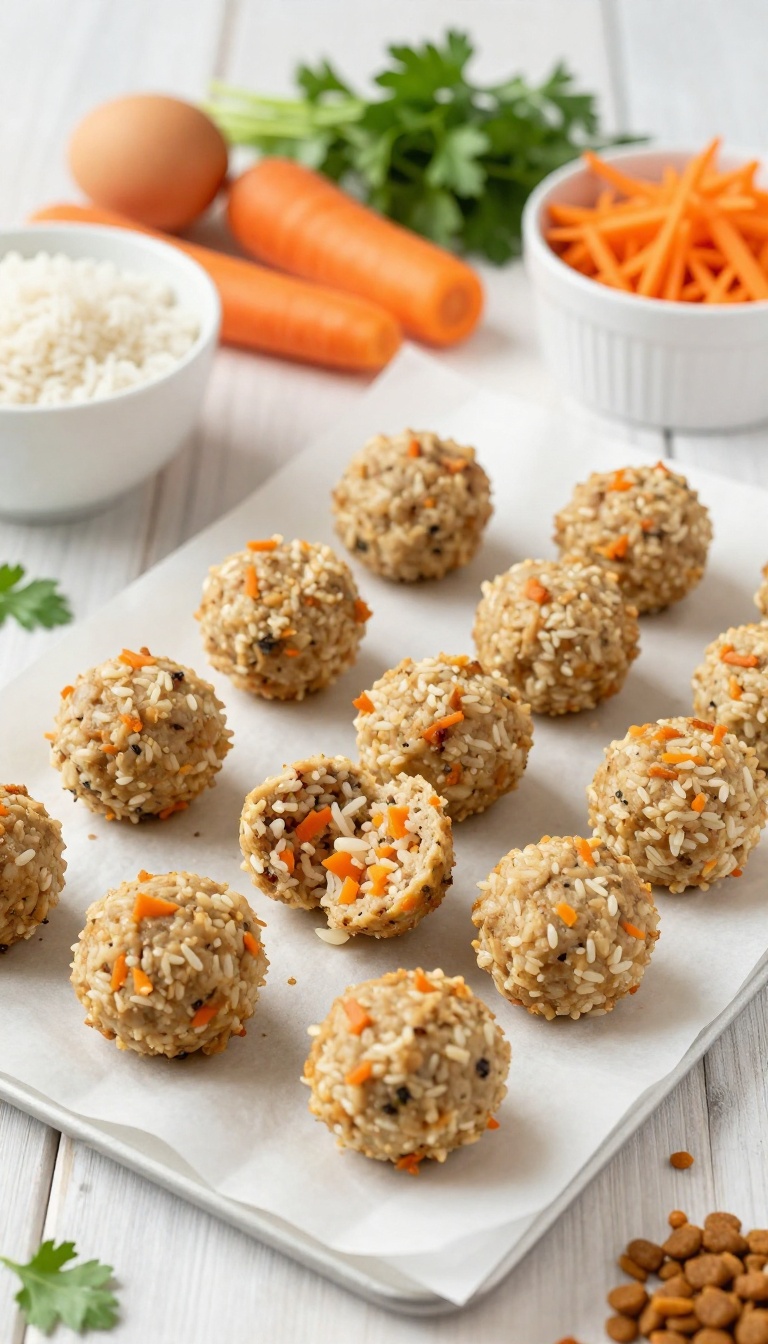
These baked meatballs are a meal-prep dream for busy dog parents. Whip up a batch on Sunday, and you'll have a protein-packed topper or snack ready all week. They're simple, budget-friendly, and made with ingredients you probably already have in your pantry.
Ingredients
- 1 lb ground chicken
- 1 cup cooked white or brown rice, cooled
- 1 large egg, beaten
- 1/4 cup finely grated carrot
- 1/4 cup finely chopped fresh parsley (optional)
Instructions
- Preheat your oven to 375°F (190°C) and line a baking sheet with parchment paper.
- In a large bowl, combine the ground chicken, cooked rice, beaten egg, grated carrot, and parsley (if using). Mix until just combined—don't overwork the meat.
- Roll the mixture into small, bite-sized meatballs (about 1 inch in diameter) and place them on the prepared baking sheet.
- Bake for 20–25 minutes, or until the meatballs are cooked through and lightly browned on the outside. Let them cool completely before serving or storing.
Serving Tip
Store these meatballs in an airtight container in the fridge for up to 5 days, or freeze them for up to 3 months. For a quick meal topper, crumble a couple over your dog's regular kibble. As a treat, give 1–2 meatballs per 10 pounds of body weight, adjusting for your dog's size and activity level.
6. Carrot & Apple Crunchies
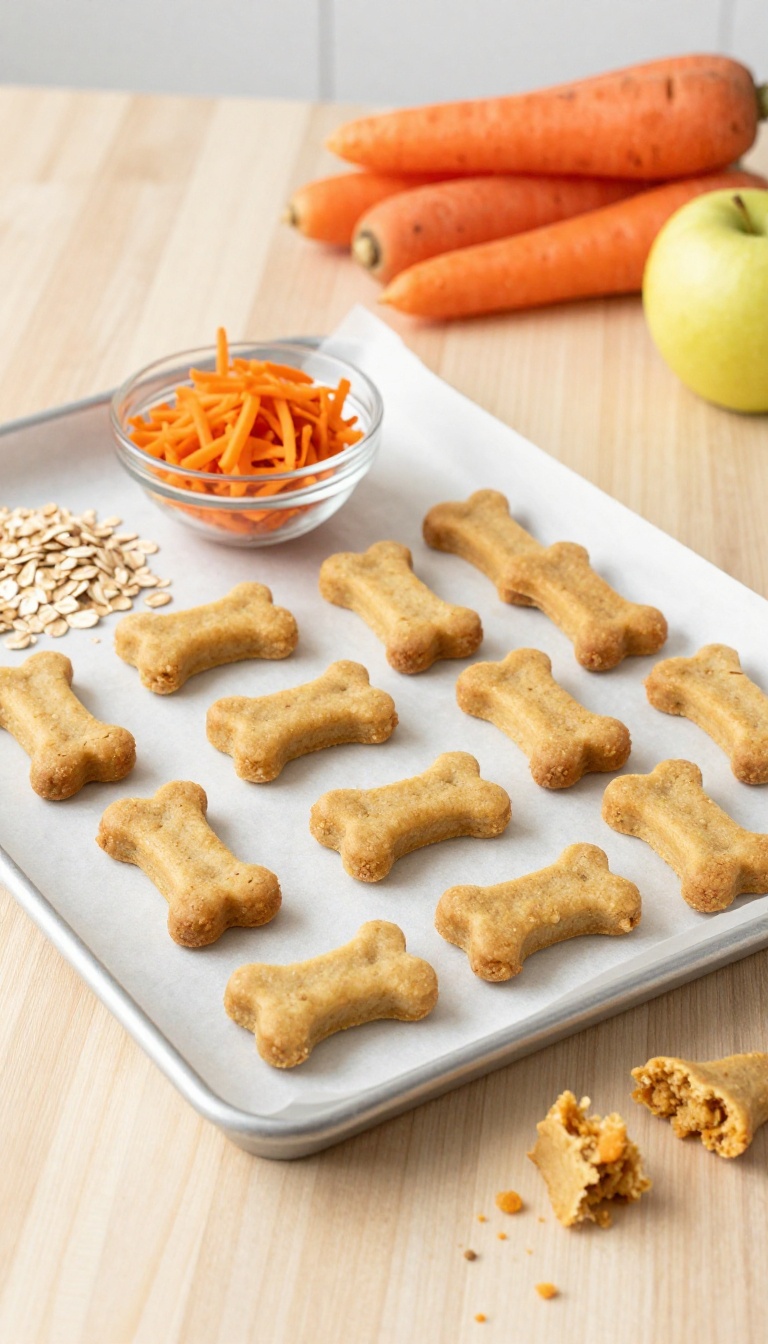
These crunchy biscuits are a smart way to use up extra carrots and apples sitting in your fridge. They're packed with fiber and a hint of natural sweetness that dogs love. Plus, they're easy to make in big batches for the week ahead, so you always have a healthy snack ready.
Ingredients
- 1 cup rolled oats
- 1 cup grated carrot (about 1 medium carrot)
- 1/2 cup grated apple (about 1 small apple, cored)
- 1/4 cup unsweetened applesauce
- 1 large egg
- 1 1/2 cups whole wheat flour (or oat flour for a grain-free option)
Instructions
- Preheat your oven to 350°F (175°C) and line a baking sheet with parchment paper.
- In a large bowl, mix the rolled oats, grated carrot, grated apple, applesauce, and egg until well combined.
- Gradually add the flour, stirring until a stiff dough forms. If the dough is too sticky, add a little more flour.
- On a lightly floured surface, roll the dough to about 1/4-inch thickness. Use a cookie cutter or a knife to cut into small bone-shaped or square treats.
- Place the treats on the prepared baking sheet and bake for 25-30 minutes, or until golden and firm. Let them cool completely before serving.
Serving Tip
Store these crunchies in an airtight container at room temperature for up to a week, or freeze for up to 3 months. For smaller dogs, break them into bite-size pieces. They make a great training treat because they're crunchy but not too hard.
7. Beef Liver Training Bites
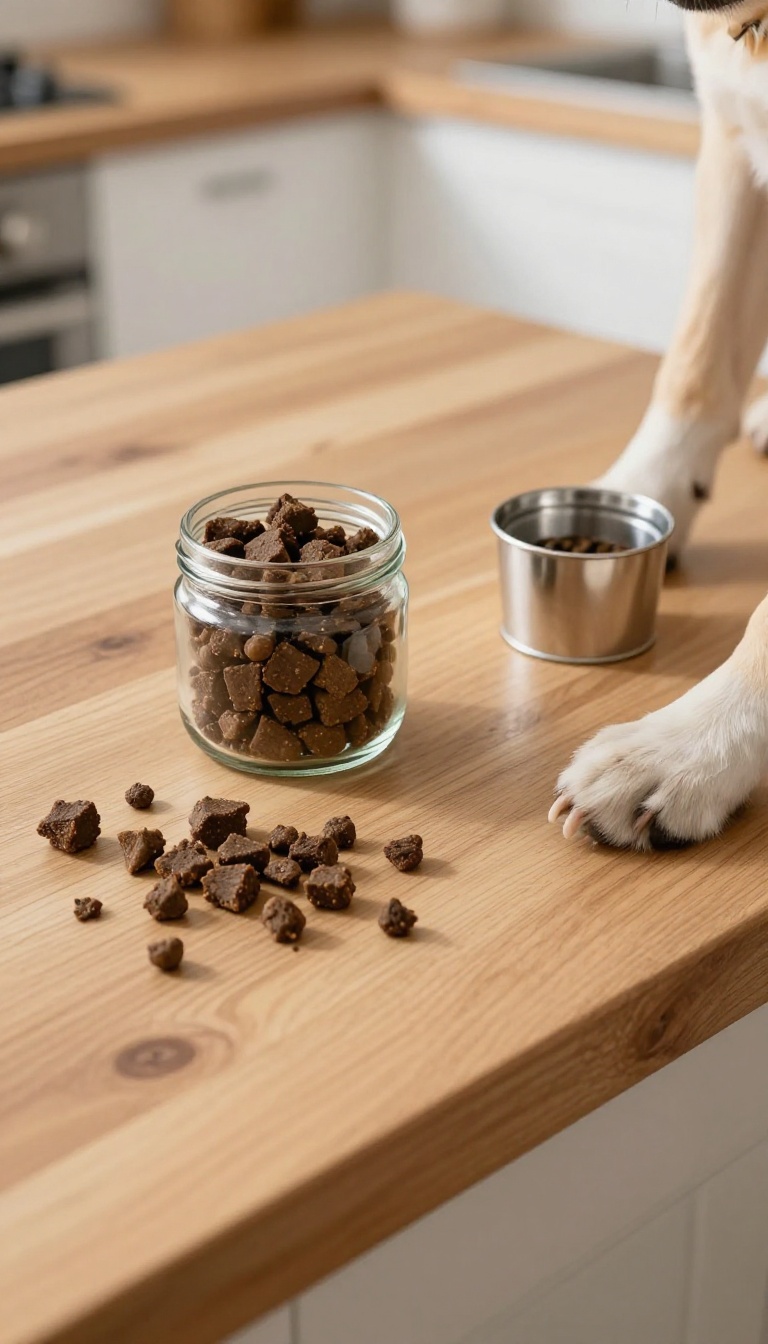
When you're prepping a week's worth of dog snacks, these stinky little cubes are a game-changer. Beef liver is cheap, packed with protein, and dogs go absolutely wild for it. Dehydrating it turns it into a chewy, shelf-stable treat that's perfect for training sessions or rewarding good behavior on the go.
Plus, you can make a big batch in one afternoon and have treats ready for days.
Ingredients
- 1 pound beef liver, sliced into 1/4-inch thick strips
- 1 tablespoon coconut oil (optional, for easier slicing)
- 1/4 teaspoon salt (optional, for preservation)
Instructions
- Preheat your oven to 170°F (or the lowest setting) or use a food dehydrator. Line a baking sheet with parchment paper.
- If using coconut oil, lightly coat the liver strips to prevent sticking and help them dry evenly.
- Place the liver strips on the baking sheet in a single layer, leaving space between each piece.
- Bake or dehydrate for 3-4 hours, flipping halfway, until the liver is dry and leathery but still slightly pliable. It should not snap when bent.
- Let the liver cool completely, then cut into small, pea-sized cubes for training treats. Store in an airtight container in the refrigerator for up to 2 weeks, or freeze for up to 3 months.
Serving Tip
Because these treats are so high-value, use them only for special training moments or when you need extra focus. Keep a small jar in your pocket or treat pouch, and remember to adjust your dog's daily food intake to account for the extra calories. If your dog is new to liver, start with a tiny piece to make sure their stomach handles it well.
8. Green Bean & Cheese Puffs
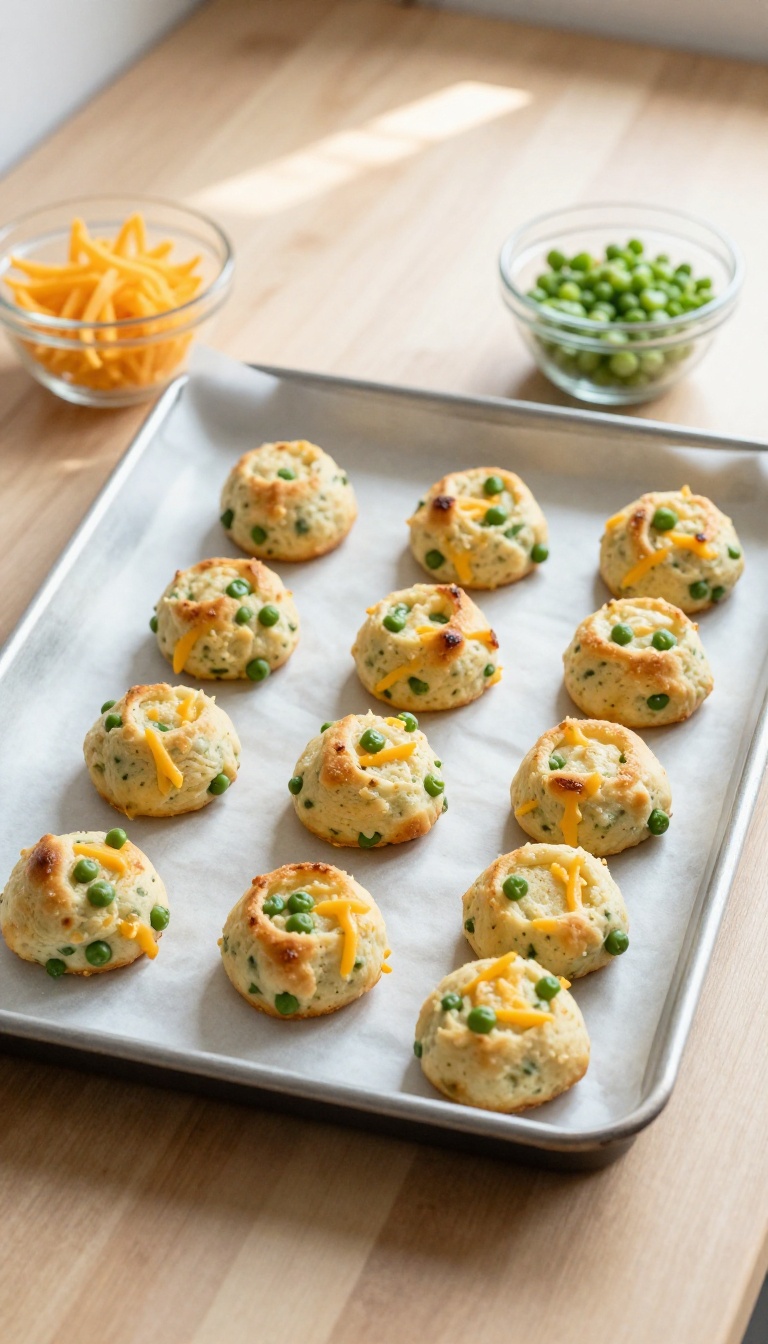
When you're prepping meals for the week, these Green Bean & Cheese Puffs are a smart way to use up extra veggies and make your dog feel included. They come together quickly with just three ingredients, and the bite-sized puffs are perfect for portioning into snack bags or freezing for later. Your dog will love the cheesy, savory flavor, and you'll love how easy they are to grab when you need a quick reward.
Ingredients
- 1 cup fresh or frozen green beans, finely chopped
- 1 cup shredded cheddar cheese (low-fat is fine)
- 1 large egg, beaten
Instructions
- Preheat your oven to 350°F (175°C) and line a baking sheet with parchment paper.
- In a mixing bowl, combine the chopped green beans, shredded cheese, and beaten egg. Stir until everything is well coated and the mixture holds together when pressed.
- Scoop out small tablespoon-sized portions and roll them into balls or press them into small patties. Place them on the prepared baking sheet, leaving a little space between each.
- Bake for 15–18 minutes, or until the puffs are lightly golden and set. Let them cool completely before serving to your dog.
Serving Tip
Store these puffs in an airtight container in the fridge for up to five days, or freeze them in a zip-top bag for up to three months. For portion control, pop one or two puffs into a treat pouch or small container for your daily walks. If your dog prefers a softer texture, underbake them slightly; for a crunchier treat, add a few extra minutes in the oven.
9. Coconut & Mint Fresheners
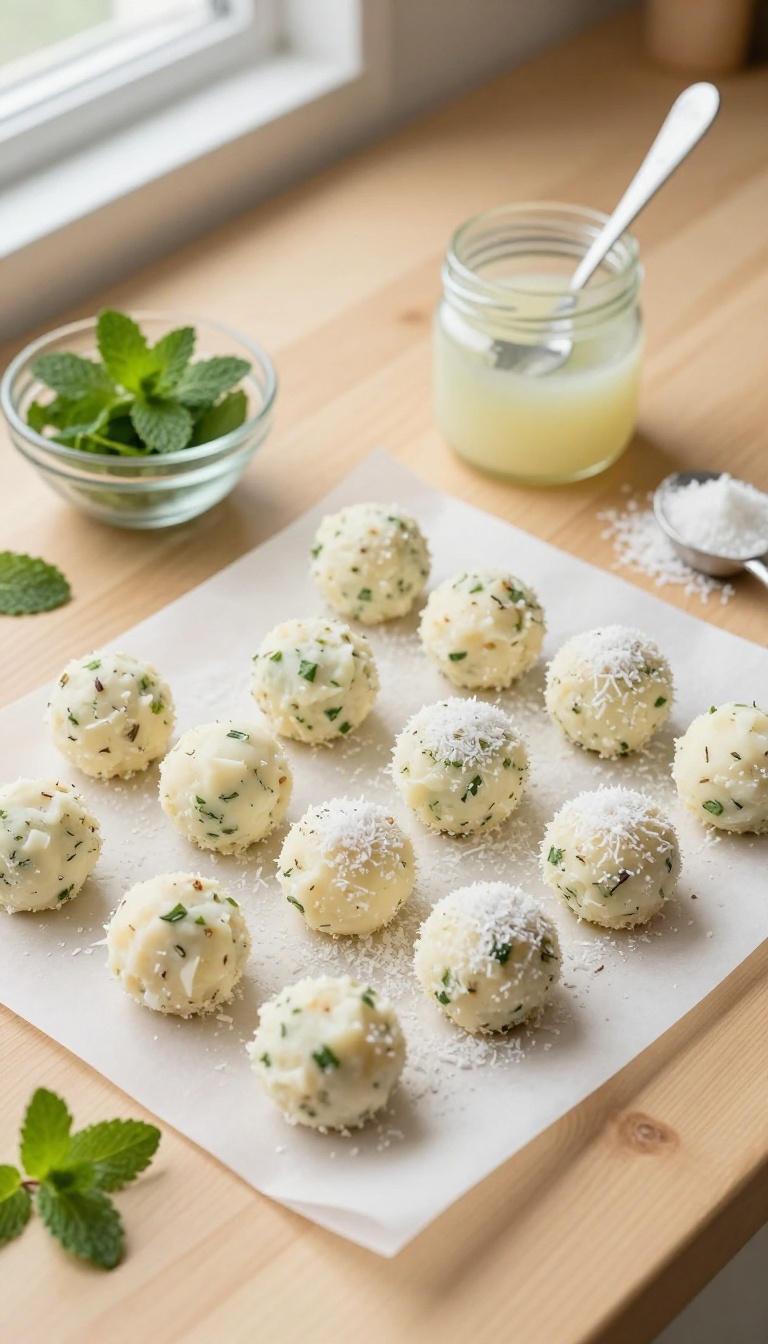
These no-bake bites are a breath-freshening win for dogs who love a little coconut flavor. The combination of coconut oil and fresh mint works to naturally combat doggy breath while giving your pup a satisfying, healthy snack. Since they're quick to mix and chill, they're perfect for meal-prep sessions when you want to batch out a week's worth of treats without turning on the oven.
Plus, the coconut oil adds a dose of healthy fats that support your dog's coat and skin.
Ingredients
- 1/2 cup coconut oil, melted
- 1/4 cup finely chopped fresh mint leaves
- 1/4 cup unsweetened shredded coconut
- 1/4 cup coconut flour (or oat flour)
- 1/4 cup plain Greek yogurt (optional, for extra creaminess)
Instructions
- In a medium bowl, mix the melted coconut oil, chopped mint, shredded coconut, and coconut flour until a thick dough forms. If using yogurt, stir it in now.
- Roll the mixture into small, bite-sized balls (about 1 teaspoon each) and place them on a parchment-lined baking sheet.
- Refrigerate for at least 30 minutes, or until firm. Store in an airtight container in the fridge for up to one week.
Serving Tip
Give your dog one or two fresheners after meals or playtime to help freshen breath. Because they're coconut-oil based, they'll soften at room temperature, so keep them chilled until serving. For smaller dogs, cut each ball in half to avoid overfeeding.
FAQ
How long do homemade dog treats last?
It depends on the recipe. Baked biscuits can last up to two weeks in an airtight container, while frozen treats last up to three months. Always check for signs of spoilage.
Can I freeze homemade dog treats?
Yes! Most treats freeze well. Store them in a freezer-safe bag or container, and thaw as needed.
This is perfect for meal prep.
Are these treats safe for all dogs?
Always check with your vet, especially if your dog has allergies or health conditions. Each recipe uses dog-safe ingredients, but individual sensitivities vary.
Can I substitute ingredients in these recipes?
Absolutely. Swap peanut butter for sunflower seed butter if your dog has allergies, or use different fruits and veggies. Just avoid toxic foods like grapes, onions, and xylitol.
How many treats should I give my dog per day?
Treats should make up no more than 10% of your dog's daily calories. Adjust based on your dog's size, activity level, and dietary needs.
Conclusion
Making your own dog treats is a win-win: you save money and give your pup something healthy and delicious. With these meal-prep-friendly recipes, you can spend a little time on the weekend and have treats ready all week.
Your dog will love the variety, and you'll love the savings. So grab your apron and get baking—your furry friend will thank you!

I’m Pallab Kishore, the owner of Little Pets Realm — an animal lover and pet care enthusiast sharing easy tips, healthy recipes, and honest advice to help every small pet live a happy, healthy, tail-wagging life.