
Last updated on September 1st, 2026 at 04:43 pm
Got a dog who deserves something special without breaking the bank? You're in the right place. We all have those bits and pieces in the fridge that are too good to toss but not quite enough for a human meal.
Instead of letting them go to waste, why not turn them into tasty treats for your furry friend? It's a win-win: your dog gets a delicious snack, and you save money and reduce food waste. These 10 DIY dog treat recipes are simple, budget-friendly, and use leftovers you probably already have.
From sweet potato peels to cooked rice, you'll find plenty of ideas to keep your pup's tail wagging. Let's get started!
1. Sweet Potato Peel Chews
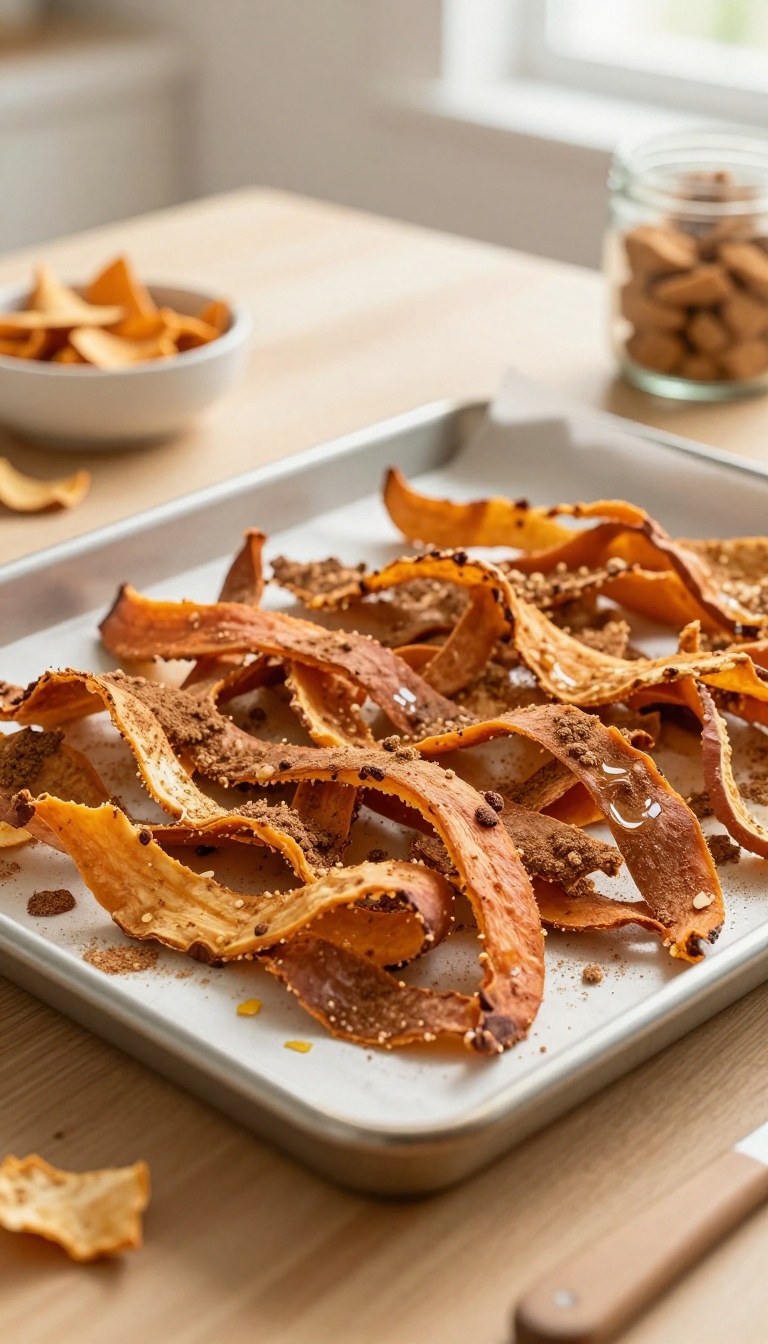
Every time you peel sweet potatoes for your own dinner, those curly orange strips are sitting right there, waiting to become something awesome for your dog. Instead of tossing them into the compost or the trash, you can turn them into crunchy, chewy treats that cost almost nothing. Your pup gets a snack that’s full of fiber and vitamins, and you get the satisfaction of using every last bit of your groceries.
It’s a win-win that fits perfectly into a budget-friendly kitchen routine, and the best part is how easy it is to make a big batch with just a few minutes of prep.
Ingredients
- Peels from 3-4 medium sweet potatoes (washed well)
- 1 tablespoon coconut oil or olive oil (optional, for extra crispiness)
- A pinch of ground cinnamon (optional, for flavor)
Instructions
- Preheat your oven to 250°F (120°C) and line a baking sheet with parchment paper.
- Toss the sweet potato peels in a bowl with the oil and cinnamon (if using) until they're lightly coated.
- Spread the peels in a single layer on the prepared baking sheet, making sure they aren't overlapping too much.
- Bake for 45-60 minutes, flipping halfway through, until the peels are dried out and slightly crispy but still a bit chewy. They will continue to crisp up as they cool.
- Let them cool completely before serving to your dog.
Serving Tip
Store these chews in an airtight container in the fridge for up to a week, or freeze them for longer storage. Since they're made from peels, they're naturally lower in calories than many store-bought treats, so you can give your dog a few extra pieces during training sessions. Just remember to adjust their daily food intake to keep their weight in check.
2. Banana Oat Bites
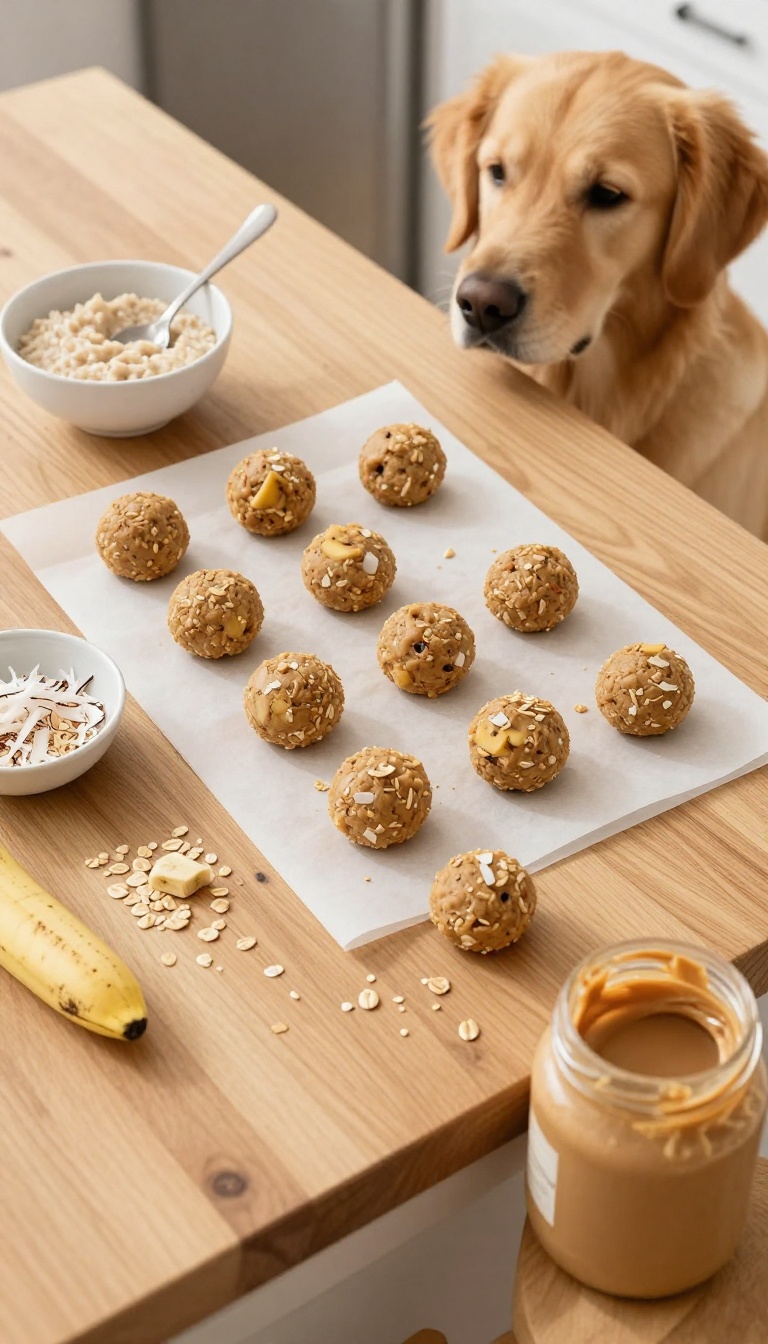
Got a couple of sad-looking bananas on the counter and a container of leftover oatmeal from breakfast? That's a perfect excuse to whip up these no-bake banana oat bites. They come together in minutes, which is great when your pup is giving you the 'I'm starving' eyes.
Plus, using up leftovers means you're saving money and cutting down on waste, which feels good for both your wallet and the planet.
Ingredients
- 2 ripe bananas, mashed
- 1 cup cooked oatmeal (plain, no added sugar or flavorings)
- 1/4 cup natural peanut butter (xylitol-free)
- 1/4 cup unsweetened shredded coconut (optional)
Instructions
- In a medium bowl, mash the bananas until smooth.
- Stir in the cooked oatmeal and peanut butter until well combined. If using coconut, mix it in now.
- Roll the mixture into small, bite-sized balls (about 1 inch in diameter).
- Place the bites on a plate or baking sheet lined with parchment paper and refrigerate for at least 30 minutes to firm up.
Serving Tip
Store these bites in an airtight container in the fridge for up to 5 days, or freeze them for up to 3 months. They're soft and chewy, making them perfect for training sessions or as a quick snack. Just remember to account for these treats in your dog's daily calorie intake.
3. Carrot Top and Peanut Butter Biscuits
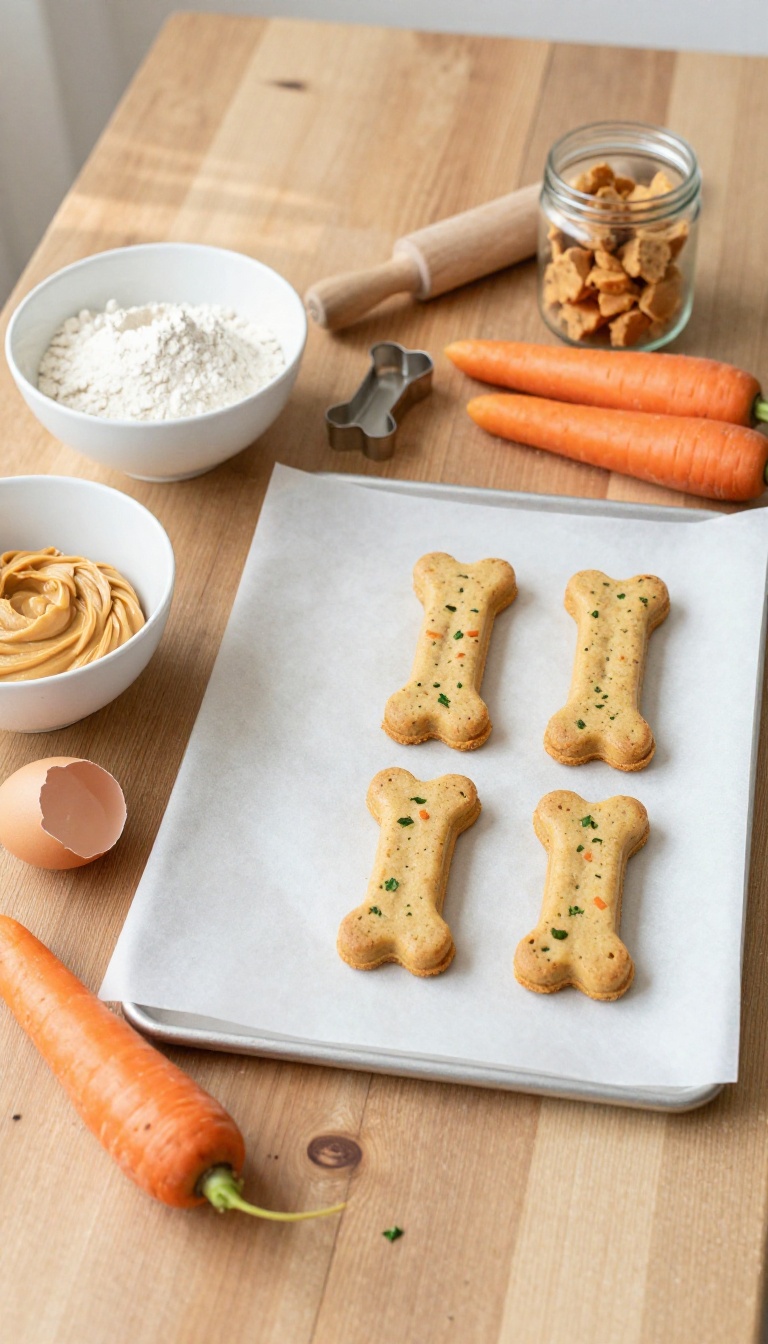
Ever wonder what to do with those leafy green tops after you've peeled and chopped your carrots? Turns out, they're perfectly safe for dogs and packed with vitamins. Instead of tossing them in the compost, you can turn them into crunchy, peanut-buttery biscuits that'll have your pup doing happy dances.
This recipe is a win-win: you save money by using every bit of the veggie, and your dog gets a tasty, homemade snack that's way cheaper than store-bought treats.
Ingredients
- 1 cup finely chopped carrot tops (washed and dried)
- 1/2 cup natural peanut butter (unsalted, no xylitol)
- 1 large egg
- 1 1/2 cups whole wheat flour (or oat flour for a grain-free option)
- 1/4 cup water (add more if needed)
Instructions
- Preheat your oven to 350°F (175°C) and line a baking sheet with parchment paper.
- In a large bowl, mix the chopped carrot tops, peanut butter, and egg until well combined.
- Gradually add the flour, stirring until a dough forms. If it's too dry, add water a tablespoon at a time until it comes together.
- On a lightly floured surface, roll the dough to about 1/4-inch thickness. Cut into fun shapes with cookie cutters or just slice into squares.
- Place the biscuits on the prepared baking sheet and bake for 20-25 minutes, until golden and firm. Let them cool completely before serving.
Serving Tip
Store these biscuits in an airtight container in the fridge for up to a week, or freeze for up to three months. They're crunchy, so they're great for dental health, but break them into smaller pieces for tiny pups. Start with one biscuit a day to see how your dog's tummy handles the extra greens.
4. Chicken Broth Ice Cubes
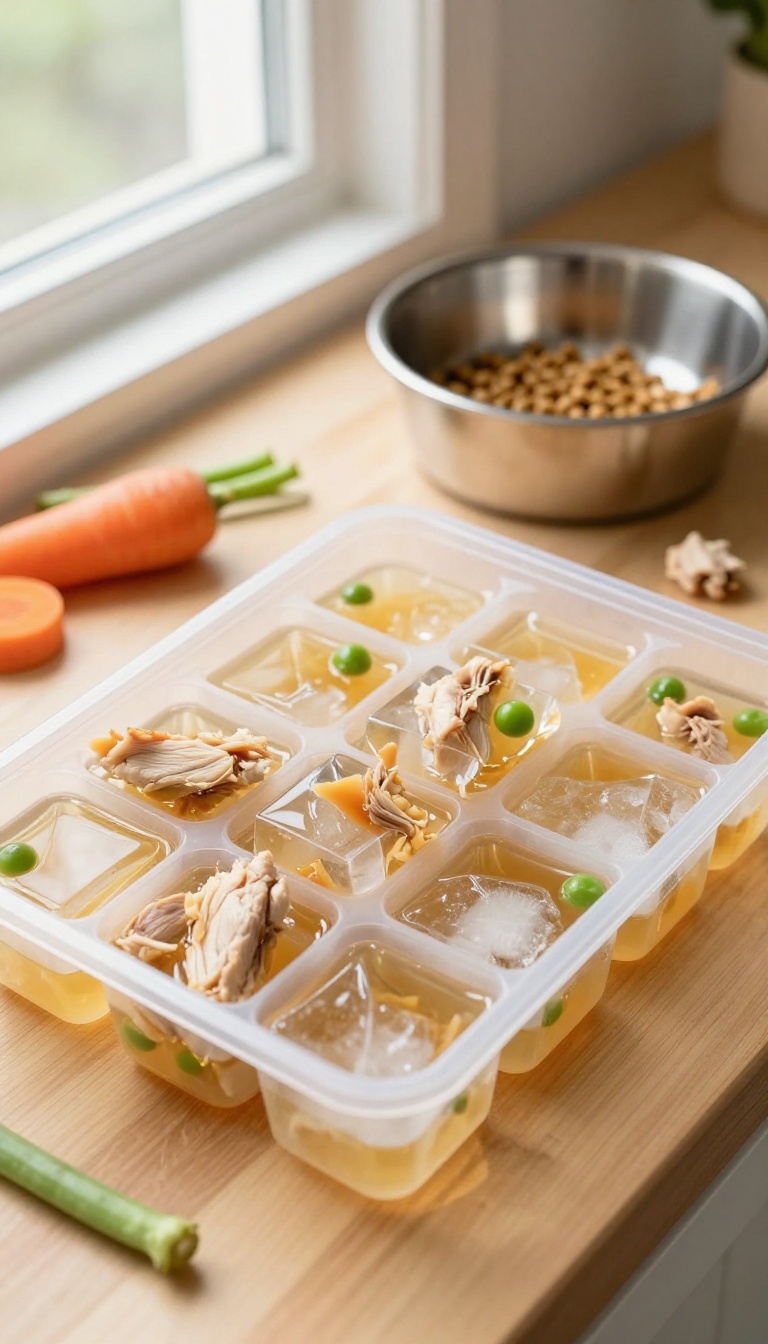
When you boil chicken for your own dinner, that leftover water is liquid gold for your pup—as long as you skip salt and onions. Instead of pouring it down the drain, turn it into a refreshing, budget-friendly snack that costs you nothing extra. These ice cubes are perfect for hot summer days, and they add a burst of flavor to plain kibble, making mealtime more exciting for picky eaters.
Ingredients
- 2 cups water from boiling chicken (unsalted, no onions or garlic)
- 1 cup water (if needed to top off the ice cube tray)
- Optional: small pieces of cooked chicken or dog-safe veggies (like carrots or green beans) for texture
Instructions
- Let the chicken broth cool completely, then skim off any fat that rises to the top.
- Pour the broth into ice cube trays, filling each compartment about three-quarters full. If you want, add a tiny piece of chicken or veggie to each cube for a fun surprise.
- Freeze for at least 4 hours or until solid.
- Pop the cubes out and store them in a freezer-safe bag or container.
Serving Tip
Give your dog one or two cubes as a cool treat on a hot day, or crumble a cube over their dry food to add moisture and flavor. Always supervise your dog when giving frozen treats, and start with a small amount to see how they handle the cold. These cubes will keep in the freezer for up to three months.
5. Pumpkin Puree and Rice Treats
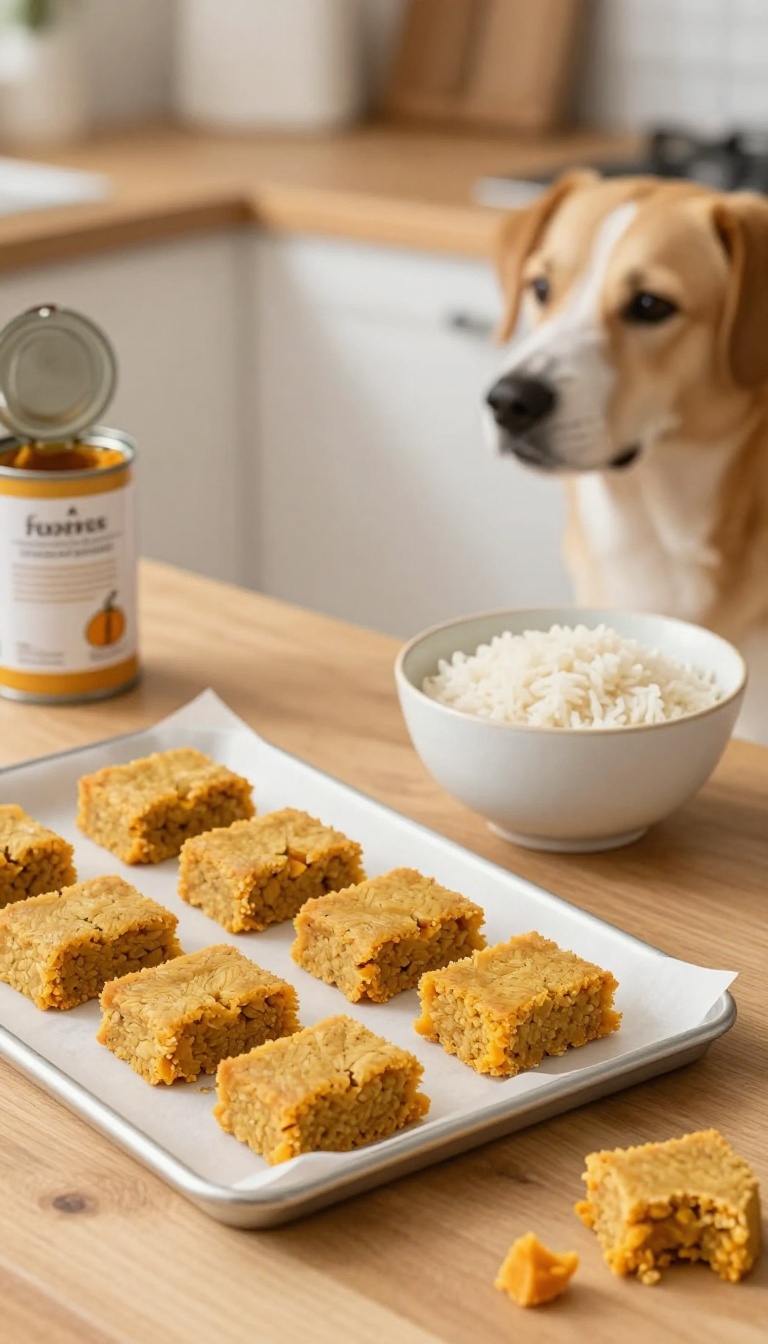
Got leftover rice from last night's dinner? Don't toss it—your dog will love these soft, chewy squares. Mixed with plain canned pumpkin, this combo is a gentle option for pups with sensitive stomachs.
It's a budget-friendly way to turn kitchen scraps into something special, and your furry friend won't even know they're eating leftovers.
Ingredients
- 1 cup cooked white or brown rice (plain, no salt or seasonings)
- 1 cup canned pumpkin puree (not pumpkin pie filling)
- 1/4 cup plain flour (or oat flour for a gluten-free option)
Instructions
- Preheat your oven to 350°F (175°C) and line a small baking sheet with parchment paper.
- In a mixing bowl, combine the cooked rice, pumpkin puree, and flour. Stir until a thick, sticky dough forms.
- Spread the mixture evenly onto the prepared baking sheet, about 1/2 inch thick.
- Bake for 20–25 minutes, or until the edges are firm and the top feels set. Let cool completely.
- Cut into small, bite-sized squares before serving.
Serving Tip
Store these treats in an airtight container in the fridge for up to 5 days, or freeze them for longer storage. Because they're soft, they're great for senior dogs or those with dental issues. Start with a small piece to see how your dog's stomach handles it, especially if they're new to pumpkin.
6. Apple Peel and Cinnamon Crunchies
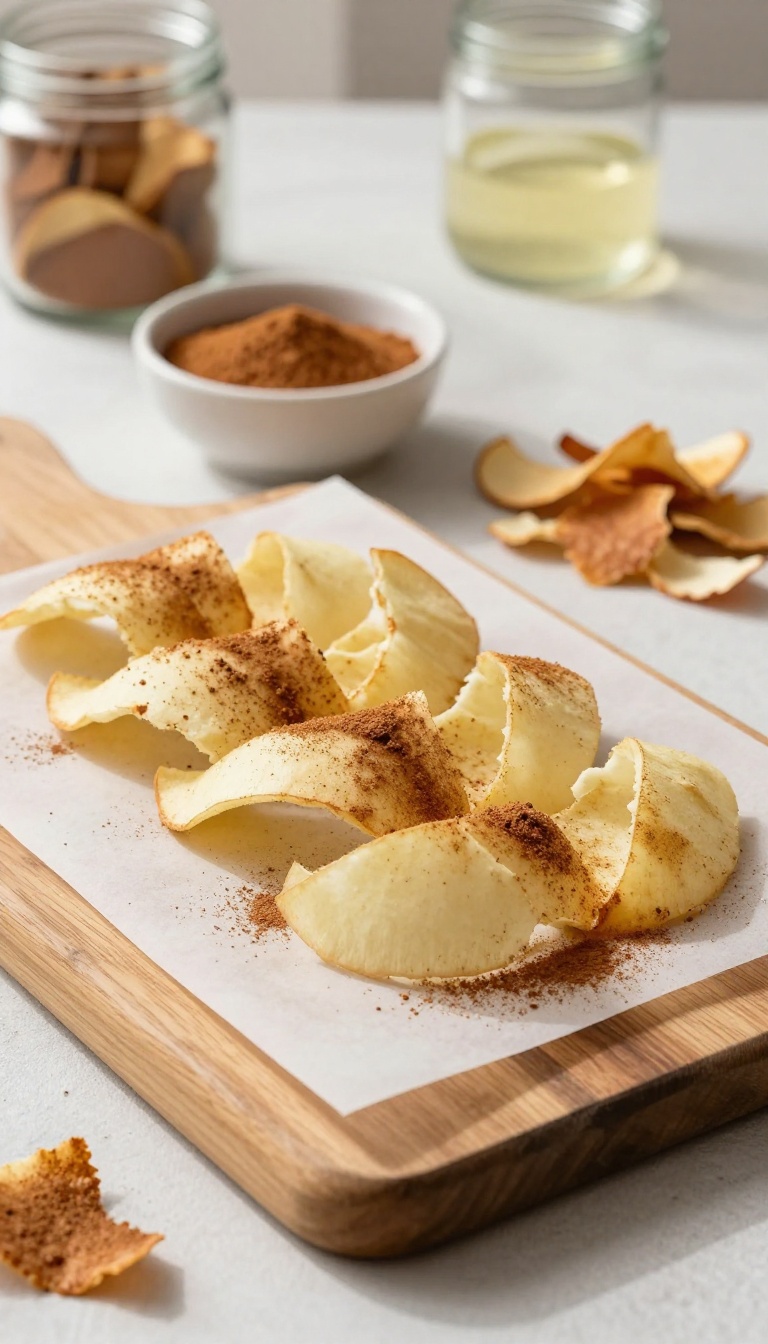
Got a pile of apple peels after making a pie or a snack for yourself? Don't toss them—your dog will love these crunchy, cinnamon-scented treats. They're a smart way to cut down on kitchen waste while giving your pup a satisfying, budget-friendly snack.
Plus, the natural sweetness of apples and the warm aroma of cinnamon make these a hit with most dogs.
Ingredients
- Apple peels (from about 4-5 apples, preferably organic)
- 1 teaspoon ground cinnamon (make sure it's pure, not a blend with nutmeg)
- 1 tablespoon coconut oil or olive oil (optional, for extra shine and binding)
- 1/4 cup oat flour or all-purpose flour (if needed, to help them crisp up)
Instructions
- Preheat your oven to 200°F (95°C) or set your dehydrator to 135°F (57°C). Line a baking sheet with parchment paper if using the oven.
- In a bowl, toss the apple peels with the cinnamon and oil (if using) until evenly coated. If the peels are very wet, sprinkle with a little flour to help them dry out.
- Spread the peels in a single layer on the baking sheet or dehydrator trays. Make sure they're not overlapping too much.
- Bake for 2-3 hours, flipping halfway, until the peels are dry and crispy. In a dehydrator, this may take 4-6 hours. Let cool completely before serving.
- Store in an airtight container at room temperature for up to a week, or in the fridge for longer.
Serving Tip
- These crunchies are perfect for training or as a midday snack. Because they're dehydrated, they're very crunchy, so they're great for dental health. Start with a few peels to see how your dog handles them, and adjust the size if you have a small breed.
- Keep portions small—apple peels are a treat, not a meal replacement.
7. Mashed Potato and Cheese Puffs
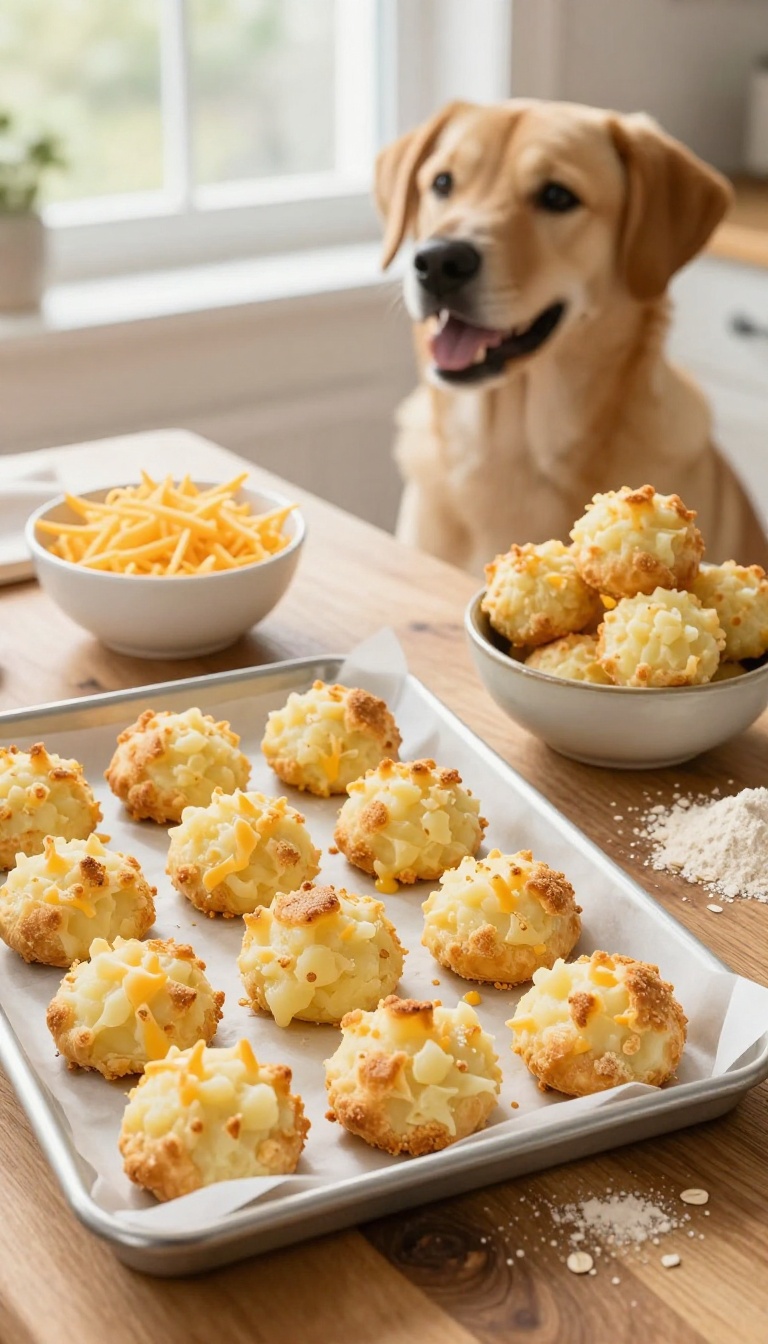
If you've got leftover mashed potatoes from last night's dinner, don't toss them—your dog will thank you for turning them into these soft, cheesy puffs. They're a brilliant way to use up leftovers without any waste, and they're gentle on older dogs or pups with dental issues. Plus, they're super budget-friendly since you're working with ingredients you already have on hand.
These puffs are easy to mix, quick to bake, and perfect for rewarding good behavior or just showing your furry friend some love.
Ingredients
- 1 cup leftover mashed potatoes (plain, without butter, salt, or seasonings)
- 1/2 cup shredded cheddar cheese (or a dog-safe cheese like mozzarella)
- 1/4 cup oat flour (or whole wheat flour, if your dog tolerates grains)
- 1 large egg, beaten
Instructions
- Preheat your oven to 350°F (175°C) and line a baking sheet with parchment paper.
- In a mixing bowl, combine the mashed potatoes, shredded cheese, oat flour, and beaten egg. Stir until the mixture forms a soft, slightly sticky dough.
- Scoop tablespoon-sized portions of the dough and roll them into small balls. Place them on the prepared baking sheet, leaving a little space between each puff.
- Bake for 15–18 minutes, until the puffs are lightly golden on the bottom and firm to the touch. Let them cool completely before serving to your dog.
Serving Tip
These puffs are soft and easy to chew, making them ideal for senior dogs or pups with sensitive teeth. Store them in an airtight container in the fridge for up to five days, or freeze them for up to three months—just thaw a few at a time as needed. Serve one or two puffs as a treat, adjusting the amount based on your dog's size and daily calorie intake.
8. Green Bean and Sweet Potato Medley
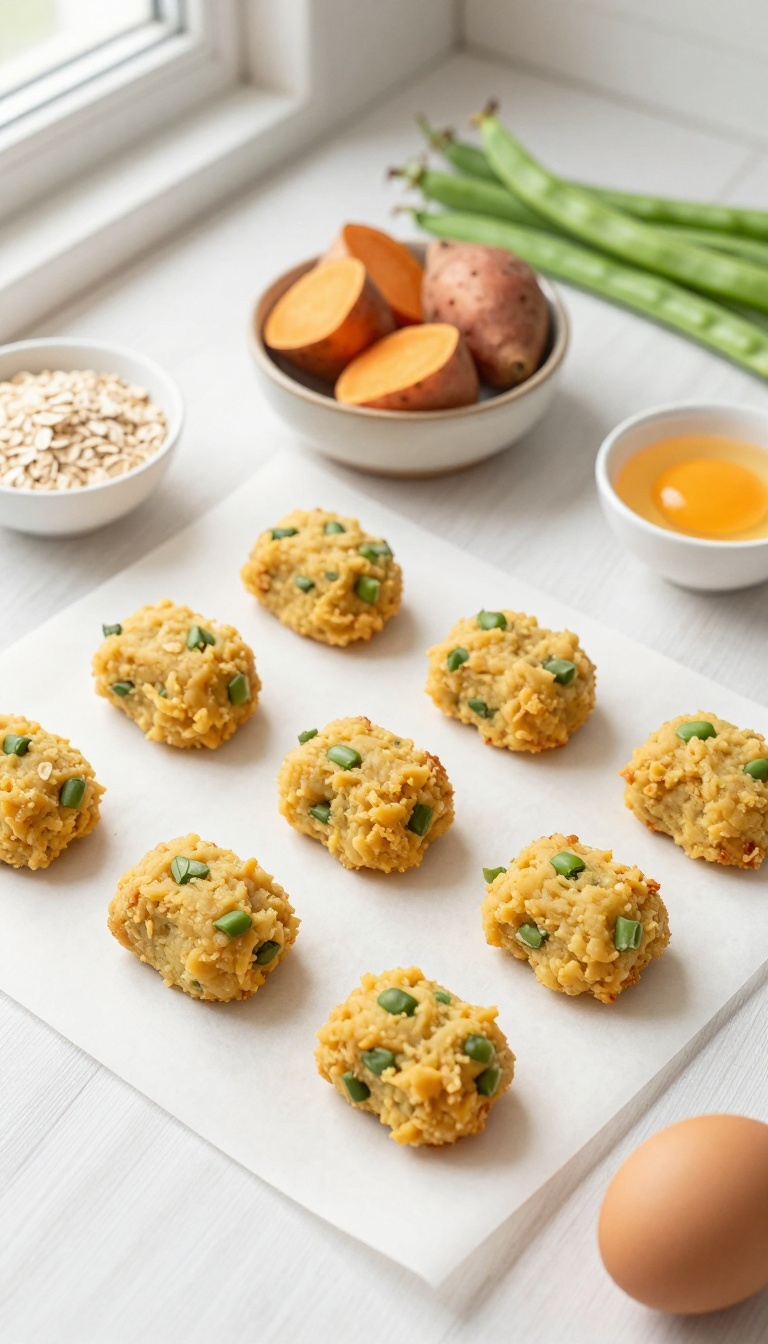
Got a bag of green beans that's seen better days and a sweet potato that's been sitting in the pantry? This recipe is a great way to turn those leftovers into a snack your dog will actually get excited about. It's a fiber-rich, low-calorie treat that's perfect for pups who need to watch their weight, and it's gentle on the budget too.
Plus, the natural sweetness of the sweet potato makes these nuggets surprisingly appealing—your dog won't even miss the store-bought treats.
Ingredients
- 1 cup cooked green beans, chopped
- 1 medium sweet potato, cooked and mashed
- 1/2 cup rolled oats (or oat flour)
- 1 large egg, beaten
Instructions
- Preheat your oven to 350°F (175°C) and line a baking sheet with parchment paper.
- In a large bowl, mix together the chopped green beans, mashed sweet potato, oats, and beaten egg until well combined.
- Scoop out small spoonfuls of the mixture and roll them into bite-sized nuggets, placing them on the prepared baking sheet.
- Bake for 20–25 minutes, or until the nuggets are firm to the touch and lightly golden on the edges.
- Let them cool completely before serving—they'll firm up even more as they cool.
Serving Tip
Store these nuggets in an airtight container in the fridge for up to a week, or freeze them for up to three months. For portion control, give your dog one or two nuggets per 10 pounds of body weight per day, and adjust their regular meals accordingly. They're great as training treats or a crunchy snack between meals.
9. Rice and Pea Frozen Treats
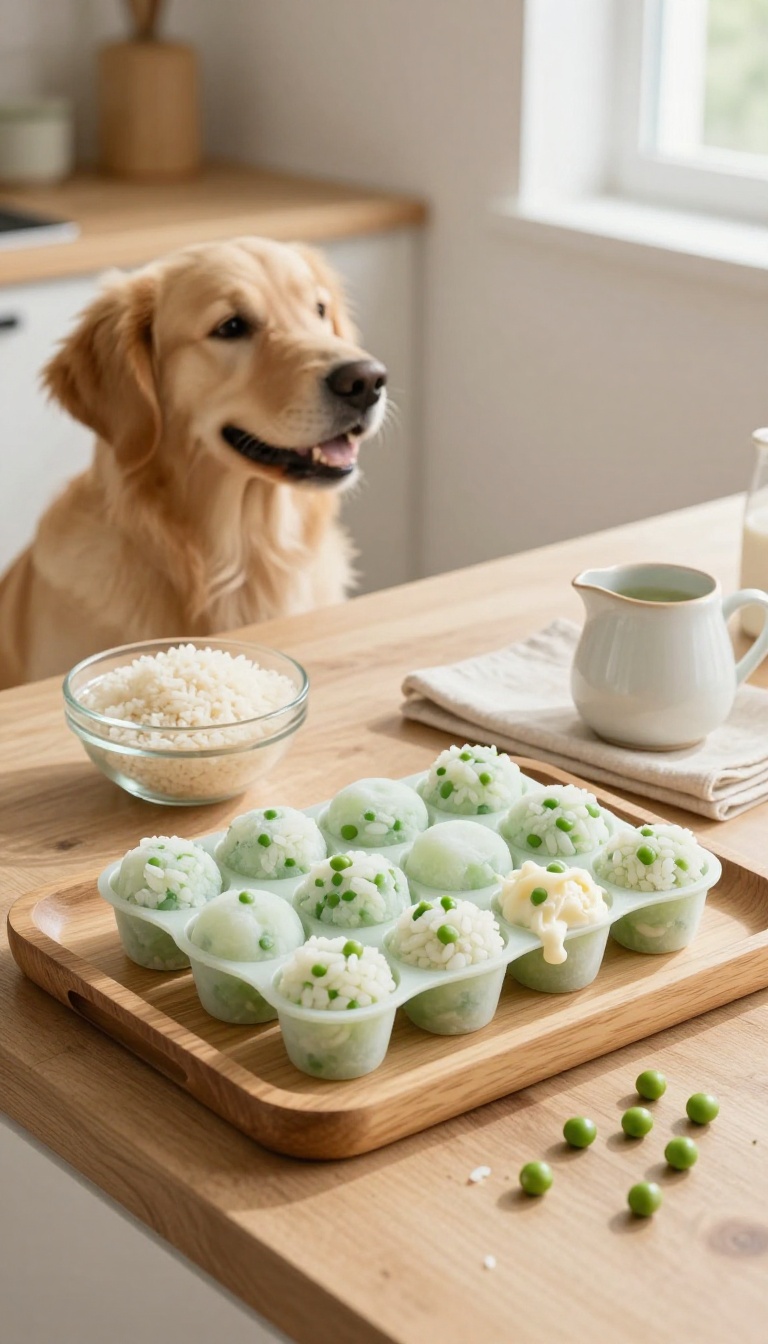
Got leftover rice and a bag of peas hanging out in the fridge? This is one of those happy accidents that turns into a dog treat win. Instead of tossing them, you can blend them into a cool, soothing snack that’s perfect for a hot afternoon.
Plus, it’s about as budget-friendly as it gets—you’re using what you already have, and your pup gets a refreshing reward without any extra cost.
Ingredients
- 1 cup leftover cooked rice (plain, no salt or seasonings)
- 1/2 cup peas (fresh or frozen, thawed)
- 1/4 cup low-sodium chicken or vegetable broth (or water)
Instructions
- In a blender or food processor, combine the rice, peas, and broth. Blend until smooth, adding a splash more broth if needed to get a pourable consistency.
- Pour the mixture into ice cube trays or silicone molds, filling each compartment about three-quarters full.
- Freeze for at least 3 hours, or until completely solid. Pop the treats out and store them in a freezer-safe bag or container.
Serving Tip
These frozen bites are great for warm days, but they’re also handy for teething puppies or as a gentle way to cool down after a walk. Start with one cube for small dogs and two for larger breeds, and always supervise your pup when they’re enjoying a frozen treat. Keep the extras in the freezer—they’ll stay fresh for up to a month.
10. Vegetable Scrap Stock and Gelatin Treats
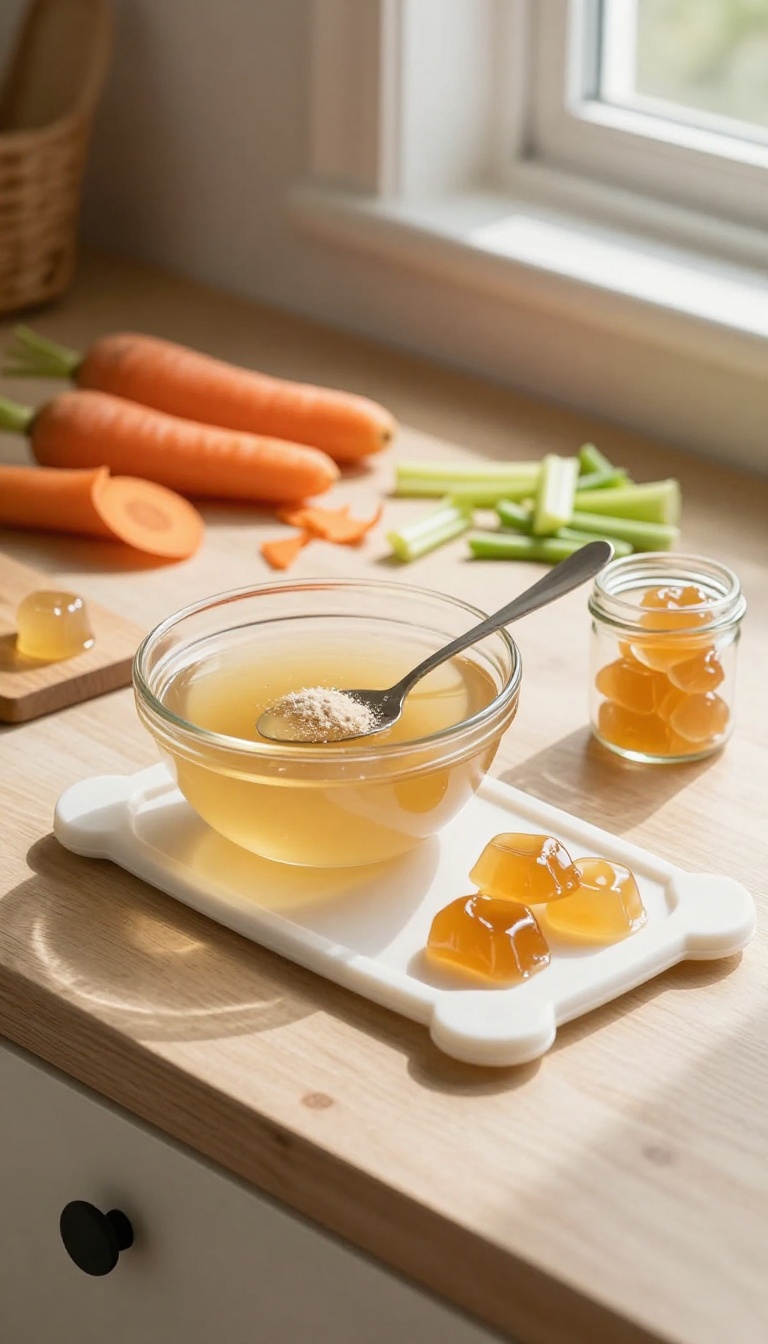
Got a bag of veggie scraps piling up in the fridge? Instead of tossing them, turn them into a broth that becomes a wobbly, hydrating snack your dog will love. This recipe is a clever way to use up those carrot peels, celery ends, and green bean tips that would otherwise go to waste—and it's super easy on the wallet.
The gelatin gives the treats a fun texture that's perfect for training or just a refreshing afternoon pick-me-up.
Ingredients
- 2 cups vegetable scraps (carrot peels, celery ends, green bean tips, etc.)
- 4 cups water
- 3 tablespoons unflavored gelatin powder
Instructions
- In a large pot, combine the vegetable scraps and water. Bring to a boil, then reduce heat and simmer for 30 minutes.
- Strain the broth through a fine-mesh sieve, discarding the solids. Let the broth cool until it's warm but not hot.
- Sprinkle the gelatin over the warm broth and whisk until completely dissolved.
- Pour the mixture into silicone molds or an ice cube tray. Refrigerate for at least 2 hours, or until set.
- Pop the treats out of the molds and store in an airtight container in the fridge.
Serving Tip
These gelatin treats are soft and easy to break into smaller pieces, making them great for training sessions. Keep them refrigerated and use within a week, or freeze for up to three months. Always check that the veggie scraps don't include anything toxic to dogs, like onions or garlic.
FAQ
Are leftovers from my kitchen safe for my dog?
Many leftovers are safe, but avoid toxic foods like onions, garlic, grapes, raisins, chocolate, and xylitol. Also skip high-fat or heavily seasoned foods. When in doubt, check with your vet.
How should I store homemade dog treats?
Store baked treats in an airtight container in the fridge for up to a week. Frozen treats can last up to 3 months. Always label with the date and keep them out of reach when not serving.
Can I use leftovers that have been seasoned or cooked with salt?
It's best to avoid heavily salted or seasoned leftovers. Rinse them thoroughly or choose plain versions. Excess salt and spices can upset your dog's stomach.
How many treats can I give my dog per day?
Treats should make up no more than 10% of your dog's daily calorie intake. Adjust meal portions accordingly. For small dogs, a couple of small treats is plenty.
What if my dog has food allergies?
Introduce new ingredients one at a time and watch for any adverse reactions. If your dog has known allergies, avoid those ingredients and consult your vet for safe alternatives.
Conclusion
There you have it—10 easy, budget-friendly DIY dog treat recipes that turn leftovers into tail-wagging goodness. Not only will you save money and reduce waste, but you'll also know exactly what's going into your pup's snacks. It's a simple way to show your dog some love while being kind to your wallet and the planet.
So next time you're about to toss those veggie peels or leftover rice, think twice. Your dog will thank you with a happy dance and a slobbery kiss. Happy treat-making!

I’m Pallab Kishore, the owner of Little Pets Realm — an animal lover and pet care enthusiast sharing easy tips, healthy recipes, and honest advice to help every small pet live a happy, healthy, tail-wagging life.