
Last updated on September 1st, 2026 at 04:38 pm
There's something so comforting about watching your dog happily chew on a treat they love. If your pup has a peanut butter allergy or you simply want to mix things up, these long-lasting dog treats are here to help.
They're made with simple, dog-safe ingredients that are easy to find and even easier to prepare. Each recipe is designed to keep your furry friend busy and satisfied, whether you're relaxing at home or need a little quiet time.
From chewy sweet potato strips to frozen fruit pops, these treats are perfect for cozy afternoons. You'll love how simple they are to make, and your dog will love the tasty rewards.
1. Sweet Potato Chews
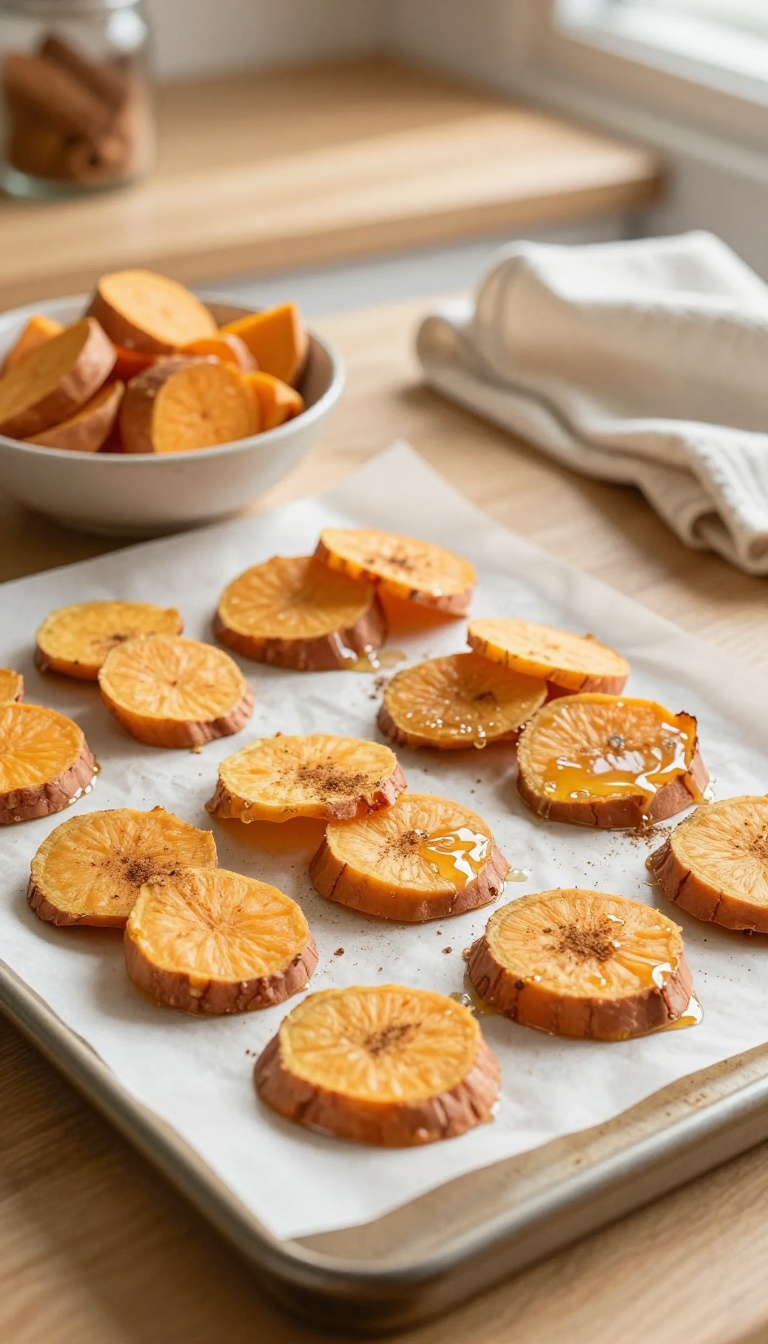
There’s something about a chewy, naturally sweet snack that makes dogs do their happy little wiggle dance. Sweet potato chews are a cozy favorite in many homes, especially when you want to give your pup something satisfying without reaching for peanut butter. They’re simple to make, gentle on the stomach, and perfect for dogs who love to nibble slowly.
Plus, the low-and-slow baking fills your kitchen with a warm, comforting aroma that feels like a hug for both of you.
Ingredients
- 2 large sweet potatoes, washed and dried
- 1 tablespoon coconut oil (optional, for a slight sheen)
- A pinch of ground cinnamon (optional, for extra warmth)
Instructions
- Preheat your oven to 200°F (95°C). Line a baking sheet with parchment paper.
- Slice the sweet potatoes into thin, even rounds or long strips, about 1/4-inch thick. Thinner slices will be crispier, while thicker ones will be chewier.
- If using coconut oil, lightly brush both sides of the slices. Sprinkle with cinnamon if desired.
- Arrange the slices in a single layer on the baking sheet, making sure they don’t overlap.
- Bake for 2 to 3 hours, flipping halfway through, until the chews are dry and leathery but still slightly pliable. Let them cool completely before serving.
Serving Tip
Store these chews in an airtight container in the fridge for up to two weeks, or freeze them for longer freshness. Because they’re chewy, they’re perfect for dogs who love to work for their treat—just supervise to make sure they don’t gulp down large pieces. Start with one or two slices depending on your dog’s size, and adjust baking time for your preferred texture.
2. Frozen Pumpkin Yogurt Drops
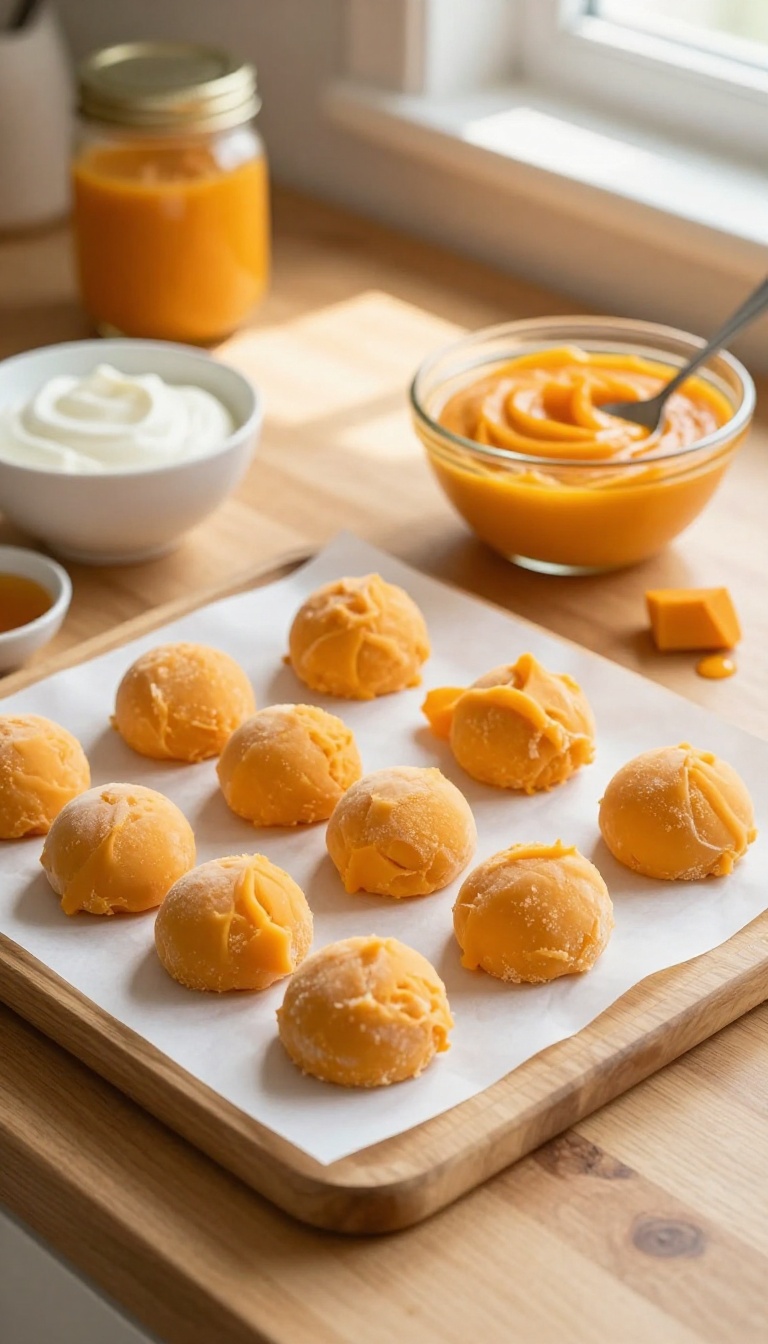
These little frozen drops are like a cozy autumn hug for your pup, but they work any time of year. The creamy pumpkin and tangy yogurt blend into a smooth, spoonable mixture that freezes into soft, melt-in-the-mouth bites. They're perfect for warm afternoons when your dog wants something cool, or for teething puppies who need gentle relief on their gums.
Plus, they're so simple to make that you'll wonder why you ever bought store-bought frozen treats.
Ingredients
- 1 cup plain, unsweetened yogurt (check it doesn't contain xylitol)
- 1/2 cup canned pure pumpkin (not pumpkin pie filling)
- 1 tablespoon honey (optional, for a touch of sweetness)
Instructions
- In a small bowl, stir together the yogurt, pumpkin, and honey until smooth and fully combined.
- Line a baking sheet with parchment paper. Drop spoonfuls of the mixture onto the sheet, making small circles about 1 inch wide.
- Place the baking sheet in the freezer for 2–3 hours, or until the drops are completely frozen and firm.
- Once frozen, transfer the drops to a resealable bag or airtight container. Store in the freezer until ready to serve.
Serving Tip
Give your dog 1–2 drops at a time, depending on their size. These are best served straight from the freezer, but if your pup is sensitive to cold, let them sit at room temperature for a minute or two. They'll keep for up to 3 months in the freezer, so you can always have a soothing treat on hand.
3. Apple Cinnamon Oat Biscuits
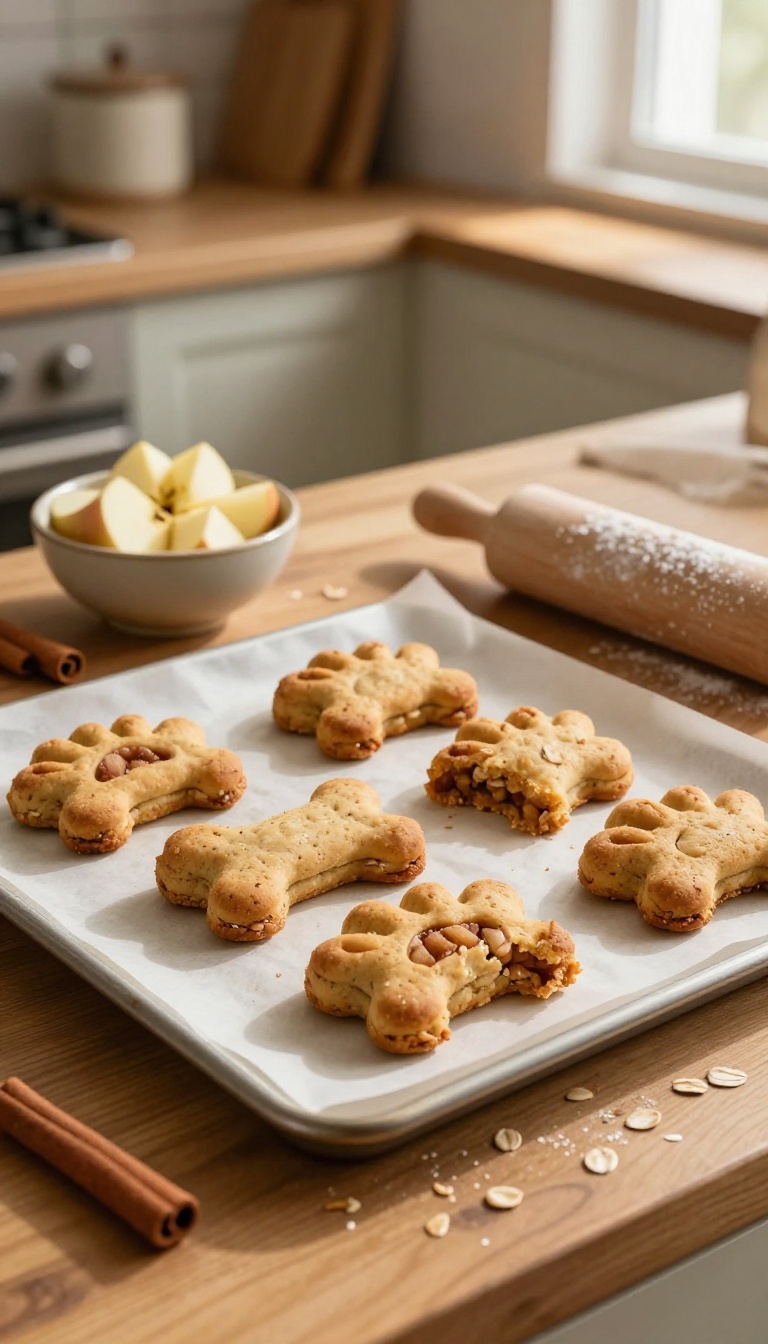
There’s something extra cozy about the smell of apples and cinnamon baking in the oven, and these biscuits bring that warm, homey feeling straight to your kitchen. They’re simple to make with oat flour, fresh apple, and just a hint of cinnamon—no peanut butter in sight. Your pup will love the crunchy texture and the gentle sweetness, and you’ll love how easy they are to bake up for a comforting treat any day.
Ingredients
- 2 cups oat flour (or ground rolled oats)
- 1 cup finely grated fresh apple (about 1 medium apple, cored)
- 1/2 teaspoon ground cinnamon
- 1/4 cup unsweetened applesauce
- 1 large egg (or flax egg for a binder)
- 1/4 cup water (or more as needed)
Instructions
- Preheat your oven to 350°F (175°C) and line a baking sheet with parchment paper.
- In a large bowl, mix the oat flour, cinnamon, and grated apple until well combined.
- Add the applesauce and egg, then stir in water a little at a time until a firm dough forms.
- Roll the dough out on a lightly floured surface to about 1/4-inch thickness, then cut into fun shapes using cookie cutters.
- Place the biscuits on the prepared baking sheet and bake for 25–30 minutes, until golden and firm to the touch.
- Let them cool completely on a wire rack—they’ll crisp up as they cool.
Serving Tip
Store these biscuits in an airtight container at room temperature for up to a week, or pop them in the fridge for extra crunch. For smaller pups, break them into bite-sized pieces; for larger dogs, they’re perfect as a satisfying chew. Always supervise your dog with any treat and adjust portions based on their size and daily calorie needs.
4. Carrot and Coconut Chews
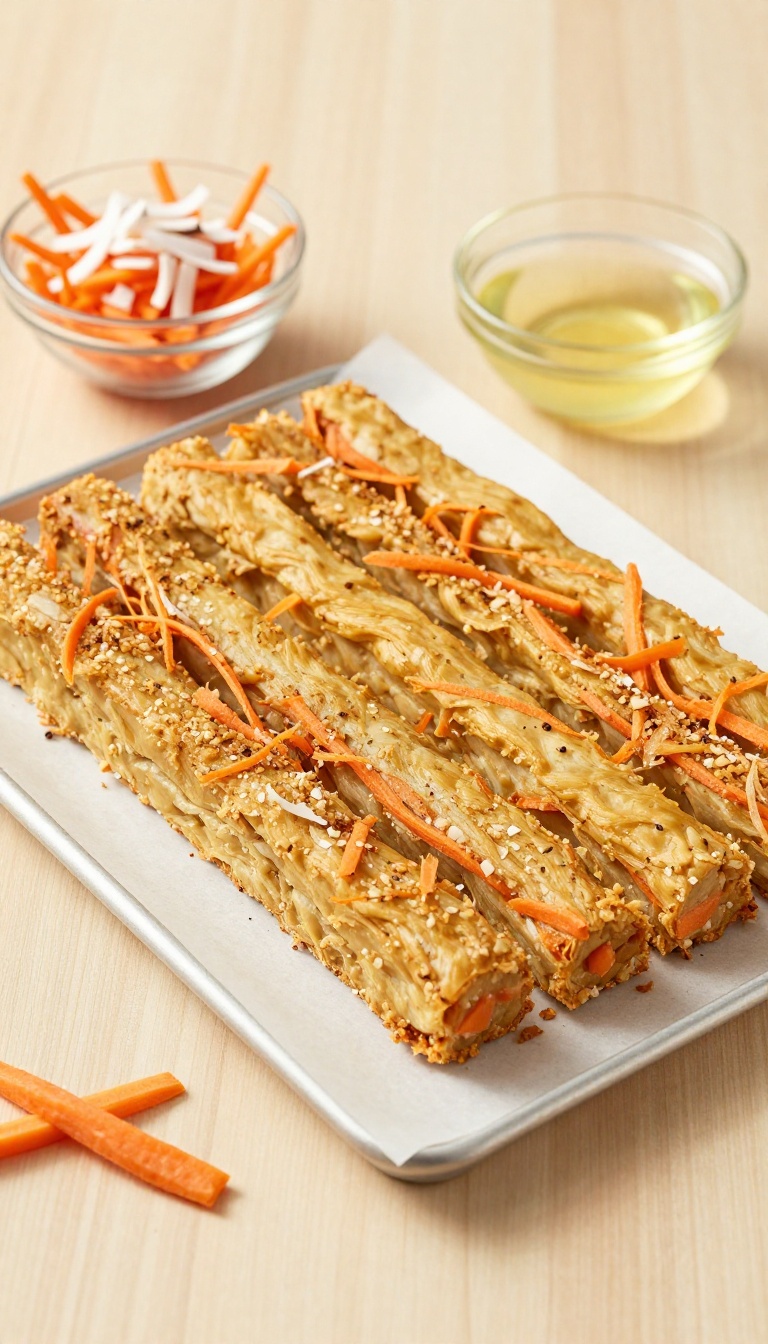
These chewy bars bring a gentle tropical vibe to your dog's treat jar, thanks to the natural sweetness of carrot and the subtle flavor of unsweetened coconut. They're baked until firm enough to satisfy a serious chewer, yet soft enough for older pups to enjoy. The combo of shredded carrot and coconut also adds a nice texture that keeps dogs interested, and the ingredients are simple enough that you can whip up a batch without a trip to a specialty store.
For a cozy afternoon project, these chews are a fun way to show your pup some love.
Ingredients
- 2 cups shredded carrots (about 2 medium carrots)
- 1 cup unsweetened shredded coconut
- 1 ½ cups oat flour (or whole wheat flour)
- 1 large egg
- ?? cup coconut oil, melted
- ¼ cup water (or as needed)
Instructions
- Preheat your oven to 350°F (175°C) and line a baking sheet with parchment paper.
- In a large bowl, mix the shredded carrots, coconut, and oat flour together.
- In a separate small bowl, whisk the egg and melted coconut oil, then pour into the dry ingredients. Add water gradually and stir until a firm dough forms.
- Turn the dough out onto a lightly floured surface and roll to about ½-inch thickness.
- Cut into bars or use a cookie cutter for fun shapes, then place on the prepared baking sheet.
- Bake for 25–30 minutes until the edges are golden and the bars feel firm. Let cool completely before serving.
Serving Tip
Store these chews in an airtight container in the fridge for up to a week, or freeze them for longer storage. For a longer-lasting chew, bake them a little longer (up to 40 minutes) to dry them out more, but keep an eye on them to avoid burning. Give one bar to your dog as a rewarding treat, and adjust the size based on your pup's breed and chewing habits.
5. Frozen Blueberry and Banana Pops
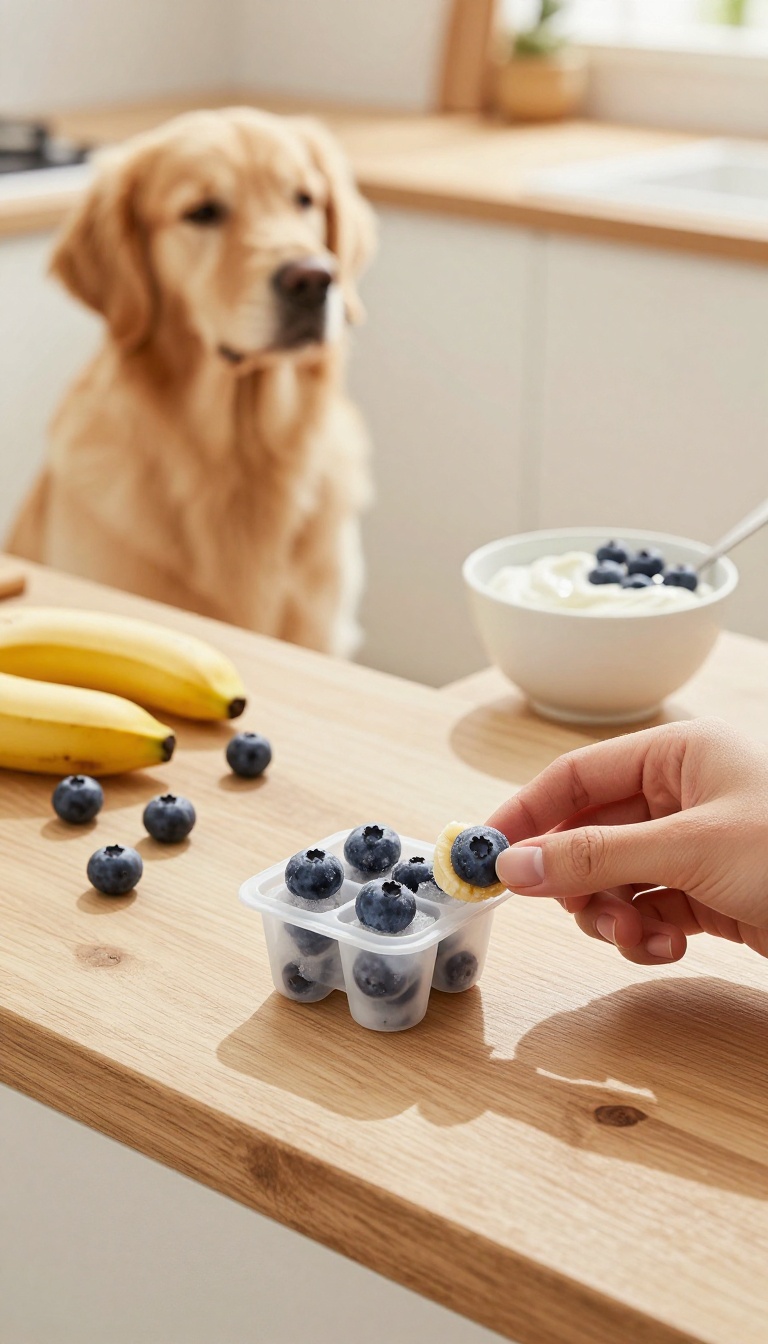
When the sun is high and your pup is looking for a way to chill out, these frozen blueberry and banana pops are a cozy little win. They’re soft, sweet, and full of antioxidants, making them a treat you can feel good about. Plus, they’re so easy to whip up that you’ll want to keep a batch ready for those warm afternoons.
The best part? Your dog will think you’re a kitchen superstar every time you pull one out of the freezer.
Ingredients
- 2 ripe bananas, mashed
- 1 cup fresh or frozen blueberries
- 1/2 cup plain Greek yogurt (optional, for extra creaminess)
- 1/4 cup water (if needed to thin the mixture)
Instructions
- In a medium bowl, mash the bananas until smooth. If you’re using yogurt, stir it in now.
- Gently fold in the blueberries, making sure they’re evenly distributed. If the mixture seems too thick, add a little water to loosen it.
- Spoon the mixture into ice cube trays or silicone molds, filling each compartment almost to the top.
- Place the trays in the freezer for at least 3 hours, or until completely solid.
- Once frozen, pop the treats out and store them in a zip-top bag or airtight container in the freezer.
Serving Tip
These pops are perfect for a hot day, but remember they’re a treat—not a meal. Give your dog one or two at a time, depending on their size, and always supervise while they enjoy it. If your pup is a fast eater, you can also stuff the mixture into a Kong and freeze it for a longer-lasting challenge.
6. Pumpkin and Flaxseed Crunchies
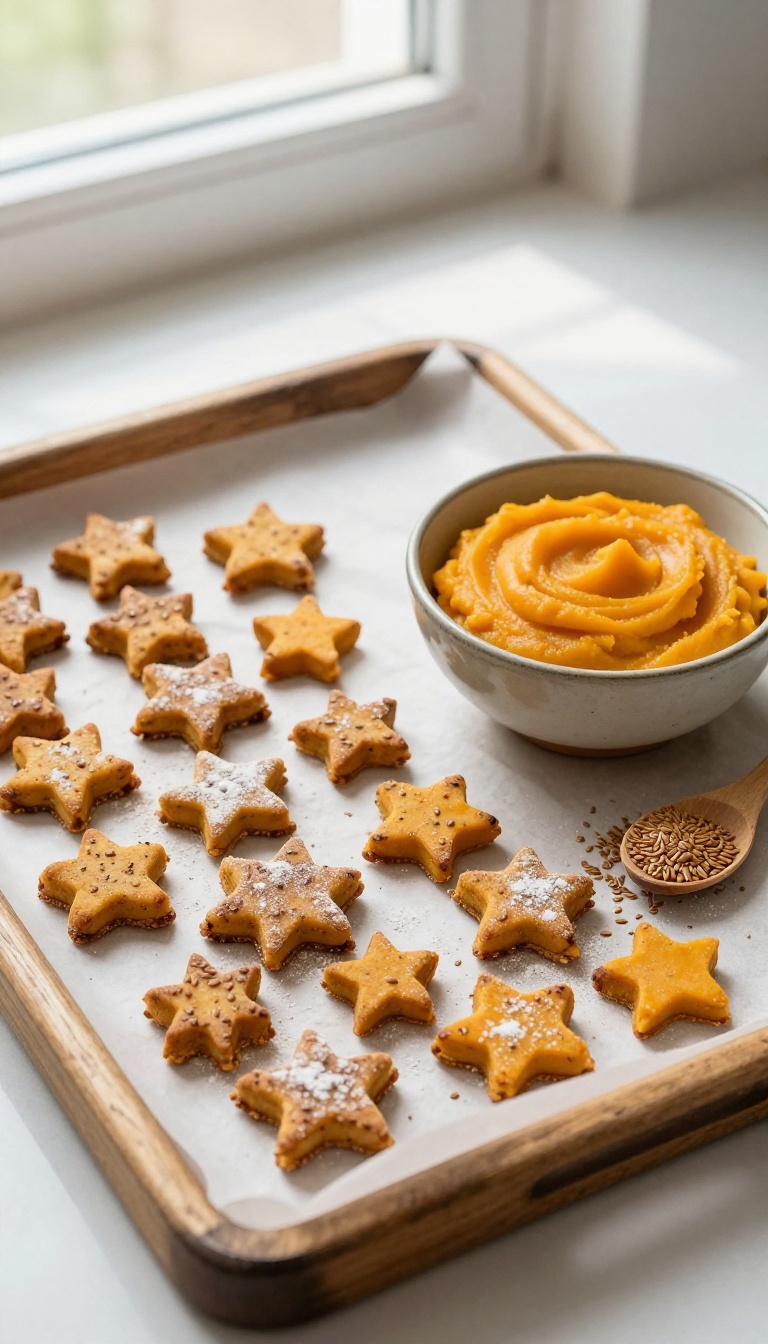
These little crunchies are like a warm hug for your pup’s tummy. The pumpkin puree brings that cozy, comforting fall feeling any time of year, while flaxseed adds a gentle boost for digestion and a shiny coat. They bake up crispy and satisfying, perfect for dogs who love a good crunch without any peanut butter.
Ingredients
- 1 cup pumpkin puree (unsweetened, not pumpkin pie filling)
- 2 tablespoons ground flaxseed
- 2 cups whole wheat flour (or oat flour for a grain-free option)
- 1/4 cup water (or as needed)
- 1 tablespoon coconut oil (melted, optional for extra shine)
Instructions
- Preheat your oven to 350°F (175°C) and line a baking sheet with parchment paper.
- In a large bowl, mix the pumpkin puree, ground flaxseed, and melted coconut oil (if using) until well combined.
- Gradually add the whole wheat flour, stirring until a dough forms. If the dough seems too dry, add water a tablespoon at a time until it comes together.
- Roll the dough out on a lightly floured surface to about 1/4-inch thickness. Use cookie cutters to cut into fun shapes or just slice into small squares.
- Place the treats on the prepared baking sheet and bake for 25-30 minutes, until they are golden and firm to the touch. Let them cool completely before serving.
Serving Tip
These crunchies are great for training or as a mid-day snack. Store them in an airtight container at room temperature for up to two weeks, or pop them in the freezer for up to three months. For smaller dogs, break them into smaller pieces to avoid overfeeding.
7. Sweet Potato and Apple Jerky
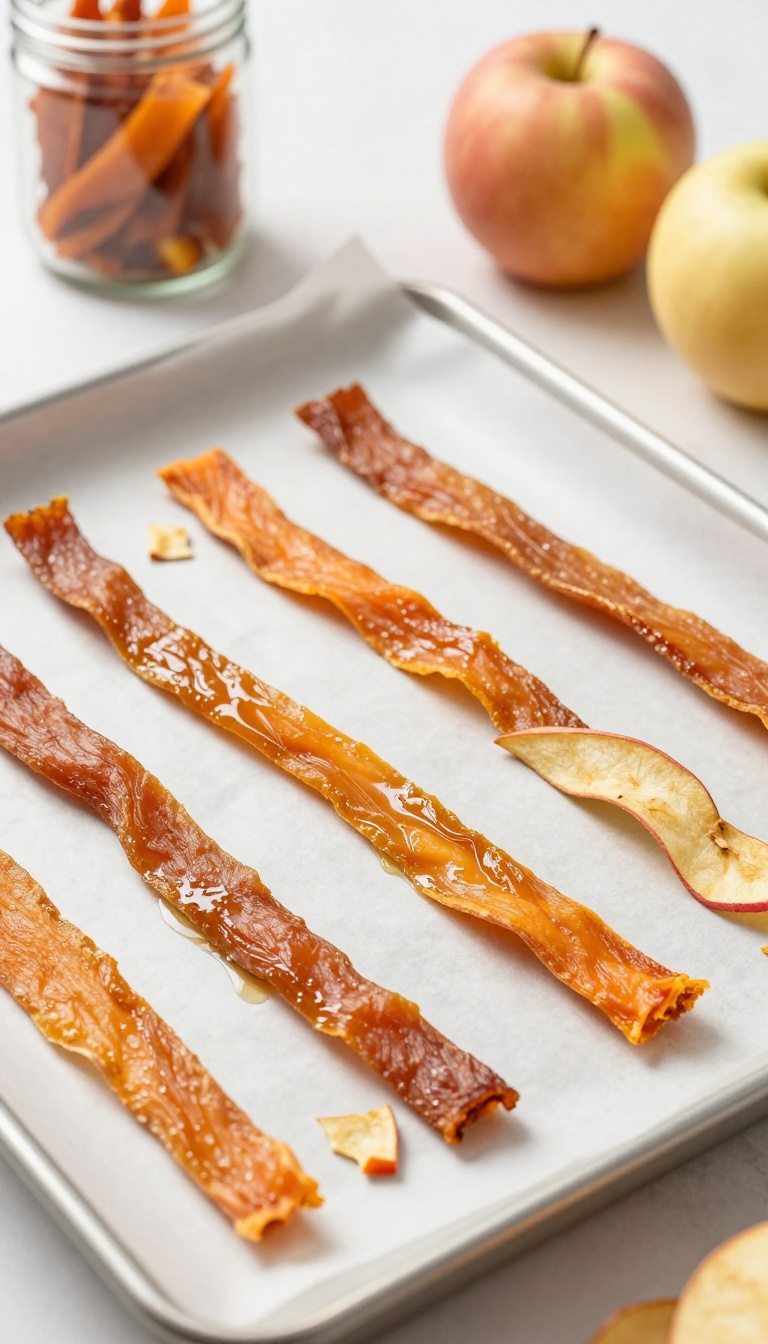
When the day calls for a quiet, cozy chew, this jerky is a warm hug in treat form. The natural sweetness of sweet potato pairs with crisp apple, then dries into a chewy strip that feels like a little homemade comfort. It’s a wonderful way to keep your pup content during a movie night or a long car ride, and it’s so simple to make that you’ll feel good about every batch.
Ingredients
- 1 large sweet potato, peeled and thinly sliced into 1/8-inch strips
- 1 medium apple, cored and thinly sliced into 1/8-inch rounds
- 1 tablespoon coconut oil, melted (optional, for a slight sheen)
Instructions
- Preheat your dehydrator to 135°F (57°C) or your oven to its lowest setting (usually around 170°F/75°C). Line a baking sheet with parchment paper if using the oven.
- In a bowl, toss the sweet potato and apple slices with the melted coconut oil until lightly coated. This step is optional but adds a subtle richness.
- Arrange the slices in a single layer on dehydrator trays or the prepared baking sheet, making sure they don’t overlap.
- Dehydrate for 4 to 6 hours, or bake for 2 to 3 hours, flipping halfway, until the strips are dry but still slightly pliable. They should feel leathery, not brittle.
- Let the jerky cool completely before serving. Store in an airtight container in the refrigerator for up to one week, or freeze for longer storage.
Serving Tip
Break the jerky into smaller pieces for small dogs or puppies, and always supervise your pup while they chew. Because it’s chewy, it’s best for dogs who like to take their time—perfect for a calm afternoon or a rewarding training session. Start with a small piece to ensure your dog tolerates the texture, and adjust the thickness for a softer or firmer chew.
8. Frozen Chicken Broth Ice Cubes
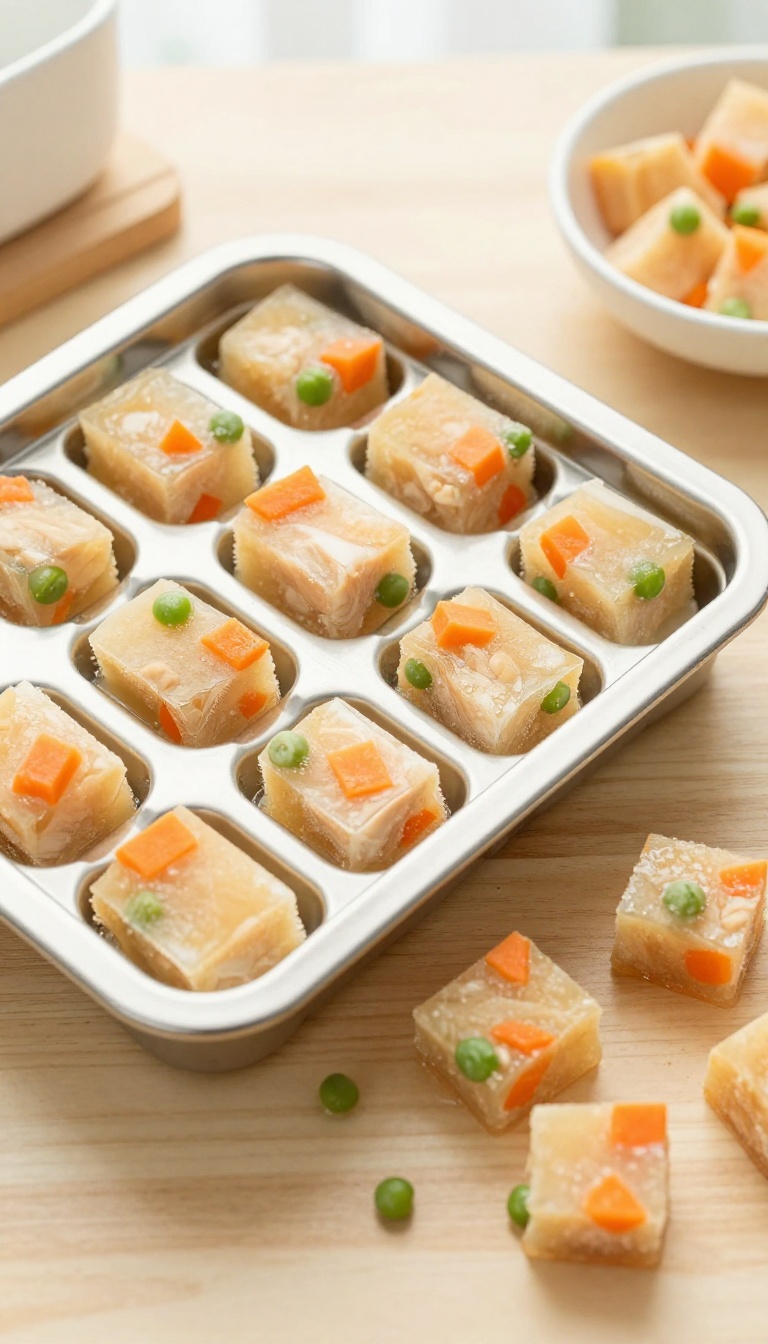
When the heat has your pup feeling droopy, these icy cubes are a simple way to bring back some pep. They're just low-sodium chicken broth with a few veggie bits frozen inside, so every lick is cool, savory, and hydrating. The best part?
You probably have the ingredients already, and they take minutes to prep. Pop a few in a bowl or scatter them on the floor for a fun, refreshing game of chase-the-treat. Your dog will think you're a genius, and you'll love how easy cleanup is.
Ingredients
- 4 cups low-sodium chicken broth (make sure it's onion- and garlic-free)
- 1/2 cup finely diced carrots
- 1/2 cup finely diced green beans
Instructions
- In a large measuring cup or bowl, stir the chicken broth and the diced carrots and green beans together.
- Pour the mixture into ice cube trays or small silicone molds, filling each compartment almost to the top.
- Freeze for at least 4 hours, or until completely solid.
- Pop the cubes out and store them in a zip-top bag in the freezer for up to two months.
Serving Tip
Give your dog one or two cubes at a time, depending on their size, and supervise while they lick and chew. These are perfect for a hot afternoon, but they can get messy as they melt, so serve them outside or on a towel. If your pup is a fast eater, try freezing the cubes into a larger block in a shallow dish to make the treat last longer.
9. Banana and Oat Frozen Bites
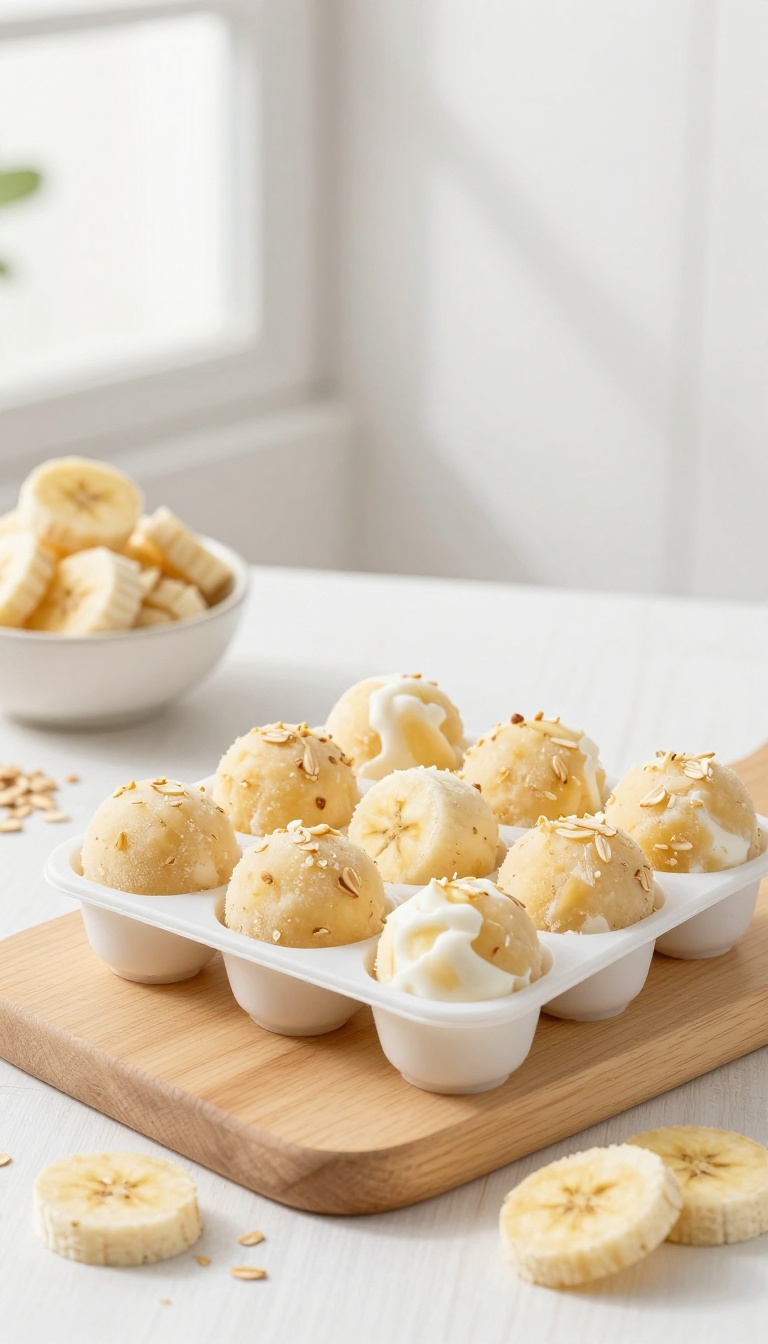
These little frozen bites are like a cozy afternoon nap in treat form. Mashed banana brings natural sweetness that most pups go wild for, while oats add a gentle, soothing texture that's easy on sensitive tummies. They're soft enough for older dogs to enjoy, yet sturdy enough to keep a playful pup busy for a while.
Plus, making them at home means you control every ingredient, so you know exactly what your furry friend is licking up.
Ingredients
- 2 ripe bananas, mashed
- 1 cup rolled oats
- 1/4 cup plain Greek yogurt (unsweetened, no xylitol)
- 1 tablespoon honey (optional, for extra sweetness)
Instructions
- In a medium bowl, mash the bananas until smooth. Add the oats, Greek yogurt, and honey (if using), and stir until everything is well combined. The mixture should be thick but spreadable.
- Spoon the mixture into silicone molds or an ice cube tray, pressing down gently to fill each cavity. Smooth the tops with the back of a spoon.
- Place the molds in the freezer for at least 3 hours, or until completely firm. Once frozen, pop the bites out and store them in a freezer-safe bag or container.
Serving Tip
Serve these frozen bites straight from the freezer on a hot day or as a special afternoon treat. Because they're soft, they're perfect for puppies and senior dogs alike. Store leftovers in the freezer for up to 3 months, and always supervise your pup while they enjoy a frozen treat.
FAQ
Are these dog treats safe for puppies?
Yes, most of these treats are safe for puppies, but always check with your vet first. Some treats, like jerky or crunchy biscuits, may be too hard for very young puppies. Start with softer options like frozen yogurt drops or banana oat bites.
How long do homemade dog treats last?
It depends on the treat. Baked biscuits can last up to two weeks in an airtight container. Frozen treats should be kept in the freezer and used within a month for best freshness.
Always check for signs of spoilage before giving them to your dog.
Can I substitute ingredients if my dog has allergies?
Absolutely! Many recipes are flexible. For example, you can swap sweet potato for pumpkin or use oat flour instead of wheat.
Just make sure any substitute is safe for dogs and doesn't contain xylitol, chocolate, or other harmful ingredients.
How many treats can I give my dog per day?
Treats should make up no more than 10% of your dog's daily calorie intake. The exact number depends on your dog's size, age, and activity level. Start with one treat and adjust based on your dog's needs and your vet's advice.
Do I need a dehydrator for the jerky recipes?
No, you can use an oven set to the lowest temperature (usually around 170°F) with the door slightly ajar. It takes longer, but it works well. Just keep an eye on the treats to ensure they dry out without burning.
Conclusion
These nine long-lasting dog treats are a wonderful way to show your pup some extra love without relying on peanut butter. Each recipe is simple, cozy, and made with ingredients that are good for your dog.
Whether you're baking a batch of biscuits or freezing some refreshing pops, your furry friend will be thrilled with the tasty results. Remember to always introduce new treats gradually and consult your vet if you have any concerns about allergies or dietary restrictions.

I’m Pallab Kishore, the owner of Little Pets Realm — an animal lover and pet care enthusiast sharing easy tips, healthy recipes, and honest advice to help every small pet live a happy, healthy, tail-wagging life.