
There's something special about baking for your dog. The tail wags, the hopeful eyes, and the happy crunching make it all worth it. If you're new to making homemade dog treats, you might worry about complicated steps or hard-to-find ingredients.
But it doesn't have to be that way. These eight recipes use just four simple, dog-safe ingredients each. They're perfect for a cozy afternoon in the kitchen, and they'll fill your home with comforting aromas that your pup will love.
Whether you're making crunchy biscuits or soft frozen bites, each treat is designed to be easy, affordable, and totally tail-wagging good. So grab your apron, preheat the oven, and let's make some memories with your furry best friend.
1. Classic Peanut Butter & Pumpkin Biscuits
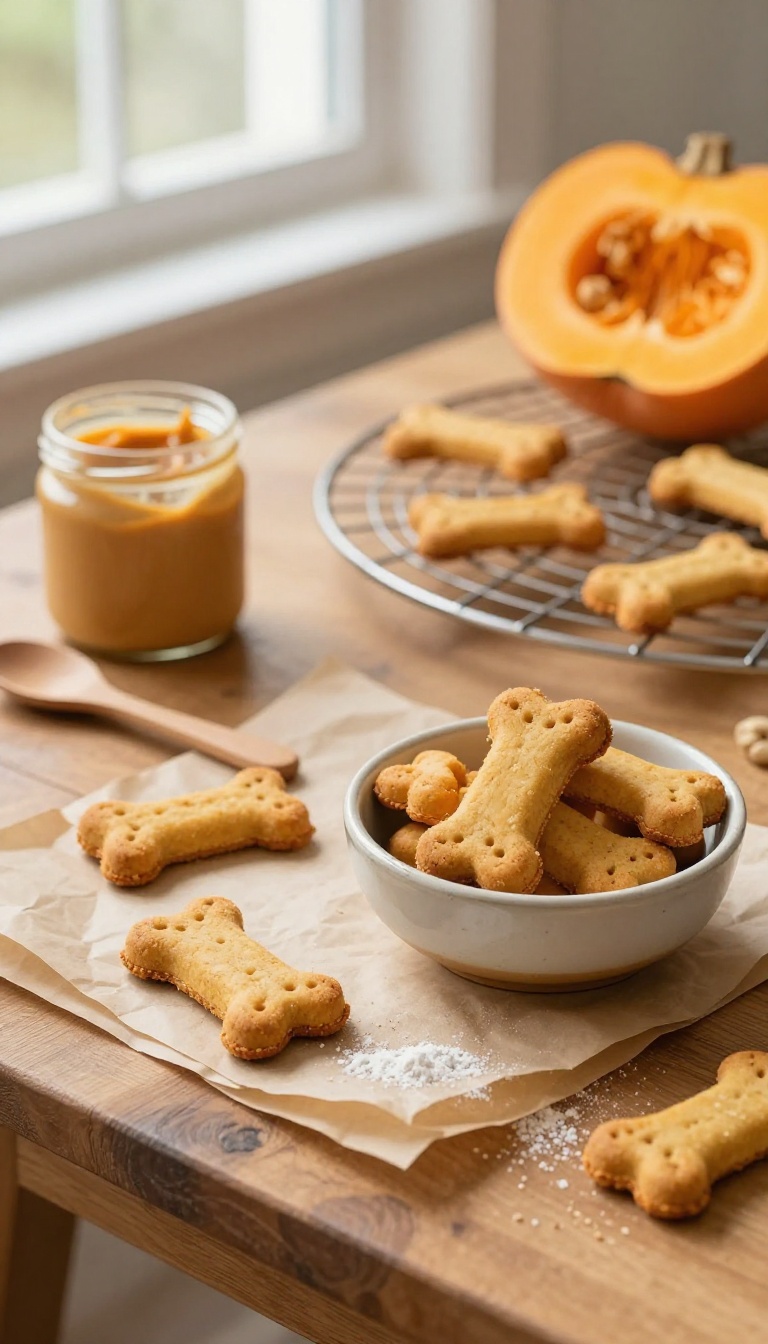
There's something about the combo of peanut butter and pumpkin that just screams fall, even when it's not October. These biscuits are the kind of treat you can whip up on a lazy Sunday afternoon, filling your kitchen with a cozy, nutty aroma that makes your pup do that little head tilt of anticipation. They're crunchy enough to satisfy the need to chew, but not so hard that they hurt sensitive teeth.
Plus, they're made with just four simple ingredients you probably already have in your pantry, so there's no last-minute trip to the store. Whether you're a first-time baker or just looking for a reliable go-to recipe, these biscuits are a warm, comforting way to show your dog you care.
Ingredients
- 2 ½ cups whole wheat flour (or oat flour for a gentler option)
- 1 cup canned pumpkin (unsweetened, not pumpkin pie filling)
- ½ cup natural peanut butter (xylitol-free, smooth or crunchy)
- 2 large eggs
Instructions
- Preheat your oven to 350°F (175°C) and line a baking sheet with parchment paper.
- In a large bowl, mix the flour, pumpkin, peanut butter, and eggs until a stiff dough forms. If it feels too sticky, add a little more flour; if too dry, add a splash of water.
- Roll the dough out on a lightly floured surface to about ¼-inch thickness. Use cookie cutters in fun shapes (bones, paws, or circles) and place them on the prepared baking sheet.
- Bake for 25–30 minutes, until the edges are golden and the biscuits are firm. Let them cool completely on a wire rack before serving – they'll crisp up as they cool.
Serving Tip
- Store these biscuits in an airtight container at room temperature for up to two weeks, or pop them in the fridge to keep them fresher longer. For an extra-special treat, you can freeze them for up to three months – just thaw a few at a time. Start by giving your dog one biscuit as a reward, and adjust portion sizes based on their size and daily treat allowance.
- These crunchy bites are perfect for training sessions or just as a cozy afternoon snack.
2. Sweet Potato & Oat Chews
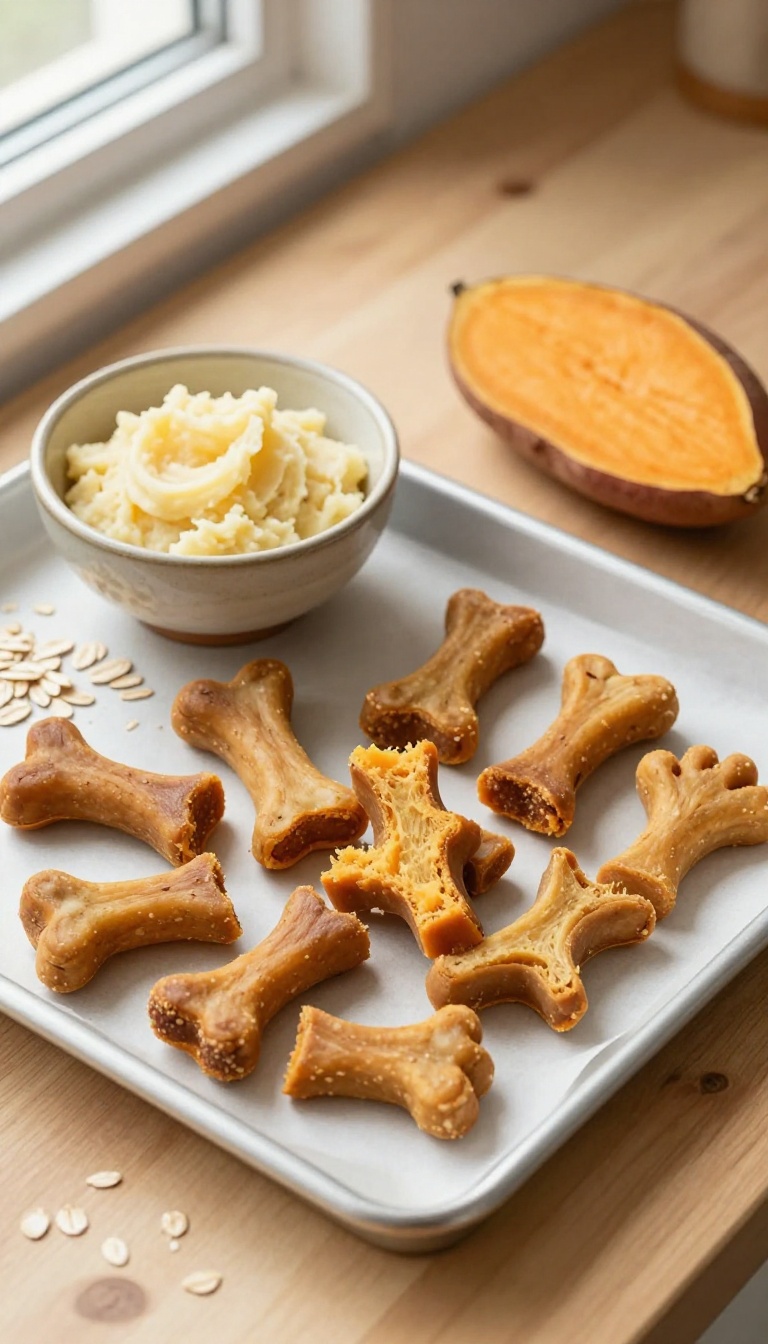
There's something extra comforting about a treat that feels like a warm, soft hug for your pup. These Sweet Potato & Oat Chews are exactly that—a gentle, chewy snack that’s perfect for dogs who might not want a crunchy biscuit. The natural sweetness of sweet potato pairs beautifully with the mild, hearty flavor of oats, making these a cozy, wholesome option for any time of day.
Plus, they’re so simple to put together that you’ll feel like a baking pro in no time.
Ingredients
- 1 cup mashed sweet potato (about 1 medium sweet potato, baked or boiled)
- 1 ½ cups rolled oats (plus a little extra for dusting)
- 1 large egg
- 2 tablespoons unsweetened applesauce (optional, for extra moisture)
Instructions
- Preheat your oven to 350°F (175°C) and line a baking sheet with parchment paper.
- In a large bowl, mix the mashed sweet potato, rolled oats, egg, and applesauce (if using) until a soft dough forms. If the dough feels too sticky, add a tablespoon of oats at a time until it’s manageable.
- Turn the dough out onto a lightly floured surface (use oats or a bit of flour) and roll it to about ¼-inch thickness.
- Use a cookie cutter or a knife to cut into fun shapes, or simply slice into small squares. Place them on the prepared baking sheet.
- Bake for 20–25 minutes, until the edges are slightly golden and the chews are firm to the touch. Let them cool completely before serving.
Serving Tip
These chews are soft and easy to break into smaller pieces, making them great for training or for senior dogs with sensitive teeth. Store them in an airtight container in the fridge for up to a week, or freeze for up to three months—just thaw a few at a time for a comforting treat.
3. Frozen Blueberry & Yogurt Bites
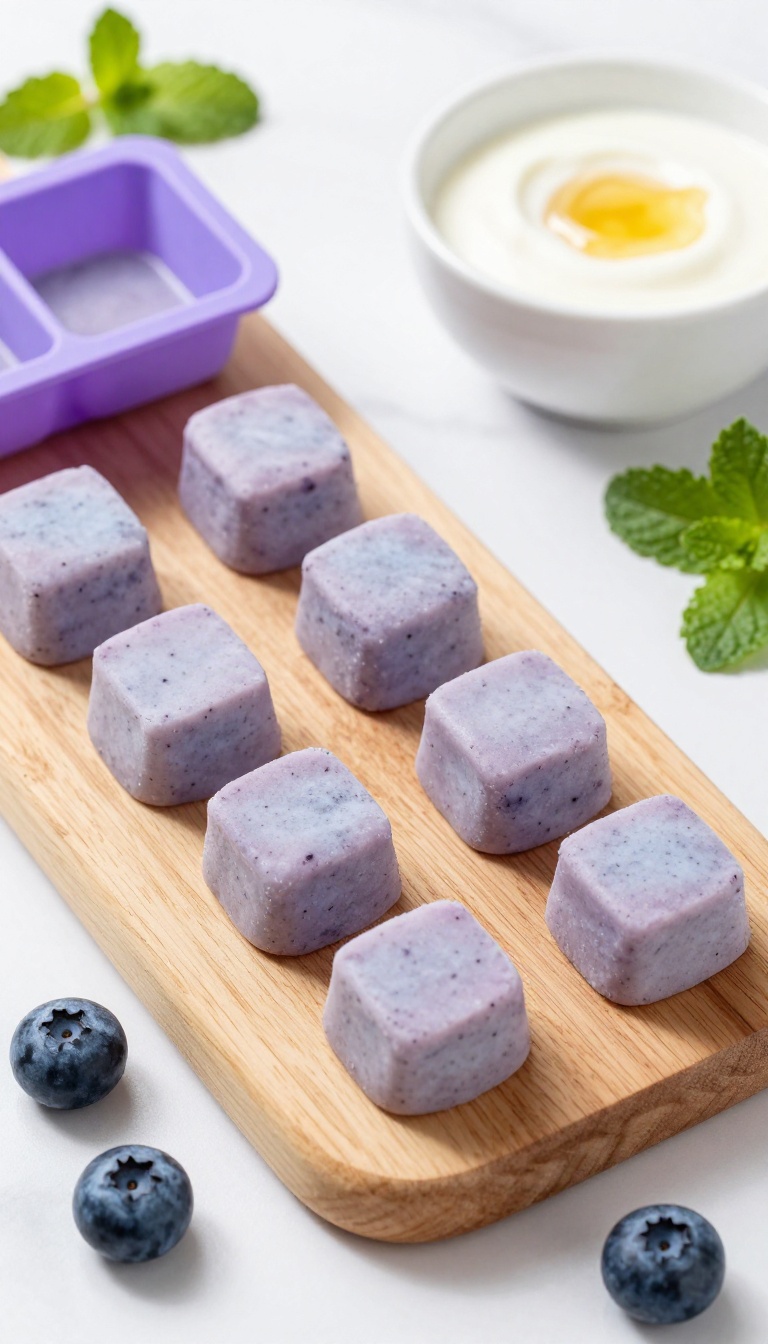
On a hot afternoon, nothing beats a cool, creamy snack that your dog can lick and crunch at their own pace. These frozen bites are like little popsicles for pups, combining the tart-sweet pop of blueberries with smooth, plain yogurt. They're a breeze to mix up, and since there's no baking involved, you can have a batch ready in the freezer before your dog even finishes their nap.
Plus, they're a gentle way to pamper your pup with something special that feels like a treat but stays simple and wholesome.
Ingredients
- 1 cup plain, unsweetened yogurt (Greek or regular, as long as it's xylitol-free)
- 1/2 cup fresh or frozen blueberries (no added sugar)
- 1 tablespoon honey (optional, for a touch of sweetness)
- 1/4 cup unsweetened applesauce (to help the mixture bind and add natural sweetness)
Instructions
- Add the yogurt, blueberries, honey (if using), and applesauce to a blender or food processor. Blend until smooth, stopping to scrape down the sides if needed.
- Pour the mixture into silicone molds, ice cube trays, or a small baking dish lined with parchment paper. If using a dish, spread it evenly to about 1/2 inch thick.
- Place the molds or dish in the freezer for at least 3 hours, or until completely solid. Once frozen, pop the bites out and store them in a zip-top bag or airtight container in the freezer.
Serving Tip
- These frozen bites are perfect for warm days, but they're also great for teething puppies or senior dogs who enjoy a soothing, cold chew. Start with one small bite to see how your dog handles the cold, and always supervise while they enjoy it. For smaller dogs, break a bite into halves or quarters.
- Keep them stored in the freezer, and let them soften for a minute or two before serving if your dog is sensitive to cold.
4. Banana & Honey Mini Muffins
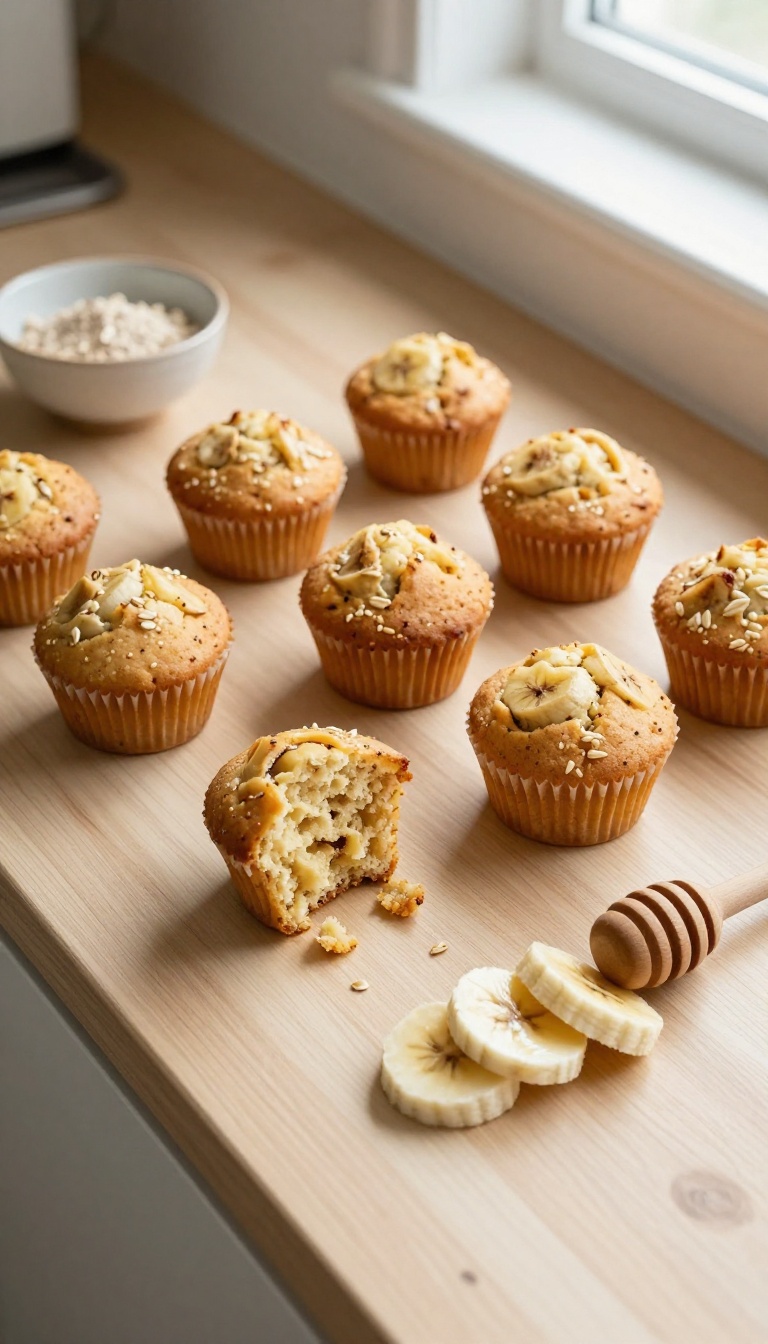
There’s something so homey about the smell of banana bread baking, and these mini muffins bring that same cozy comfort to your kitchen—but they’re made just for your pup. With ripe bananas and a drizzle of honey, they’re soft, naturally sweet, and perfect for dogs who love a little treat during training or cuddle time. Plus, they’re so simple to whip up that you’ll feel like a pro baker even on a busy weeknight.
Ingredients
- 1 ripe banana, mashed
- 1/4 cup honey
- 1 cup oat flour
- 1/4 cup water (or more as needed)
Instructions
- Preheat your oven to 350°F (175°C) and lightly grease a mini muffin tin.
- In a mixing bowl, combine the mashed banana and honey until smooth.
- Stir in the oat flour and water, mixing until you have a thick, spoonable batter. Add a little extra water if it seems too dry.
- Spoon the batter into the mini muffin cups, filling each about 3/4 full.
- Bake for 12–15 minutes, or until a toothpick inserted comes out clean. Let cool completely before serving.
Serving Tip
These muffins are soft and easy to break into smaller pieces, making them great for training or as a gentle snack for older dogs. Store them in an airtight container in the fridge for up to a week, or freeze for up to three months—just thaw before giving to your pup.
5. Carrot & Apple Crunchies
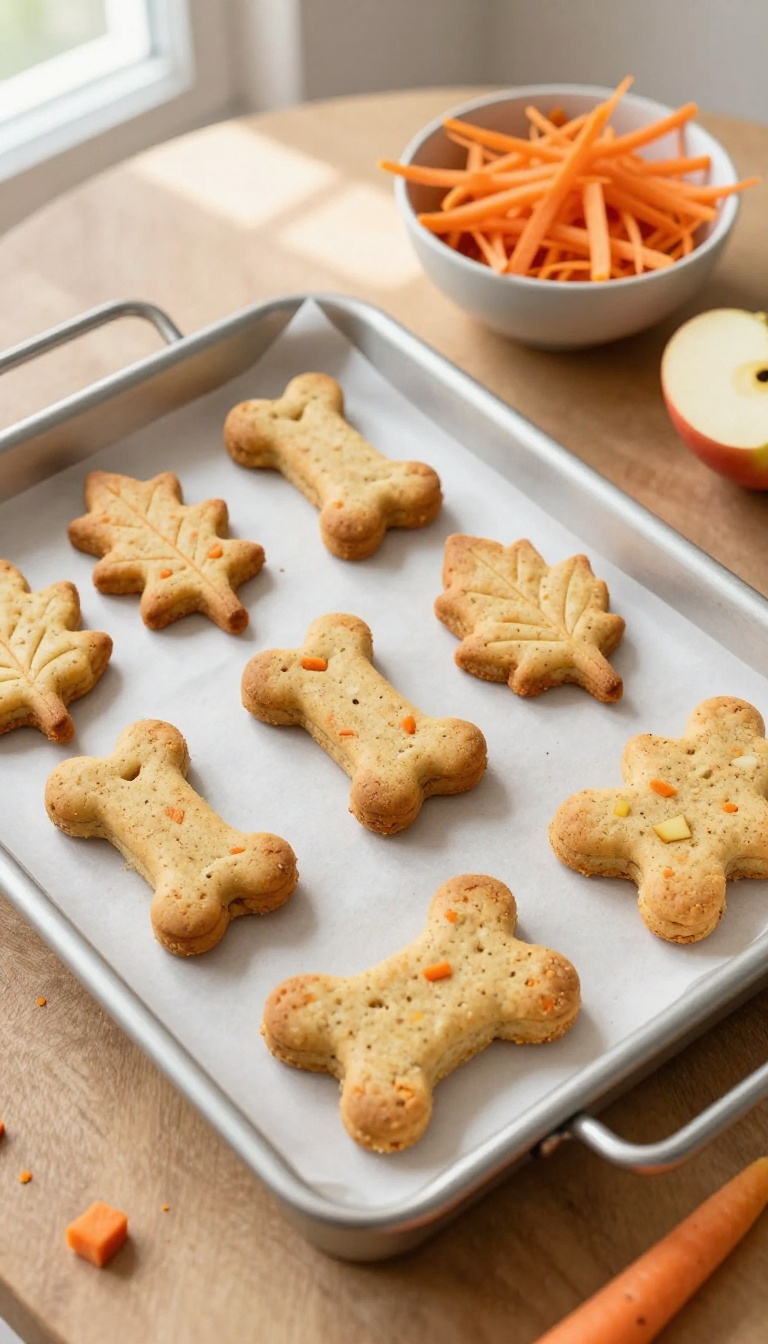
These crunchy little biscuits are like a cozy autumn snack for your pup, but they're perfect any time of year. The combo of grated carrot and apple gives them a naturally sweet flavor and a satisfying crunch that dogs love. Plus, they're packed with fiber and vitamins, so you can feel good about sharing them.
Whether you're baking for a special occasion or just because, these easy treats are a warm, comforting way to show your dog some love.
Ingredients
- 1 cup grated carrot
- 1 cup grated apple (peeled and seeds removed)
- 2 cups whole wheat flour (or oat flour for a grain-free option)
- 1/4 cup unsweetened applesauce (or water, as needed)
Instructions
- Preheat your oven to 350°F (175°C) and line a baking sheet with parchment paper.
- In a large bowl, mix the grated carrot and apple together. Add the flour and stir until well combined.
- Gradually add the applesauce (or water) a little at a time, mixing until a firm dough forms. You may not need all of it.
- On a lightly floured surface, roll the dough to about 1/4-inch thickness. Use cookie cutters to cut into fun shapes, or simply slice into small squares.
- Place the treats on the prepared baking sheet and bake for 25-30 minutes, or until they are golden and firm to the touch. Let them cool completely before serving.
Serving Tip
These crunchies are great for training or as a midday snack. Store them in an airtight container in the fridge for up to a week, or freeze for longer storage. For smaller dogs, break them into bite-sized pieces to avoid any choking hazards.
6. Cheesy Spinach Bites
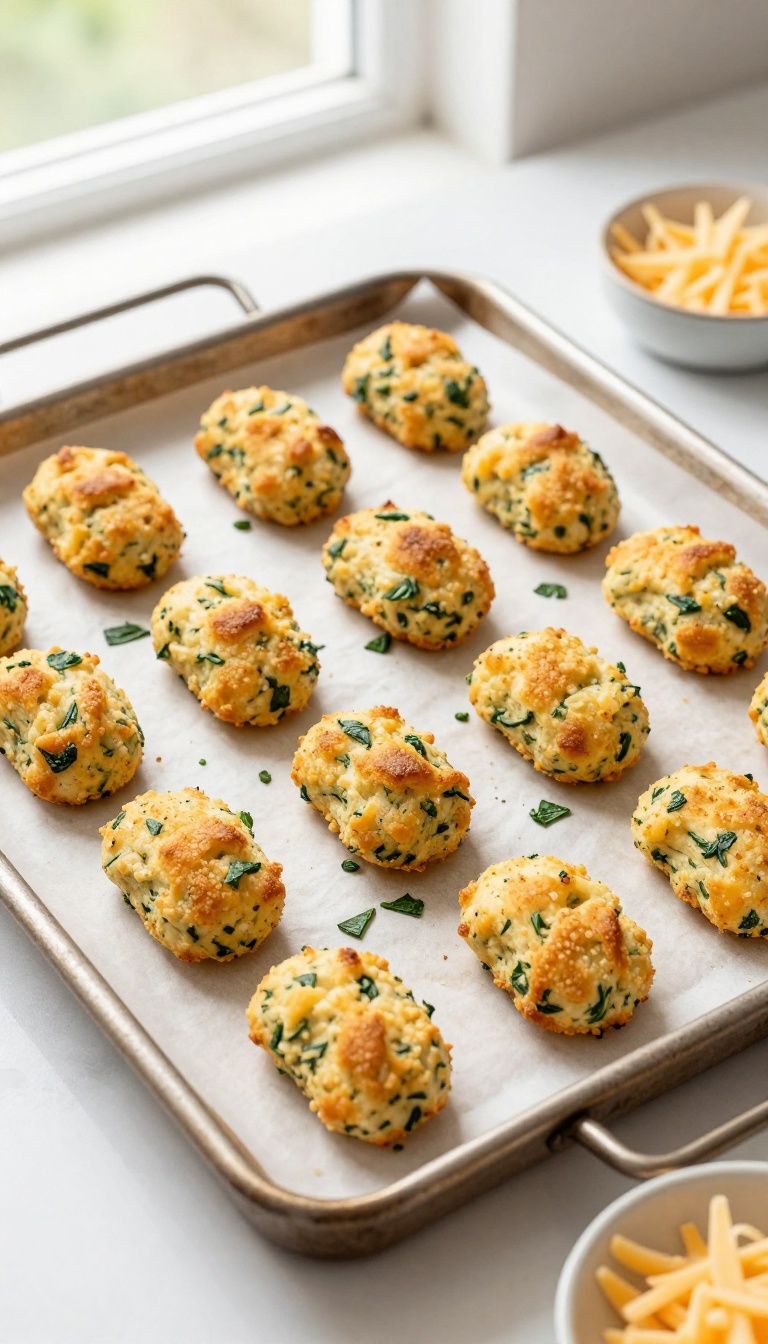
There's something extra cozy about a warm, cheesy snack fresh from the oven, and these little bites bring that same comfort to your dog's treat jar. They're simple to mix up with just four ingredients, and the combination of cheese and spinach gives them a savory flavor that most pups find irresistible. Plus, they're baked until golden, so they have a satisfying crunch that's great for training or just for showing your furry friend some love.
Ingredients
- 1 cup whole wheat flour
- 1/2 cup shredded cheddar cheese
- 1/2 cup fresh spinach, finely chopped
- 1/3 cup water (or as needed)
Instructions
- Preheat your oven to 350°F (175°C) and line a baking sheet with parchment paper.
- In a large bowl, mix together the whole wheat flour, shredded cheddar cheese, and chopped spinach.
- Gradually add water, stirring until a dough forms. You want it to be firm but not sticky, so add a little more flour if needed.
- Roll the dough into small bite-sized balls (about 1 inch) and place them on the prepared baking sheet.
- Flatten each ball slightly with a fork, then bake for 12–15 minutes, or until the edges are lightly golden.
- Let them cool completely before serving to your pup.
Serving Tip
Store these cheesy bites in an airtight container in the refrigerator for up to a week, or freeze them for up to three months. Because they're baked, they have a nice crunch that helps with dental health, but you can also soften them with a little warm water if your dog prefers a gentler texture. Start with one or two bites a day, and adjust based on your dog's size and activity level.
7. Coconut & Peanut Butter Frozen Pops
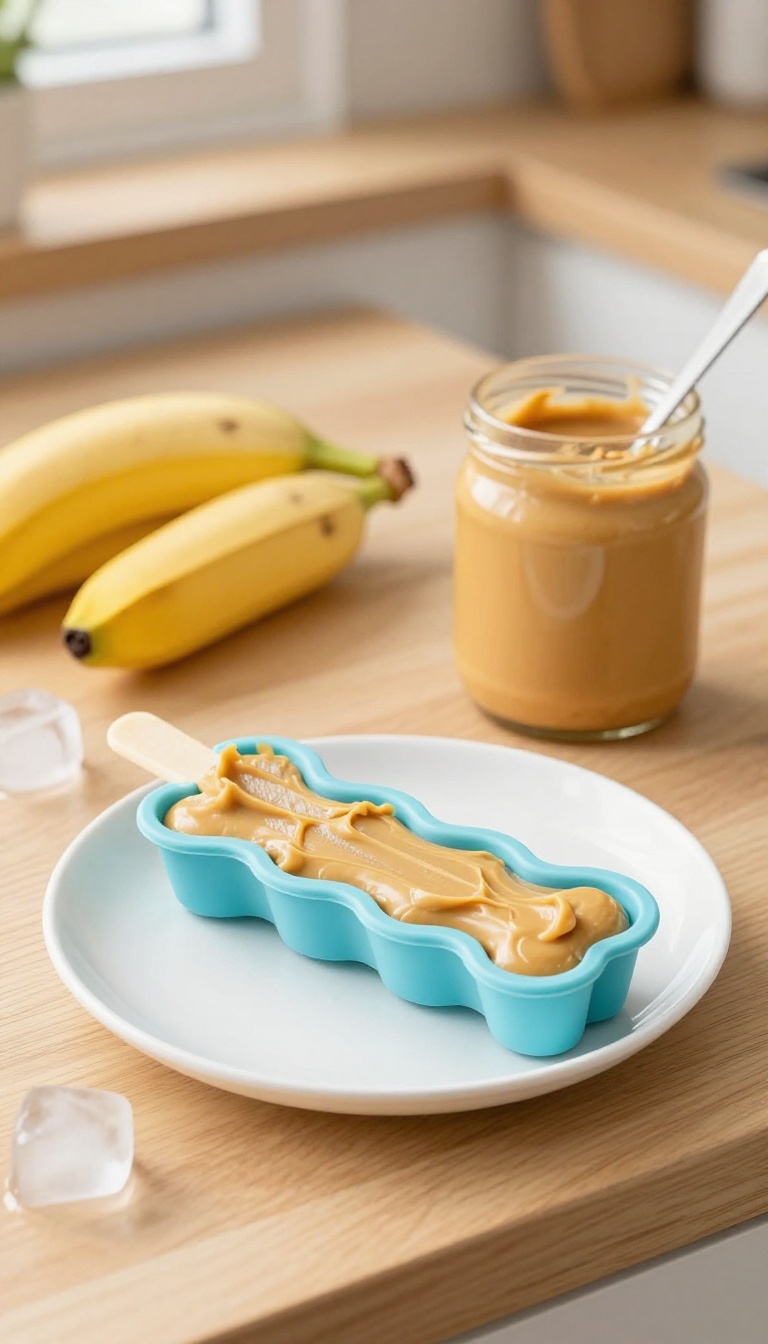
When the sun is blazing and your pup is looking for relief, these frozen pops are a dream come true. They’re creamy, cool, and loaded with the classic flavors dogs adore—peanut butter and coconut. Plus, they’re ridiculously easy to make, so you can whip up a batch in minutes and keep them in the freezer for those extra hot afternoons.
Your dog will think you’re a magician, and you’ll love how simple they are to prepare.
Ingredients
- 1 cup plain, unsweetened coconut milk (or coconut water for a lighter pop)
- 1/2 cup smooth, unsalted peanut butter (make sure it's xylitol-free)
- 1 ripe banana, mashed
- 1/2 cup plain Greek yogurt (optional, for extra creaminess)
Instructions
- In a medium bowl, whisk together the coconut milk, peanut butter, mashed banana, and Greek yogurt if using, until the mixture is smooth and well combined. The peanut butter might be a little stubborn, so take your time to blend it fully.
- Pour the mixture into silicone molds, ice cube trays, or small paper cups. If using cups, you can add a dog-safe stick or just pop them out later. Freeze for at least 4 hours, or until solid.
- Once frozen, remove the pops from the molds. If they’re stuck, run the bottom of the mold under warm water for a few seconds to release them.
Serving Tip
These pops are perfect for hot days, but they’re also great for soothing teething puppies or as a special treat after a long walk. Start with a small piece to see how your dog handles cold treats, and always supervise. Store any leftovers in an airtight container in the freezer for up to two weeks—just make sure they don’t thaw and refreeze, as that can change the texture.
8. Oatmeal & Apple Sauce Soft Cookies
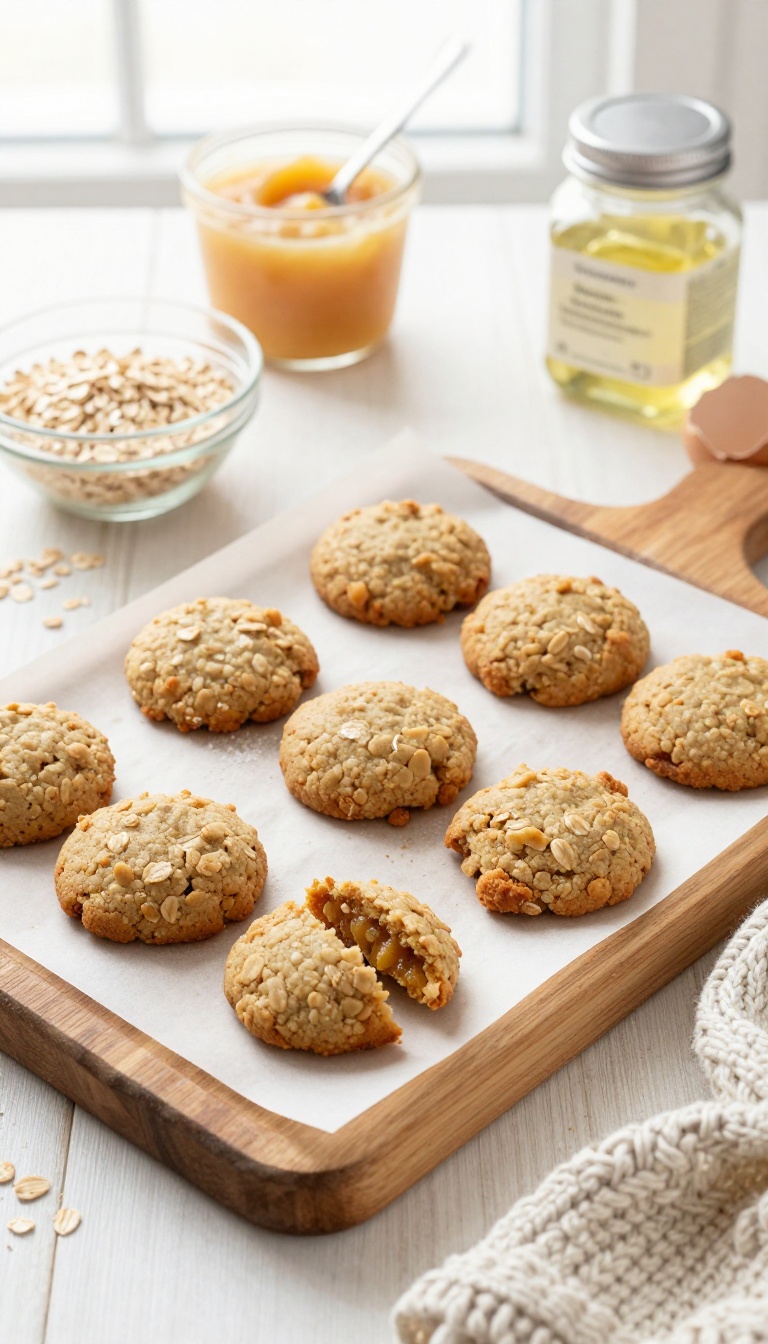
There's something about the scent of apples and oats that feels like a warm blanket on a cool evening. These soft cookies bring that same cozy feeling to your dog's snack time, minus any complicated steps or hard-to-find ingredients. With just four simple staples, you can whip up a batch that's gentle on older jaws and easy on your schedule.
The unsweetened applesauce adds natural sweetness and moisture, while the oats give them a comforting, chewy texture that dogs seem to find irresistible. Whether you're looking for a quiet afternoon baking project or a way to spoil a senior pup, these cookies are a lovely, low-effort choice.
Ingredients
- 1 ½ cups rolled oats (not instant)
- 1 cup unsweetened applesauce
- 1 large egg
- 2 tablespoons coconut oil, melted (or a little water if you prefer no oil)
Instructions
- Preheat your oven to 350°F (175°C) and line a baking sheet with parchment paper.
- In a medium bowl, mix the rolled oats, applesauce, egg, and melted coconut oil until well combined. The mixture will be a bit sticky.
- Spoon small dollops (about a teaspoon each) onto the prepared baking sheet, spacing them about an inch apart.
- Bake for 12 to 15 minutes, until the edges are lightly golden and the cookies are set but still soft in the center.
- Let them cool completely on the sheet before serving. They will firm up a little as they cool.
Serving Tip
- These cookies are soft and chewy, so they're perfect for senior dogs or pups with dental issues. Store them in an airtight container in the fridge for up to a week, or freeze them for up to three months. For smaller dogs, break a cookie into smaller pieces to avoid overfeeding.
- Always introduce new treats gradually and check with your vet if you have any concerns about ingredients.
FAQ
Are these treats safe for all dogs?
Most dogs can enjoy these treats, but always check with your vet if your dog has allergies or health conditions. Avoid ingredients like xylitol, chocolate, or grapes, and introduce new treats gradually.
How should I store homemade dog treats?
Store baked treats in an airtight container in the refrigerator for up to a week, or freeze them for longer storage. Frozen treats should be kept in the freezer until serving.
Can I substitute ingredients in these recipes?
Yes, you can often swap ingredients like peanut butter for other nut butters (check for xylitol) or use different fruits and veggies. Just keep the same texture and avoid toxic foods.
How many treats can I give my dog per day?
Treats should make up no more than 10% of your dog's daily calories. Adjust based on your dog's size, activity level, and dietary needs, and always provide fresh water.
Are these treats suitable for puppies?
Yes, but ensure the treats are soft enough for young puppies. Avoid hard biscuits for very young pups, and always supervise your dog while eating treats.
Conclusion
Baking for your dog is a wonderful way to show love and care. These simple four-ingredient recipes are just the beginning—you can mix and match ingredients to find your pup's favorites. The joy in their eyes when they taste something you made just for them is truly priceless.
So, next time you're in the mood for a cozy baking session, remember these easy ideas. Your dog will thank you with happy wags and sloppy kisses. Happy baking, and here's to many more delicious moments with your furry friend!

I’m Pallab Kishore, the owner of Little Pets Realm — an animal lover and pet care enthusiast sharing easy tips, healthy recipes, and honest advice to help every small pet live a happy, healthy, tail-wagging life.